Introduction
This guide will teach you step by step on how to replace broken or malfunctioning Panasonic Lumix DMC-ZS6 LCD screens.
-
-
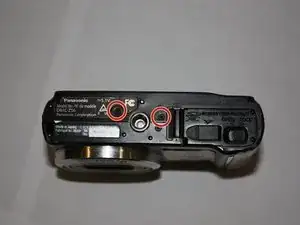
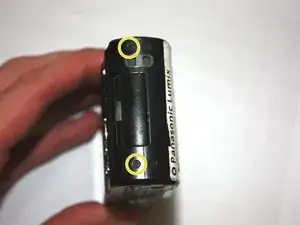
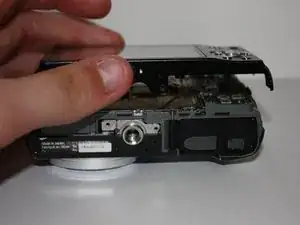
Unscrew the two bottom 1.0 mm screws with a Phillips #000 screwdriver.
-
Unscrew the two 1.0 mm screws to the left with a Phillips #000 screwdriver.
-
Unscrew the two 1.0 mm screws to the right with a Phillips #000 screwdriver.
-
-
-
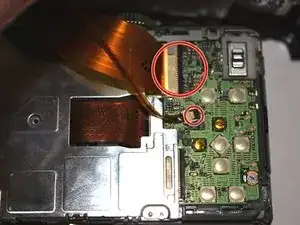
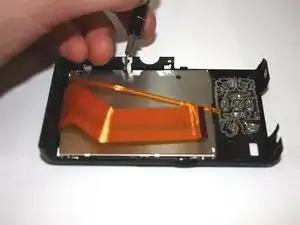
Use the tip of the spudger to flip up the black tabs on the ribbon cables.
-
Pull gently on the ribbon cables to unseat them.
-
-
-
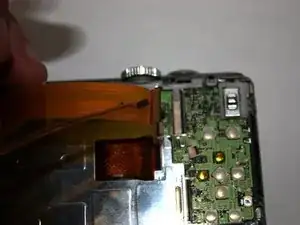
Use the tip of the spudger to flip up the metal tabs.
-
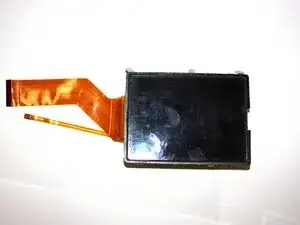
Lift the LCD panel out of place carefully.
-
Conclusion
To reassemble your device, follow these instructions in reverse order.