Introduction
You may need to replace or clean your Panasonic Lumix DMC-ZS40 Camera Sensor if splotches/dirt are appearing in your photos, or if the LCD screen remains black when attempting to take photos.
-
-
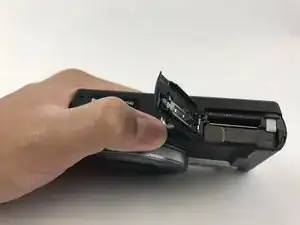
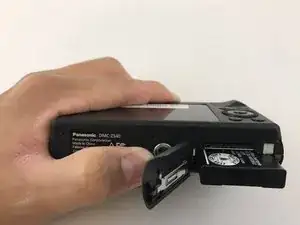
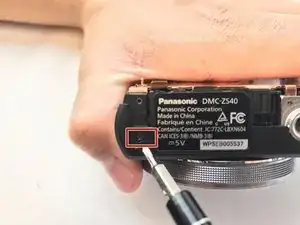
Find the battery/memory card door on the bottom right of the camera.
-
Use your finger or screw driver to slide the grey latch from the locked position to the open position. This will swing open the door.
-
-
-
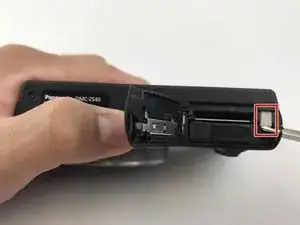
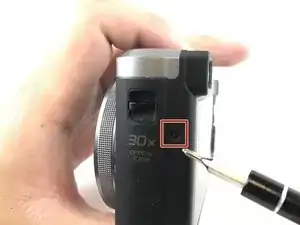
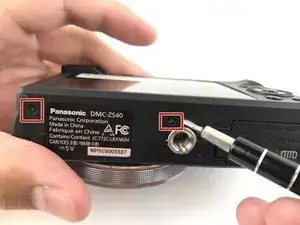
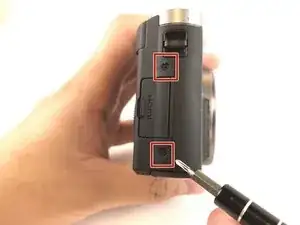
Unscrew these five 3mm screws located around the sides of the camera using a screw driver with a PH000 bit head.
-
-
-
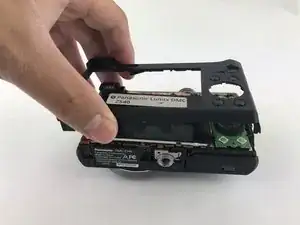
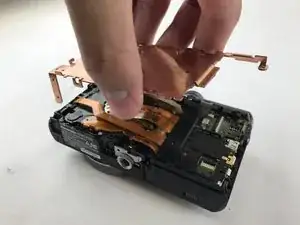
Remove these four 4mm screws and the 3mm screw on the top of the plate cover and on the side of the camera using a PH000 bit head. Once the screws are removed, the plate cover should lift right up.
-
-
-
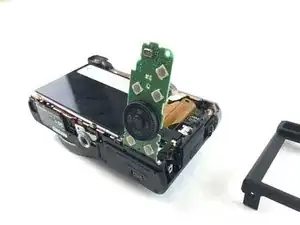
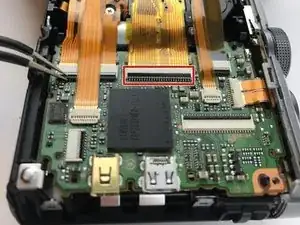
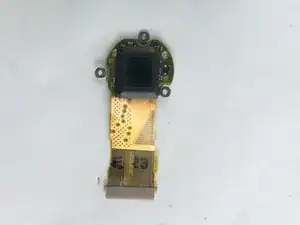
Remove the ribbon cable connecting the sensor to the motherboard. Use tweezers or a screw driver to lift up on the retaining flap of the ZIF connector to remove the cable.
-
-
-
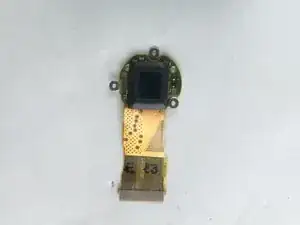
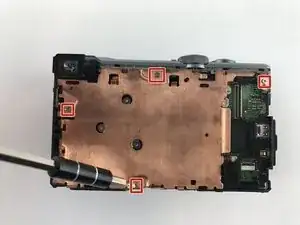
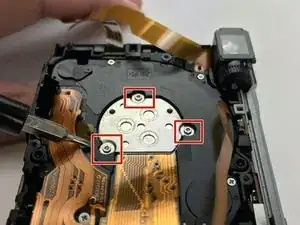
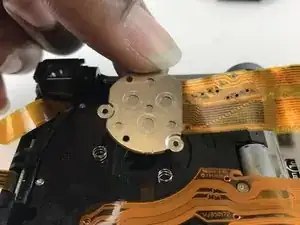
Using the T3 Phillips Screwdriver, unscrew the three Torx T3 2.5mm screws holding the sensor down.
-

To reassemble your device, follow these instructions in reverse order.
One comment
After the CCD is replaced, how do you adjust the 3 torx screws, so the ccd is in alignment? After the replacement the right side of my pictures are out of focus.
How do you operate the functions
David Miller -