Introduction
If you ever drop your camera and the lens cracks, this guide will help you replace your current broken lens with a brand new one.
-
-
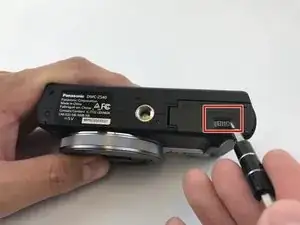
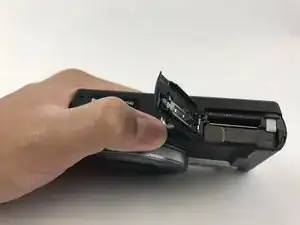
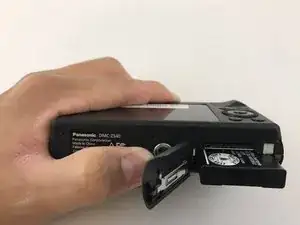
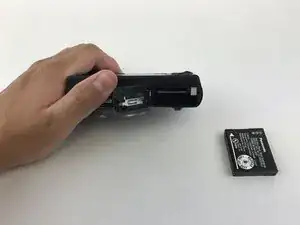
Find the battery/memory card door on the bottom right of the camera.
-
Use your finger or screw driver to slide the grey latch from the locked position to the open position. This will swing open the door.
-
-
-
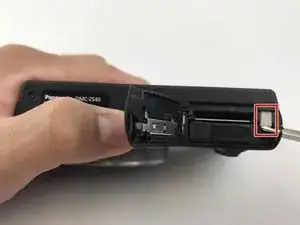
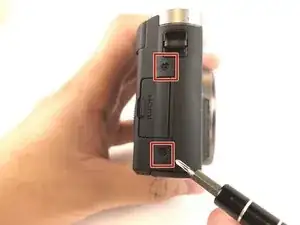
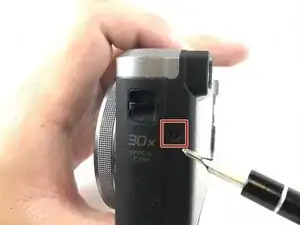
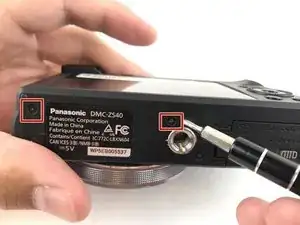
Unscrew the five 3mm screws located around the sides of the camera using a PH000 bit or Phillips 000 Screwdriver.
-
-
-
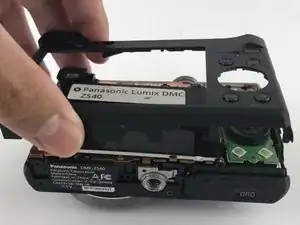
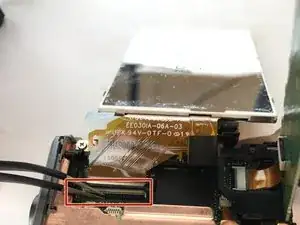
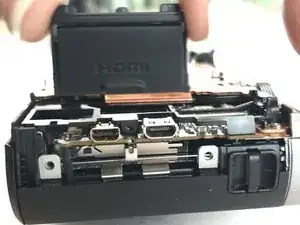
Turn the LCD screen over to the side exposing the connection to the motherboard.
-
Remove the display data cable connecting the LCD screen to the motherboard. Using tweezers, pry up the black retaining flap then gently pull the display data cable free.
-
-
-
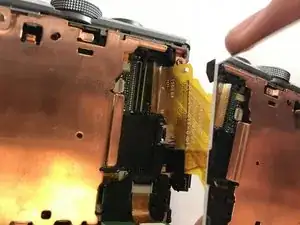
Disconnect the control dial from the motherboard. Locate the ZIF connector for the control dial. Use tweezers or screwdrivers to lift up on the retaining flap to remove the ribbon cable.
-
-
-
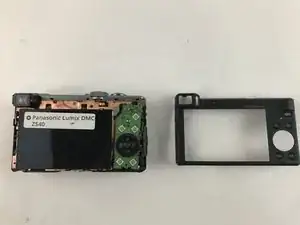
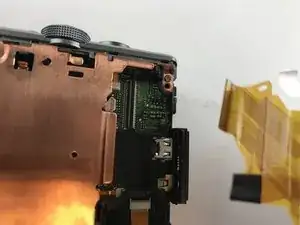
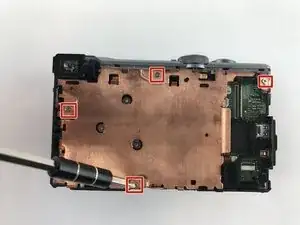
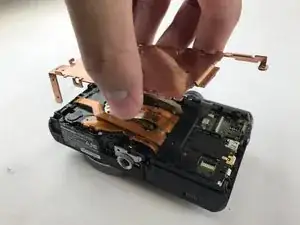
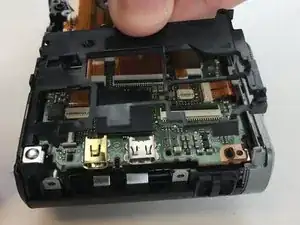
Remove these four 4mm on the top of the plate cover and the 3mm screw on the side of the camera using a PH000 bit head. Once the screws are removed, the plate cover should lift right up.
-
-
-
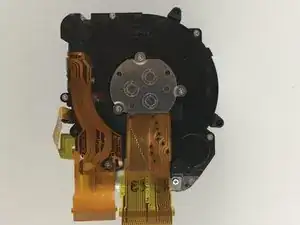
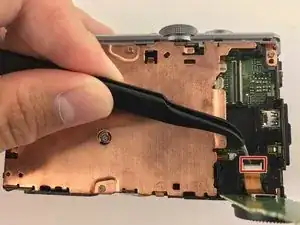
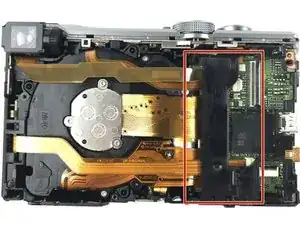
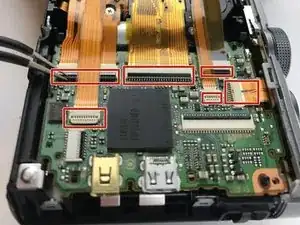
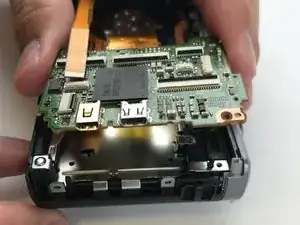
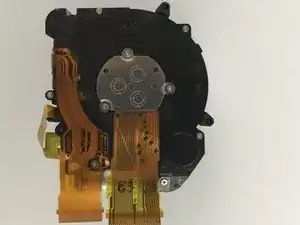
Disconnect these 6 ribbon cables from the motherboard. Use tweezers or a screw driver to lift up on the retaining flaps for each ZIF connector.
-
-
-
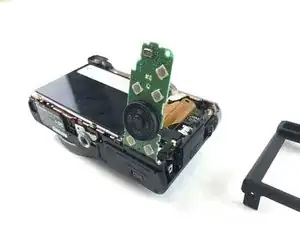
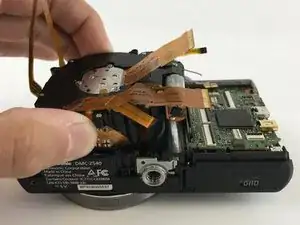
Once the corresponding ribbon cables have been detached, the lens assembly can be lifted right up.
-

To reassemble your device, follow these instructions in reverse order.
One comment
My Lumix is a bit older and so did not follow exactly. But this was helpful enough to allow me to work through the lens issue. In doing some reading, often the lens doesn't need replacing, just a good cleaning or even to reset it in the housing which worked for me. One thing I would say is refrain from taking the plastic clamps off. They are hard to get off and usually snap due to how brittle they get. Instead, leave in place and be careful with the cable.
How do you operate the functions
David Miller -