Introduction

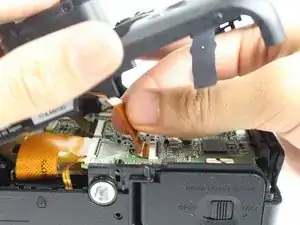
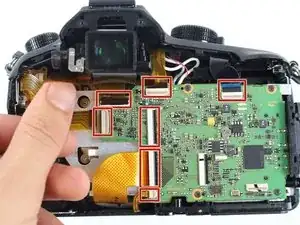
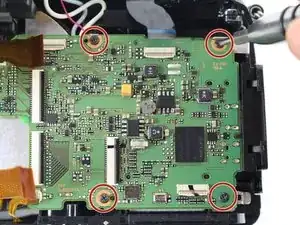
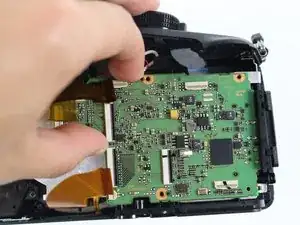
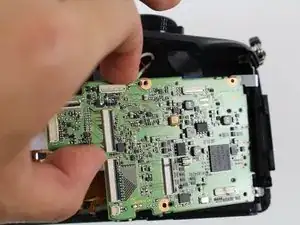
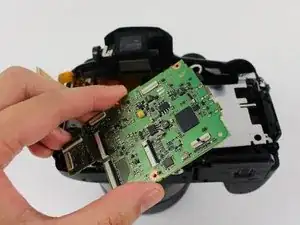
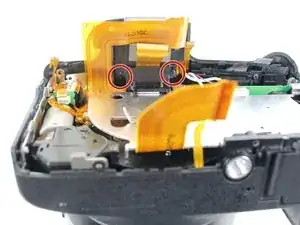
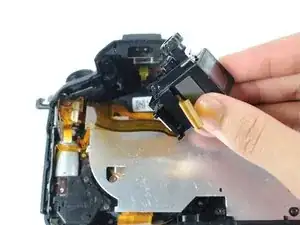
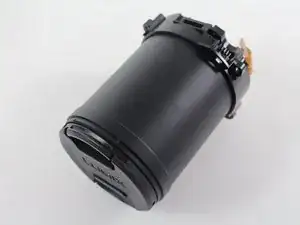
If your lens stops working or you wish to use an alternative one, you will need to replace it. In this guide you will first remove the battery to avoid damaging the camera while working on it. Then you will remove the back panel, motherboard, viewfinder, and aperture motor before replacing your lens. In the process you will unscrew various screws and detach a number of electronic ZIF connector ribbons. Be extra cautious when moving any electronic ribbons, since they tear very easily. See this technique on disconnecting ZIF connectors to better learn how to detach a ZIF connector ribbon.

In several steps of this guide, the state of the camera in the accompanying visual or visuals will not correspond to the state of your camera. The visuals differ from your camera in the following ways:

  • Electronic ribbons will appear torn and taped. Your camera's electronic ribbons should not be torn.
  • Black tape will appear crinkled due to prior removal. Your camera's black tape should not appear to have been previously removed.
  1. 6qXNmY6eFhQPrjpT
    6qXNmY6eFhQPrjpT
    qdmCJLDXvAkPxPmN
    KUjcJCmcmZfGALOP
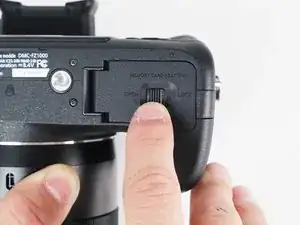
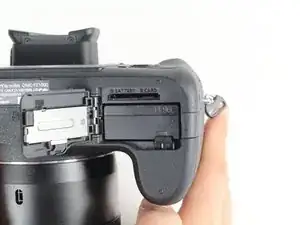
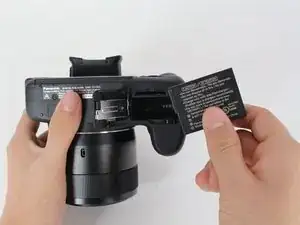
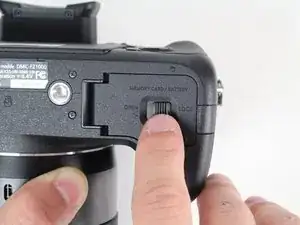
    • Slide the switch on the bottom of your camera from the right (LOCK) to the left (OPEN).

    • The battery door will swing open.

  2. Jb3BSGphiCQMIrSg
    Jb3BSGphiCQMIrSg
    xrEHcCEZYWyMmPaF
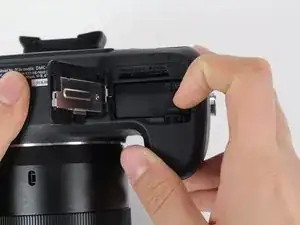
    • Pull down on the lever that holds the battery.

    • The battery will pop out of its casing.

  3. xmWiDDIvW6dWBUK1
    • Pull out the battery.

  4. i4M66NE3A3aPcBfD
    i4M66NE3A3aPcBfD
    Se3EhgQiwJjxj3Dq
    c25YGWg5eqlmwJLA
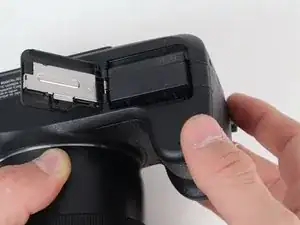
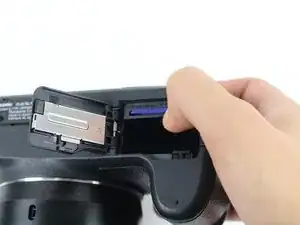
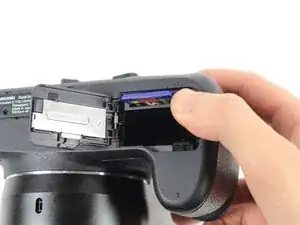
    • Push in on the SD card inside the battery housing.

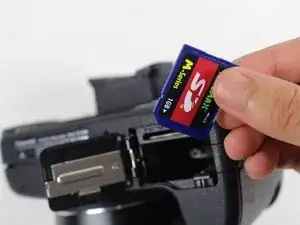
    • The SD card will pop out.

    • Pull out the SD card.

    • Close the battery housing door.

    Il faut modifier “Étape 4 Carte mère” par “Étape 4 Carte mémoire”, mais je n’y arrive pas.

    Jojo Demonnom -

  5. 22neQJGOmnOc3VOo
    22neQJGOmnOc3VOo
    AkZAR6SbEVxypURI
    dvaZVSKGaYPtP6Nk
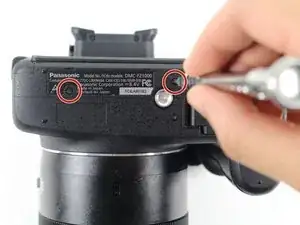
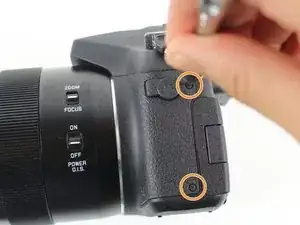
    • Remove the two 5.2 mm Phillips #00 screws that are 1) below the label and 2) above the tripod mount hole on the bottom of the camera.

    • You may ignore the screw below the tripod mount hole.

    • Remove the two 5.5 mm Phillips #00 screws on the side of the camera with the MIC jack.

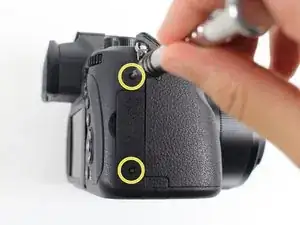
    • Remove the two 7.0 mm Phillips #00 screws that are 1) above and 2) below the HDMI panel.

    • You may ignore the screw that goes through the leather material to the right of the HDMI panel.

    Quitar también los Phillips #?? zona de abajo del visor, desmontar ,y , quitar otros 2 phillips #?? interiores.

    blufs -

    • There are two screws that hold the eye piece on to the main housing, just underneath. Remove these. Once these have been removed, gently pull and remove the eye piece and remove the now accessible top two screws.

  6. mmbNMj5AYdqXlPDX
    mmbNMj5AYdqXlPDX
    lRuXGd3lk6xBSQZ4
    SnNrmYNYCvBqvHZG
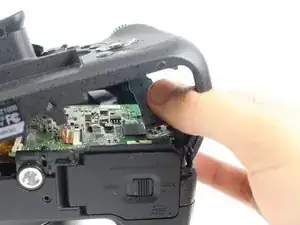
    • Do not yank off the back plate. If you do, you will tear the electronic ribbons attached to the inside of the camera and the back plate.

    • Gently lift up the back plate, being careful not to damage any ribbons.

    • Do not yank out the electronic ribbons attached to the motherboard and the back plate, or you may damage them. To properly detach these ZIF connector ribbons, see this technique on disconnecting ZIF connectors.

    • Pull to disconnect from the motherboard the two ZIF connector ribbons attached to the back plate.

    • Set aside the back plate.

    The eyepiece needs to be removed!

    Remove the phillips screws from the bottom of the eyepiece, remove the eyepiece and remove the two screws at the top of the eyepiece

    bailout00 -

  7. BRVseGQ5VUyjGoZi
    • Do not yank out the electronic ribbons attached to the motherboard, or you may damage them. To properly detach these ZIF connector ribbons, see this technique on disconnecting ZIF connectors.

    • Pull to disconnect from the motherboard the seven ZIF connector ribbons.

  8. 3ZHsKm3awp2ex4Ha
    • Remove the four 5.2 mm Phillips #00 screws at the corners of the motherboard.

  9. Tvwh6NQx6XvNwNkT
    Tvwh6NQx6XvNwNkT
    AZNPY1sGCoAVTbQB
    YGy5RedWX2kQxL1g
    • Firmly grasp the left side of the motherboard.

    • Pull out the motherboard.

    • If you find it difficult to remove the motherboard, pull it away from the HDMI panel while pulling it out.

    FZ1000 MK2: I could not remove the motherboard by itself but it came off easily together with the metal plate.

    Francesco Nardone -

  10. KXLMKmGfMHPqXK4s
    KXLMKmGfMHPqXK4s
    PCjCfS5CCC2LU6qH
    JKQcpZQYnR5JBdYS
    • Remove the two 7.0 mm Phillips #00 screws on the underside of the viewfinder.

    • Pull out the viewfinder.

  11. DMB5KrdqkAPIQQNE
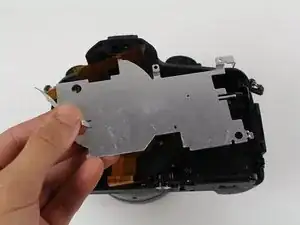
    • Pull out the silver metal plate.

  12. o4HLWFJjmRU3KhfA
    o4HLWFJjmRU3KhfA
    HQLTsvrW65QEsHNc
    Wo5iNgoER3IiTKey
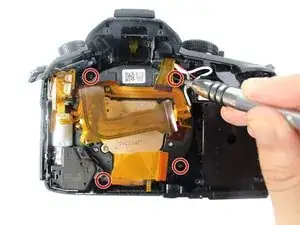
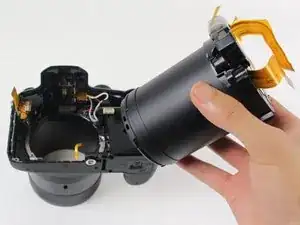
    • Remove the four 9.0 mm Phillips #00 screws at the four corners of the lens.

    • Push up on the lens from the front/outside of the camera to remove it.

  13. MmAjQH3u2C2VfuPk
    MmAjQH3u2C2VfuPk
    WSVg3qkBPLHdJsrt
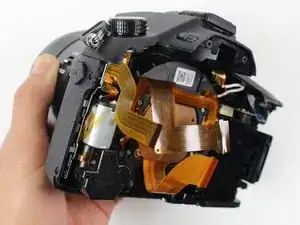
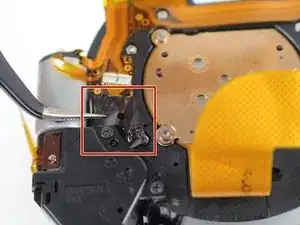
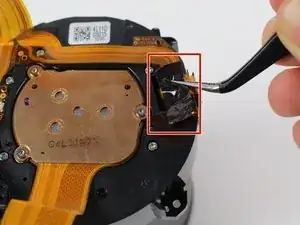
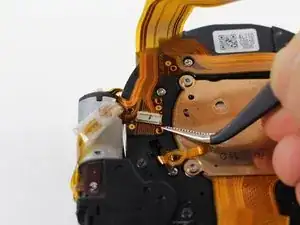
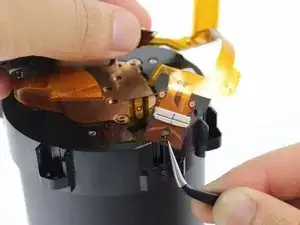
    • In this step you will remove tape stuck to the top of several electronic ribbons. Be extremely careful when removing the tape, since the ribbons tear very easily.

    • Very carefully use tweezers to peel off the black tape between the lens and the metal cylinder.

    • Very carefully use tweezers to peel off the black tape on the right side of the lens.

  14. iK5WJ5ZTVVvLCT1d
    iK5WJ5ZTVVvLCT1d
    yrsUNKoXPVQp6TOx
    humIDenLZ63TkLRL
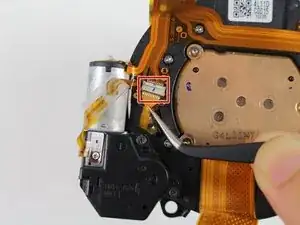
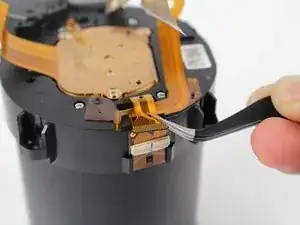
    • In this step you will tug on thin electronic ribbons with tweezers. Be extremely careful when pulling the ribbons, since they tear very easily. To properly detach these ZIF connector ribbons, see this technique on disconnecting ZIF connectors.

    • Using tweezers, very carefully pull to disconnect the ZIF connector ribbon between the lens and the metal cylinder.

    • Using tweezers, very carefully pull to disconnect the ZIF connector ribbon on the side of the lens.

  15. C4ZsYNPYCZ2SB6re
    C4ZsYNPYCZ2SB6re
    SMiJsp4qsvSGdy3Q
    • In this step you will unhook an electronic ribbon. Be careful when moving the ribbon, since it tears easily.

    • Use tweezers to unhook from its three pegs the electronic ribbon between the lens and the metal cylinder.

  16. 1wxrQ641dhyAGjys
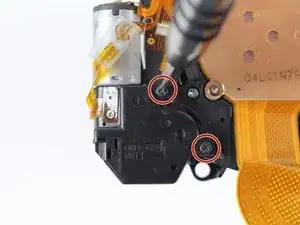
    • Remove the two 5.0 mm Phillips #00 screws near the lens on top of the aperture motor.

  17. VU1XKscFfdWfSVmT
    VU1XKscFfdWfSVmT
    NstTJFKnr6d4xJiM
    i2HBqsrAYFvyBQyZ
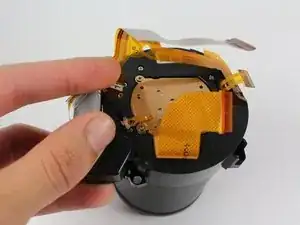
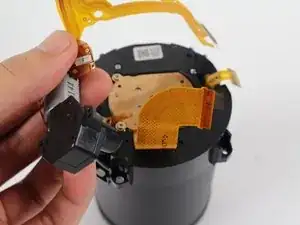
    • In this step you will move an electronic ribbon. Be careful when working with any piece of the ribbon, since it tears easily.

    • Carefully unhook the aperture motor from its two pegs and slowly move it towards the opposite side of the lens.

    • You may need to remove the Phillips screw that holds a trapezoid-shaped piece of the electronic ribbon.

    • While holding on to the aperture motor, very carefully use tweezers to unclip the electronic ribbon on the side of the lens.

  18. knCMw1y6OPFUuMcJ
    • Set aside the aperture motor.

  19. AHicduUjOuqIg6HO
    AHicduUjOuqIg6HO
    BXpiIro1R4CYu33P
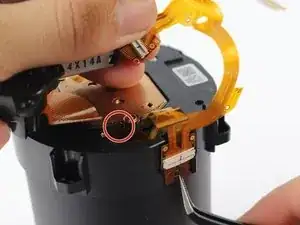
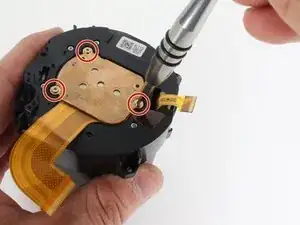
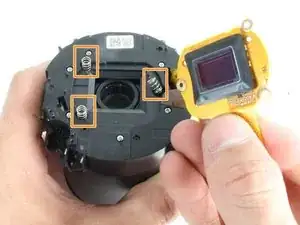
    • Keep the front of the lens face down. There are springs between the sensor and the lens which may fall out.

    • Remove the three 4.0 mm Torx T5 screws attaching the sensor to the lens.

    • Pull out the sensor.

    • Pull out the three springs on top of the lens.

    Torx t4, Marcar posicón de tornillo antes de quitar, y montar con las mismas vueltas.

    blufs -

Conclusion

To reassemble your device, follow these instructions in reverse order.

Robseth Taas

Member since: 07/01/16

1754 Reputation

2 comments

Where do I get a Lense Unit ? I need exactly that…for the FZ 1000

Mike Scholz -

Hallo eine kurze Frage Bild /Schritt 15 ist um den Motor des Objektivantriebes ein Flachkabel unterbrochen. Muss das so oder ist es defekt? Es ist bei meiner Kamera genauso unterbrochen
STEVE GUTT -