Introduction

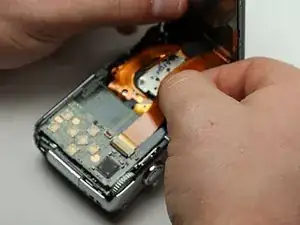
This guide will help you remove the back panel buttons so you can install new ones.

  1. SJKZhwv5Q1kN2BiV
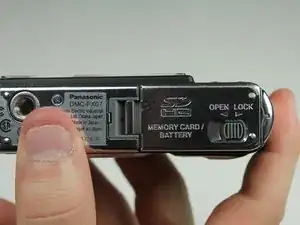
    • Move the switch on the battery door to the Open position.

    • The door will automatically swing open after you let it go.

  2. 3ZKsYoVItMVCPGWq
    3ZKsYoVItMVCPGWq
    XHScTkUwv5U2KKFg
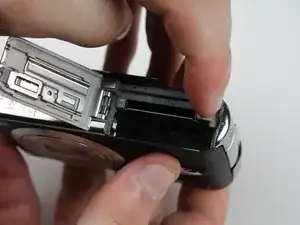
    • Push the small gray tab on the top right corner to the left. The battery will pop out slightly.

    • Keep your finger clear of the battery when it pops out.

  3. MMZ2WGveTdsohiOf
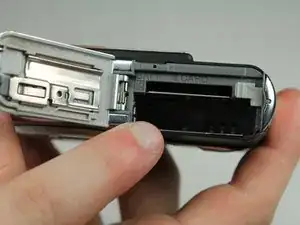
    • Push the memory card in and let go.

    • The memory card will pop out slightly.

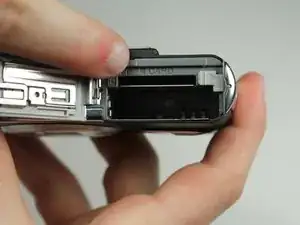
    • Pull out the memory card.

  4. vqO6xXrIFebmGlX3
    vqO6xXrIFebmGlX3
    tMJMAsJH3KmxEltC
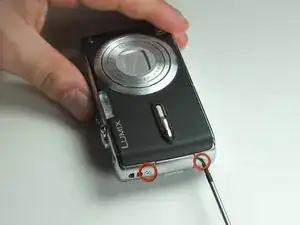
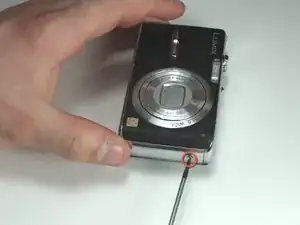
    • Unscrew the small screws on the sides of the camera.

    • The screws on the left side(#00P, 4.7mm) are longer than the screw on the right side(#00P, 3.3mm).

  5. wjY555FG4V1uqISP
    wjY555FG4V1uqISP
    2YPpJAvFdj1tWDGB
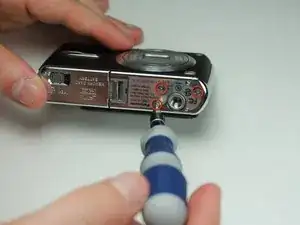
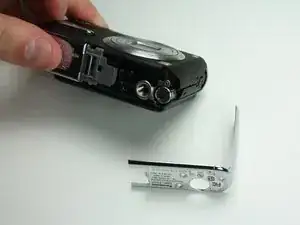
    • Unscrew the three small screws on the bottom(#00P, 3.3mm).

    • The bottom will fall off.

  6. tsHbrJGmgDDRjpI2
    tsHbrJGmgDDRjpI2
    BQpHIUX3aohXG3lR
    WMVuJKPbJDuoSVSJ
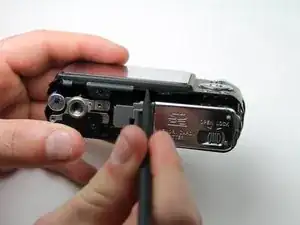
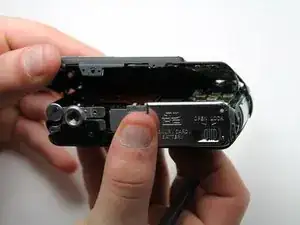
    • Lift up the bottom back cover by prying the bottom edge with the spudger.

    • Gently lift up the back cover with your hand from the bottom to the top.

  7. vBpfLUMnqIboLRGL
    vBpfLUMnqIboLRGL
    FdxXLQkor6qMlYWR
    WsSyjuHAouCy2piE
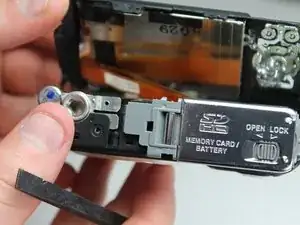
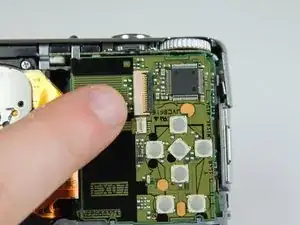
    • Lift the tabs on the ZIF connectors.

    • The ribbon cables should easily come out of the ZIF connectors.

  8. i1nyZt6TbyaTVVUl
    i1nyZt6TbyaTVVUl
    PoBnsMuSMjUZdEXY
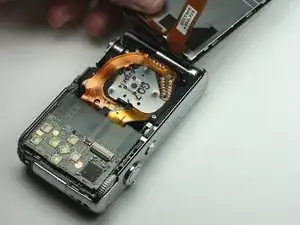
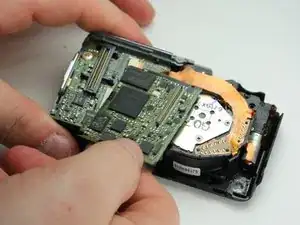
    • Gently wiggle out the top motherboard.

    • The buttons are hardwired into this logic board.

Conclusion

To reassemble your device, follow these instructions in reverse order.
Karissa

Member since: 13/04/12

50 Reputation

0 comments