Introduction

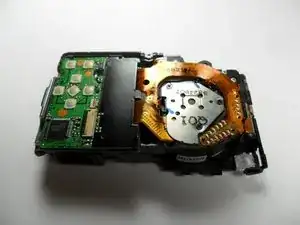
This guide will show the user how to disassemble the camera to reach the Flash Top Assembly. Once the Flash Top Assembly is reached, the user can replace it.

  1. AFHAgVcOa2VkX6rq
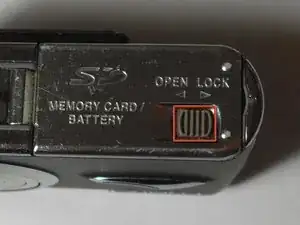
    • Locate the memory card and battery card latch on the bottom of the camera.

    • Slide the latch to the open position.

  2. DaC4xP1oNRDSJFuP
    • Open the battery latch, and slide the battery release lever to the right.

  3. IuAgNtphQpXZgbOw
    • Remove the battery from the camera.

  4. HZWy5DZCtaf3K4oM
    • Remove the three 4.6 mm screws on the bottom of the camera using a Phillips #00 screwdriver.

  5. pZalWsmMJDkXNcZL
    • Remove the single 3.2 mm screw on the left side of the camera using a Phillips #00 screwdriver.

  6. 4CHFUKhQHVjVdbHI
    4CHFUKhQHVjVdbHI
    FxQ6mCETMtTdgil6
    • Remove the left side casing.

  7. buDLx5ofwLWpYNMT
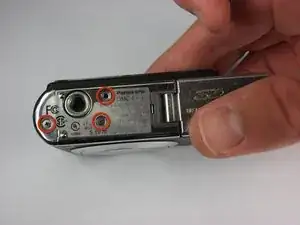
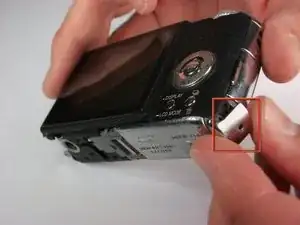
    • Remove the two 3.2 mm screws on the right side of the camera using a Phillips #00 screwdriver.

  8. MSSdvXFH1UO2Tnli
    • Remove the bottom right panel.

  9. bCDk6feXdHXExMLu
    bCDk6feXdHXExMLu
    3UjKjFOYHpwiY4Ca
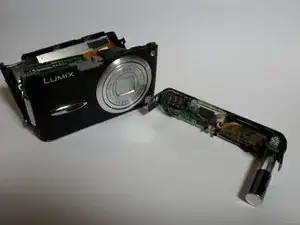
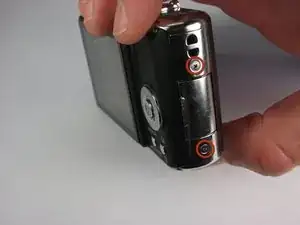
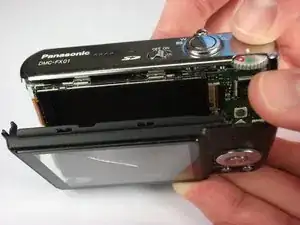
    • Gently remove the back casing.

    • Start at the bottom and carefully pry towards the top to get this piece free.

  10. PXWREOSAvbNLMrpx
    PXWREOSAvbNLMrpx
    4AkLFlYMFVjhAhZO
    • Carefully pry the Flash Top Assembly away from the top.

  11. hYVHjgNDejmEdd2H
    hYVHjgNDejmEdd2H
    WQw225rL6uDbeXMx
    • Replace the Flash Top Assembly with a new one.

Conclusion

To reassemble your device, follow these instructions in reverse order.

Caleb Fink

Member since: 11/10/10

191 Reputation

0 comments