Introduction

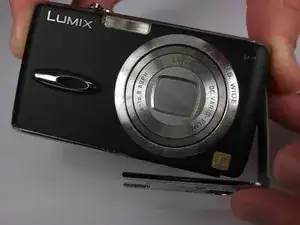
If your Panasonic Lumix DMC-FX01 is unable to take pictures with the lens or the lens refuses to open, this guide will show you how to replace it. A camera lens is an important component to a digital camera. Without it, the image you want to capture will not be possible.

Smaller digital cameras like this one come with very small pieces that you will need to remove. As you will see later in the guide, it is important to be a delicate as possible with the pieces to ensure you do not cause any more damage to the broken item.

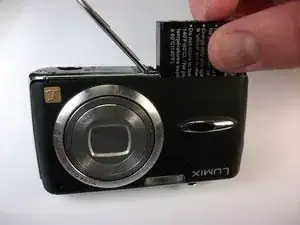
Before you begin, check the battery connecter to see if any debris is preventing the battery to make the lens work (this is a common reason the lens will not work).

Once you have confirmed that the lens is not working, begin this guide.

  1. AFHAgVcOa2VkX6rq
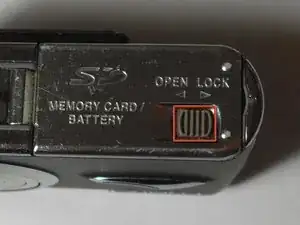
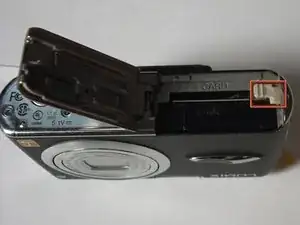
    • Locate the memory card and battery card latch on the bottom of the camera.

    • Slide the latch to the open position.

  2. DaC4xP1oNRDSJFuP
    • Open the battery latch, and slide the battery release lever to the right.

  3. IuAgNtphQpXZgbOw
    • Remove the battery from the camera.

  4. HZWy5DZCtaf3K4oM
    • Remove the three 4.6 mm screws on the bottom of the camera using a Phillips #00 screwdriver.

  5. pZalWsmMJDkXNcZL
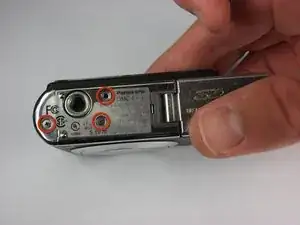
    • Remove the single 3.2 mm screw on the left side of the camera using a Phillips #00 screwdriver.

  6. 4CHFUKhQHVjVdbHI
    4CHFUKhQHVjVdbHI
    FxQ6mCETMtTdgil6
    • Remove the left side casing.

  7. buDLx5ofwLWpYNMT
    • Remove the two 3.2 mm screws on the right side of the camera using a Phillips #00 screwdriver.

  8. MSSdvXFH1UO2Tnli
    • Remove the bottom right panel.

  9. bCDk6feXdHXExMLu
    bCDk6feXdHXExMLu
    3UjKjFOYHpwiY4Ca
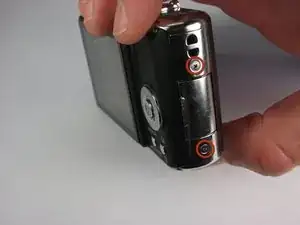
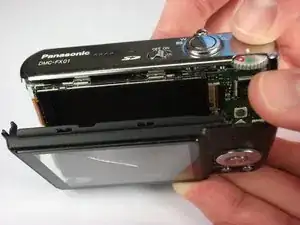
    • Gently remove the back casing.

    • Start at the bottom and carefully pry towards the top to get this piece free.

  10. dcMWJUXqhoWea1Gy
    dcMWJUXqhoWea1Gy
    UP2Wa3cLxKlpQ2Ny
    • Remove the two black 5.4 mm screws that hold in the front faceplate using a Phillips #00 screwdriver.

    • There may be a third screw the the right of the lens assembly.

  11. K5TvyvAcgtGOPhQ6
    K5TvyvAcgtGOPhQ6
    wONXOqrqZnvkvrBm
    HUMxbaBRGgfvIK1V
    • Carefully remove the upper assembly, which houses the buttons and the flash battery.

  12. KXEvASPNPshGtuwa
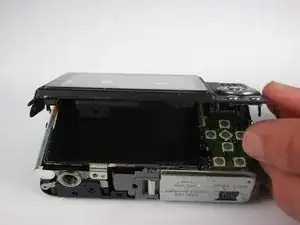
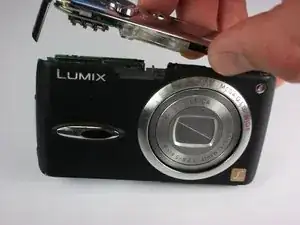
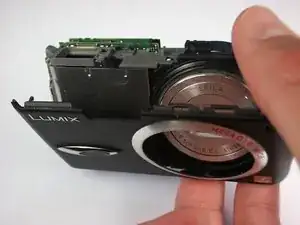
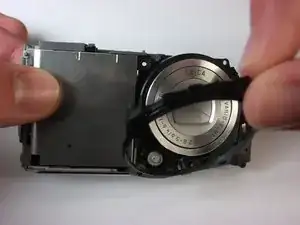
    • Carefully remove the front casing after verifying that the thin plastic around the lens is not still attached.

  13. PyQUCeiUIhZ2WgsP
    PyQUCeiUIhZ2WgsP
    ptG2NAvKSyGi3Auj
    • Remove the three black 5mm screws attached to the lens frame.

  14. rYVFraOfMV3ExkHd
    • Remove the lens frame.

  15. I5TnJjVFFAkXLCLQ
    • Lift out the circuit board as shown.

  16. iErV2fhrI1qSZ3AT
    iErV2fhrI1qSZ3AT
    HeYY5tbdpPugZjc3
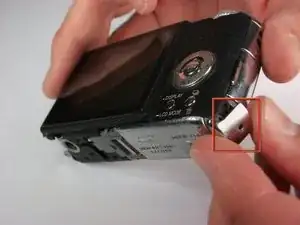
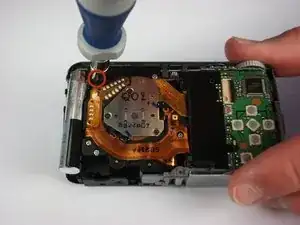
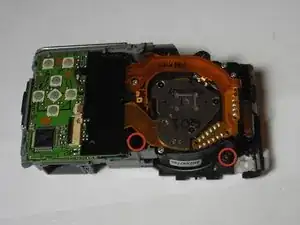
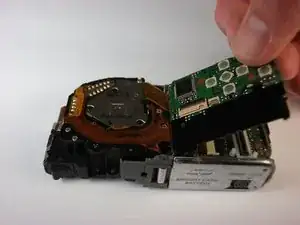
    • Lift the two black latches that hold the connector ribbons in place.

    • Disconnect the two ribbons.

  17. 3kcMHOWqZ6FhlARl
    • Remove the lens assembly as shown.

  18. NOFU1fpLStWuW1nG
    • Remove four 4 mm screws from the lens assembly using the Phillips #00 screwdriver.

  19. pvjn5tFQbKbTxpZS
    pvjn5tFQbKbTxpZS
    ruBRZCmB6qTTSKWD
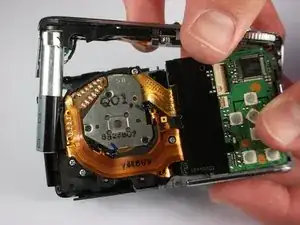
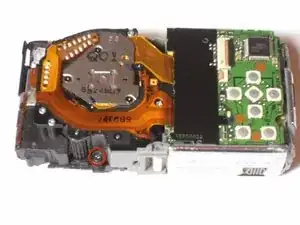
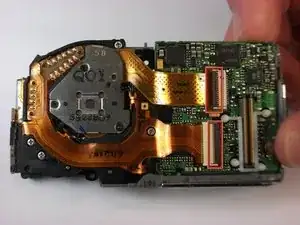
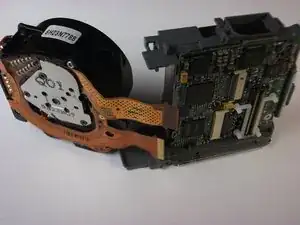
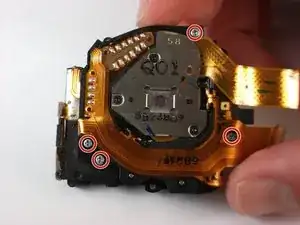
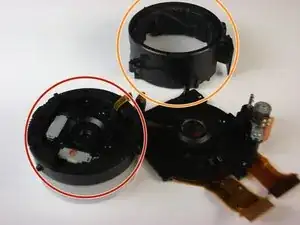
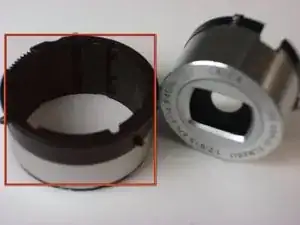
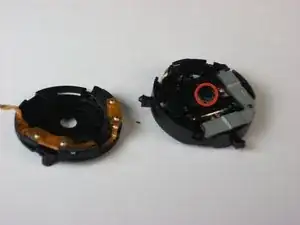
    • Separate the fixed frame unit from the main lens assembly.

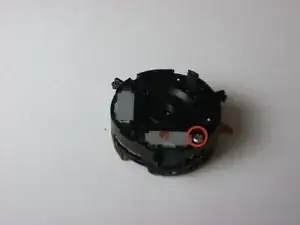
    • Separate the direct frame unit from the main lens assembly.

  20. tfRvbxUXJhJNJGSw
    • Remove the first lens frame from the lens assembly.

  21. MTOBqF5PiqKUYl6D
    • Detach the second frame unit from the lens assembly.

  22. VXN3Js5gTAlaOg3j
    • Remove the 4m m screw from the lens housing using the Phillips #00 screwdriver.

  23. KFX3xYu3ZGMEfW1y
    • Separate the lens housing.

    • Replace the lens by gently prying away from the assembly.

Conclusion

To reassemble your device, follow these instructions in reverse order.

Caleb Fink

Member since: 11/10/10

191 Reputation

0 comments