Introduction
This is the replacement guide for the power port for the primary charging base of the device. If you've followed the troubleshooting guide for this device and have determined that this is your issue, look no further than this guide. Please make sure that the issue is with the power port before you begin, however, as this is not an easy replacement, and fixing the issue will require soldering.
-
-
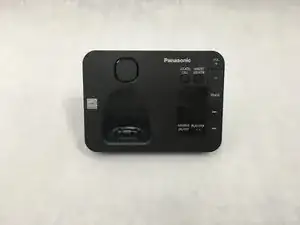
To fix this component, we'll need to work with the main docking station. This is the one with the answering machine and the TEL line.
-
-
-
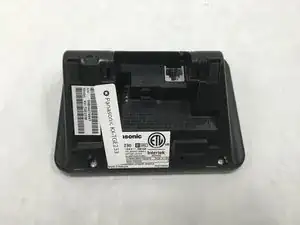
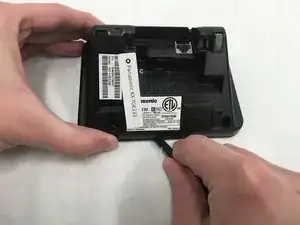
To start, we'll need to work with objects on the bottom of the device, so begin by flipping the device over.
-
-
-
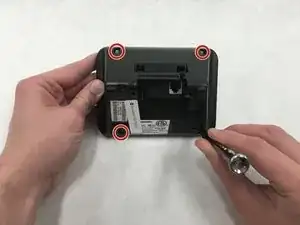
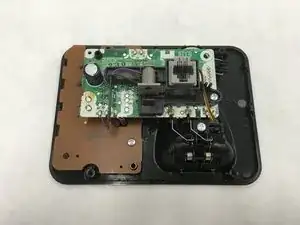
With the back removed, we now have direct access to all other components in the main docking station.
-
-
-
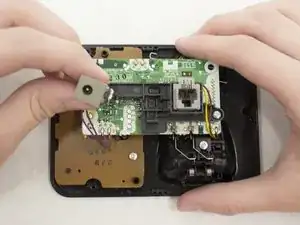
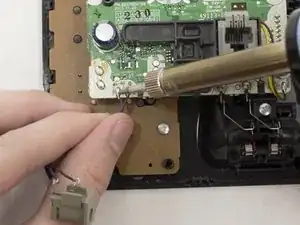
Now that the device has been opened, the power port can easily be removed from its resting point.
-
-
-
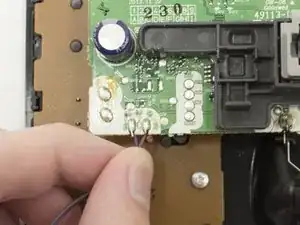
The faulty power port can now be detached from the device from its contact points. If soldering has been successful, removal should require minimal effort.
-
To reassemble your device, follow these instructions in reverse order.