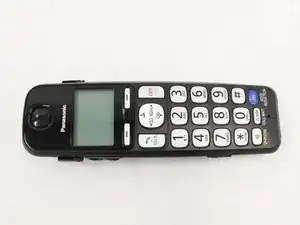
Introduction
This speaker is located behind the motherboard of the device, and is attacked to the back panel of the plastic casing. The phone's ringing comes from this speaker, so if there is no sound when receiving a call, a faulty back speaker may be the cause. Before beginning, please ensure that this is indeed the guide you need to follow. Replacing the back speaker is a difficult task, requiring significant tear down of your device and soldering to complete the replacement. Check our troubleshooting guide to make sure your problem is definitely related to this speaker.
-
-
Using a spudger, open the device by starting from the bottom and working your way to the top.
-
-
-
Once the back has been separated from the rest of the device, carefully place it to the side. Be careful not to completely remove it, however, as there are wires connecting the back to the handset.
-
-
-
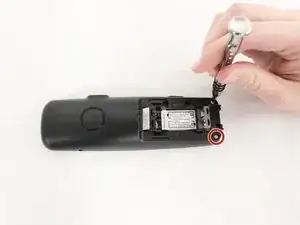
Using the same screwdriver as before, remove the Philips size #00 screw holding the motherboard in place.
-
-
-
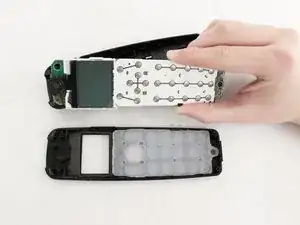
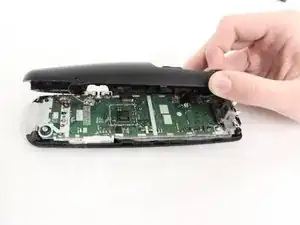
With the screw removed, the front panel assembly can be separated from the rest of the device.
-
-
-
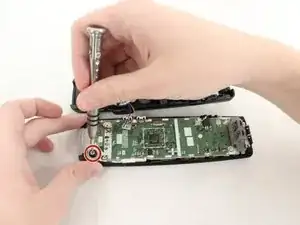
Detach the piece from the back panel. It should already be separate at this point, but it is important to ensure that it is since we'll be working exclusively with the back in this guide.
-
-
-
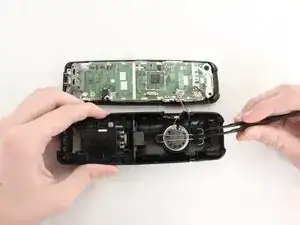
The back speaker is held in with a metal frame. To remove it, push the handles of the frame together with tweezers and lift. The speaker can now be easily taken out.
-
-
-
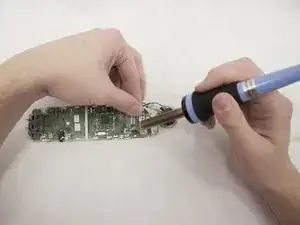
Use a soldering iron to loosen the soldering on the contact points so that you can easily remove the bad speaker.
-
-
-
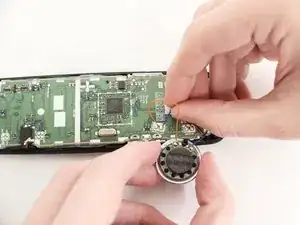
You can now remove the speaker from its contact points. This should require minimal effort if you have completed the soldering step properly.
-

To reassemble your device, follow these instructions in reverse order.