Introduction
Removing several sides of the camcorder and several pieces inside it in order to reach and remove the shoe adapter.
Tools
-
-
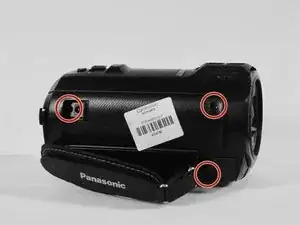
Unscrew the J1 screws on the left side of the camcorder.
-
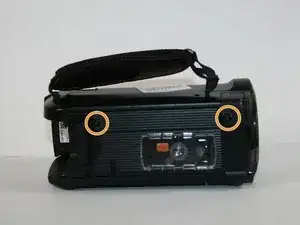
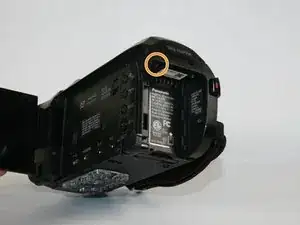
Unscrew the marked screws on the bottom of the camcorder.
-
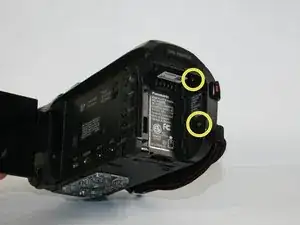
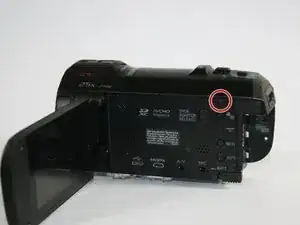
Unscrew the marked screws on the back of the camcorder.
-
-
-
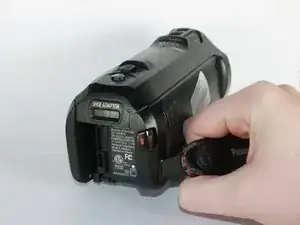
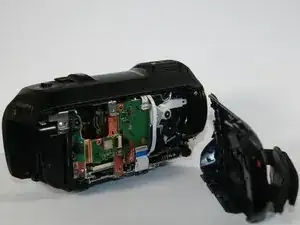
Pull off the left side of the camcorder. You may have to use a little force but don't worry about breaking anything in the camcorder.
-
-
-
Unscrew the indicated screw on the right side of the camcorder.
-
Unscrew the indicated screw on the back of the camcorder.
-
-
-
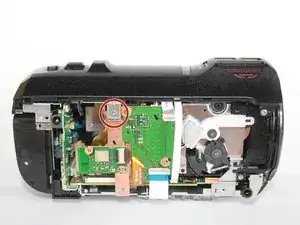
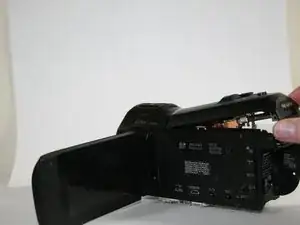
Remove the top cover of the camcorder by lightly lifting up on the back end of the top and tugging away from the lens (don't be afraid to use force).
-
-
-
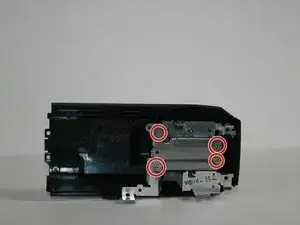
Unscrew the indicated screws and remove the piece they hold in place.
-
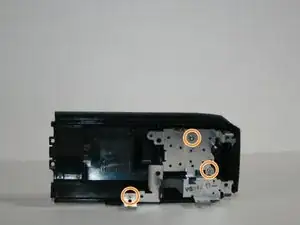
Unscrew the indicated screws and remove the piece they hold in place.
-
To reassemble your device, follow these instructions in reverse order.
Hi Rebecca
I need take off the lens cover to clean it, because it stucks sometimes. Would you know how to get in to it?
maciejkarski -