Introduction
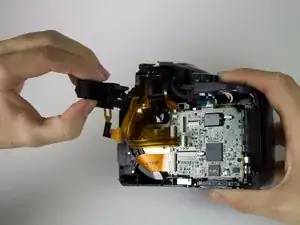
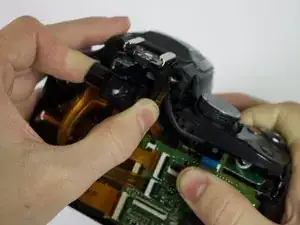
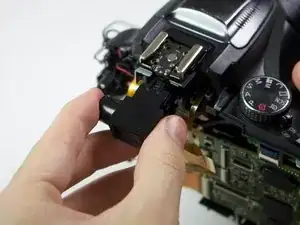
In this guide, you will take apart the back panel in order to reach the camera's viewfinder. A camera's viewfinder is used to line up your eye-view to the photo shot of the camera. No special requirements are necessary other than to exercise caution when taking out the ribbons. If the image you see through the viewfinder is significantly different than what is seen through the camera, or if you seen nothing but black, then you need to replace the part using this guide. Before you begin, make sure that the battery and SD card have been removed.
Tools
-
-
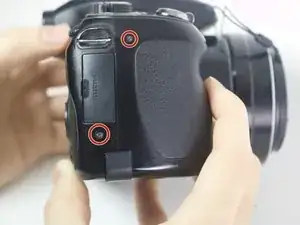
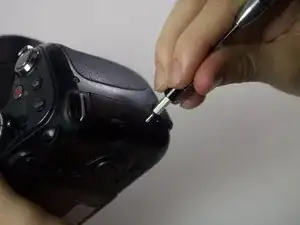
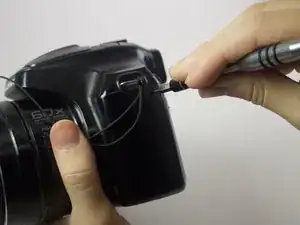
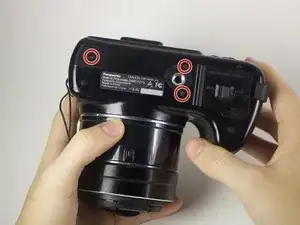
Using your screwdriver, unscrew the two 5.0 mm Philips screws to the right of the LCD screen.
-
-
-
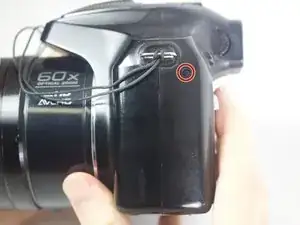
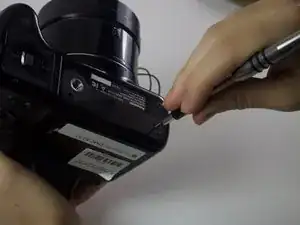
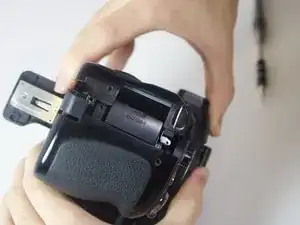
Flip the camera over to the left side of the screen and unscrew the 5mm Phillips screw found there.
-
-
-
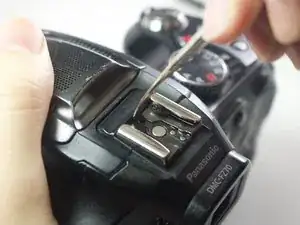
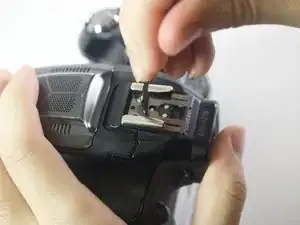
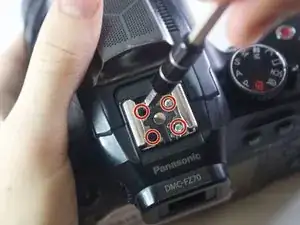
On the top of the camera locate the two rails with a thin sheet of metal on the floor between them.
-
With a metal spudger, lift this sheet and push it out of the rail device to detach it from the camera.
-
-
-
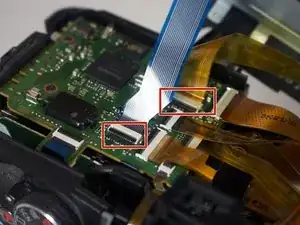
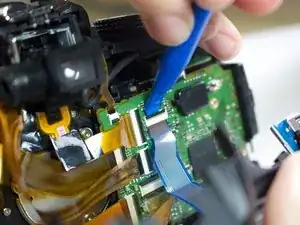
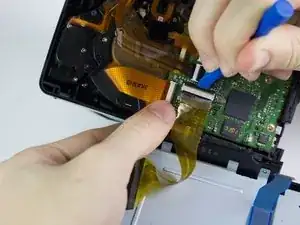
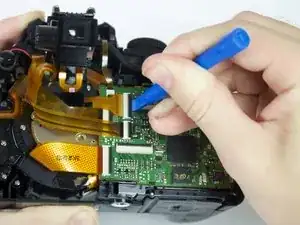
Using a plastic opening tool, carefully flip up the small black levers that attach the ribbon cables to the ZIF connectors on the motherboard.
-
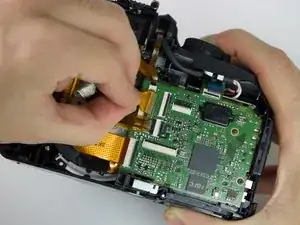
Carefully pull the ribbon cables out of the slot once they have been released.
-
-
-
Using a plastic opening tool, flip up the black switch on the ZIF connector that attaches the viewfinder to the motherboard.
-
Once the connector has been opened, gently pull the cable from its slot.
-
To reassemble your device, follow these instructions in reverse order.
One comment
Wow, this is very HELPFUL! I saved it with Zotero in case I need it one day. I'm simply looking for an eyepiece extender and/or rubber eyepiece combo. If you have a good source Photo Supply you'd recommend, please do so.
Mr. Phil -
