Introduction
Tools
-
-
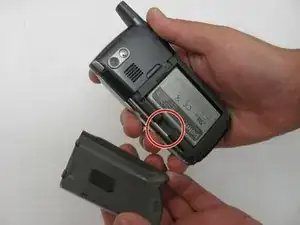
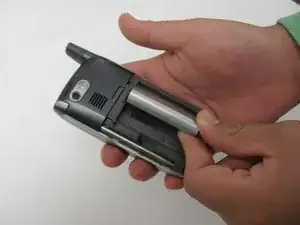
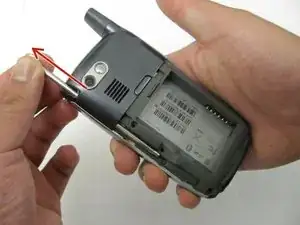
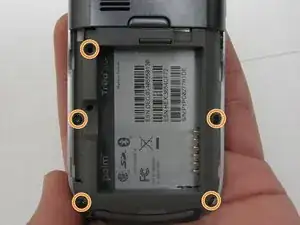
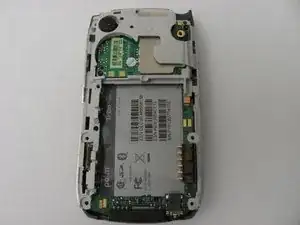
After removing the battery and stylus, unscrew the 5 Torx screws (using a T-5 Torx screw driver)
-
-
-
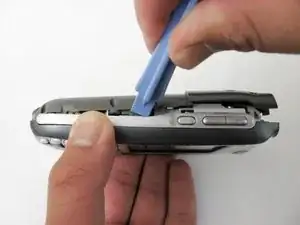
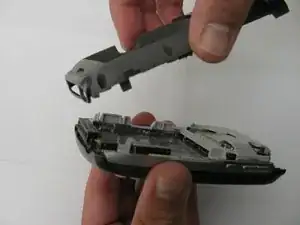
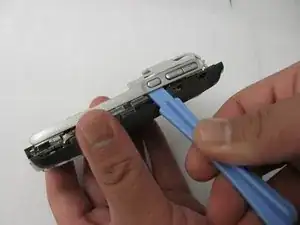
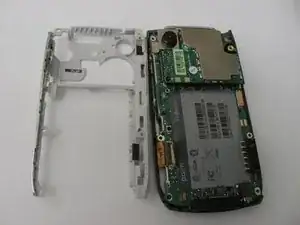
Using a plastic opening tool, gently edge your way between the back and border case (Picture 2) until they are completely separated (Picture 3).
-
-
-
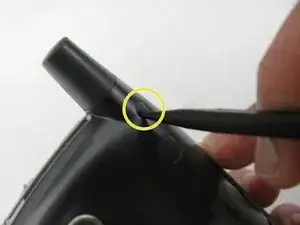
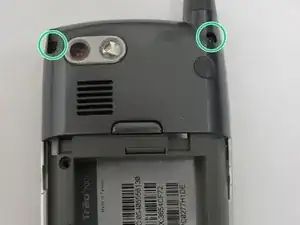
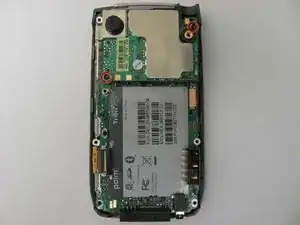
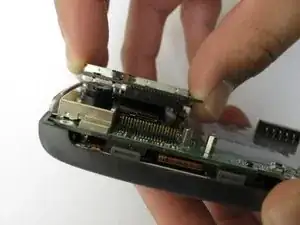
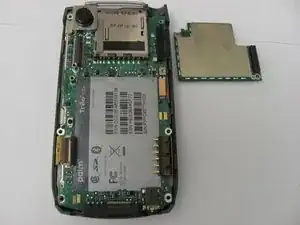
Remove the antenna chip by unscrewing the two screws with Torx T-5 screwdriver (Picture 1).
-
Once unscrewed, gently detach the antenna chip with your hands (Picture 2).
-
-
-
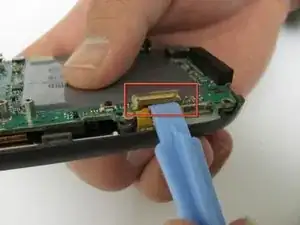
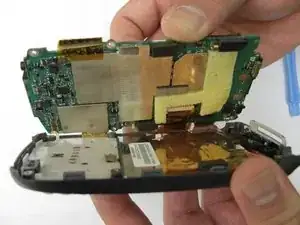
Use the plastic opening tool to unlock the tab holding the keyboard connection (Picture 1).
-
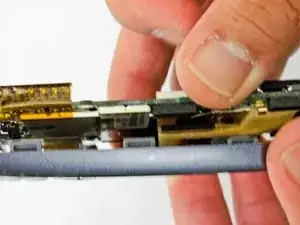
Once the keyboard connection is detached, use your hands to gently separate the motherboard from the back panel (Picture 2).
-
-
-
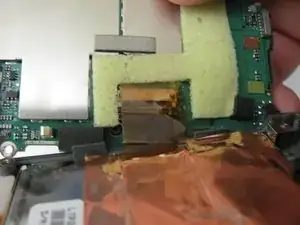
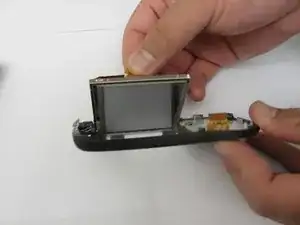
To completely detach the motherboard from the back panel, use the plastic opening tool to unlock the LCD connection from the motherboard (Picture 2).
-
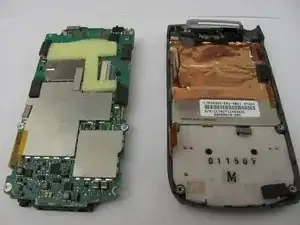
Once the LCD connection is unlocked, the motherboard should now be completely detached from the back panel, keyboard, and LCD (Picture 3).
-
To reassemble your device, follow these instructions in reverse order.
