Introduction
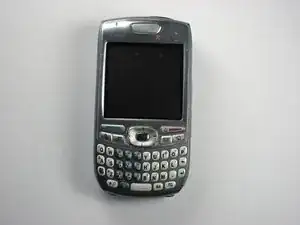
This guide shows you how to repair a disfunctional keyboard for the Palm Treo 680.
Tools
-
-
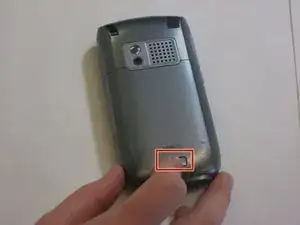
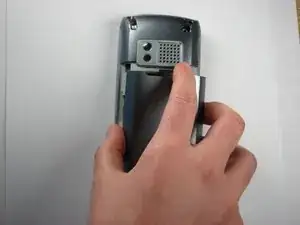
Remove the battery cover by pressing on the small rectangular button located on the back of the phone.
-
-
-
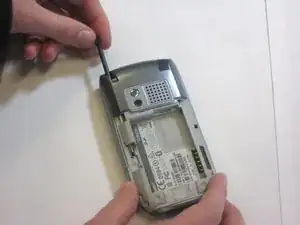
Remove the stylus in order to access the screw.
-
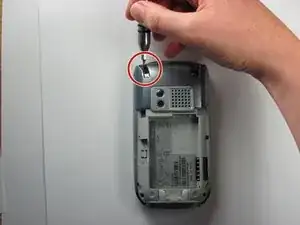
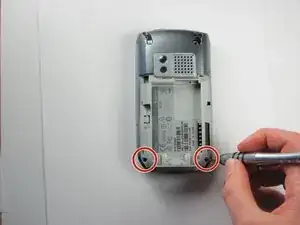
Remove the 27mm top-left screw using a T6 Torx screwdriver.
-
-
-
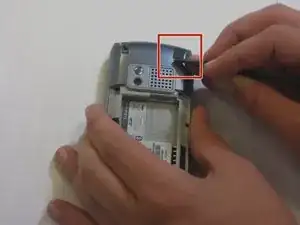
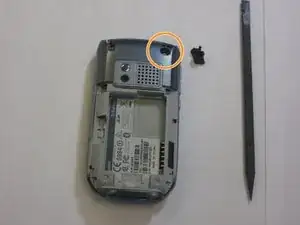
Using the spudger, remove the rubber rectangular cover located in the upper rear, right-hand corner.
-
Remove the 27mm screw using the T6 Torx screwdriver.
-
-
-
Turn the phone so the screen is facing the right side.
-
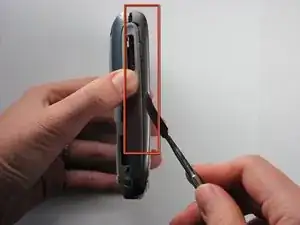
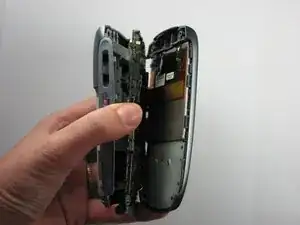
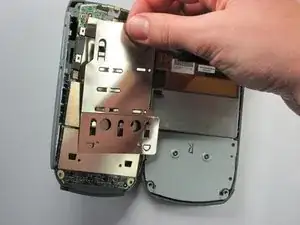
Use a spudger to carefully separate the back panel from the front panel to access components inside the phone.
-
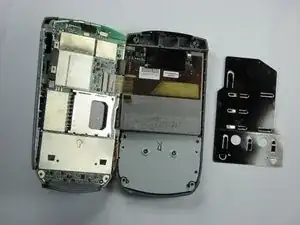
Separate the covers from the left side of the device as indicated in the picture.
-
-
-
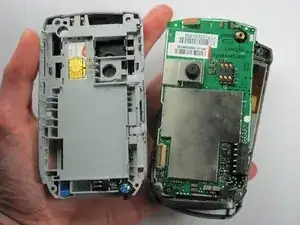
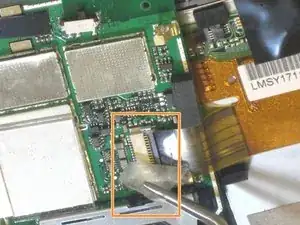
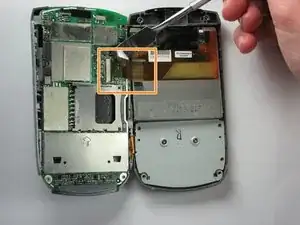
Locate the orange ribbon that connects the screen to the motherboard.
-
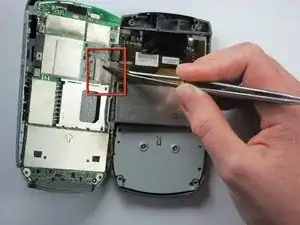
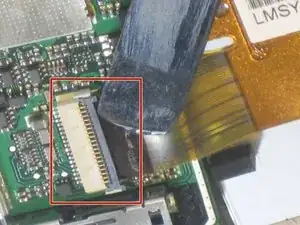
Use tweezers to peel off the small piece of tape over the orange ribbon connector.
-
-
-
Slide the spudger between the orange ribbon and black connector. Flip the black connector upwards to release the orange ribbon.
-
Using the spudger, pull the orange ribbon away from the connector to confirm the wire is fully disconnected.
-
-
-
Carefully turn the phone over so the screen is face up.
-
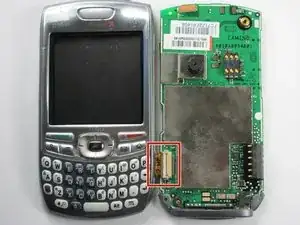
Locate the other orange ribbon that connects the motherboard to the faceplate.
-
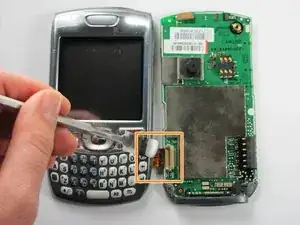
Slide the spudger between the orange ribbon and tan connector. Lift the tan connector up to release the orange ribbon.
-
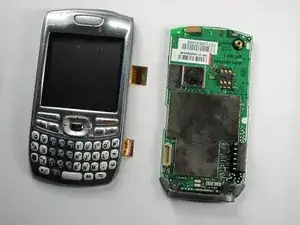
Separate the motherboard and faceplate of the Palm Treo.
-
-
-
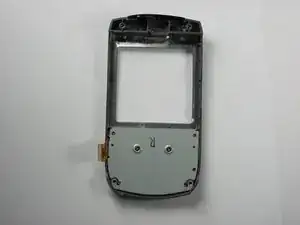
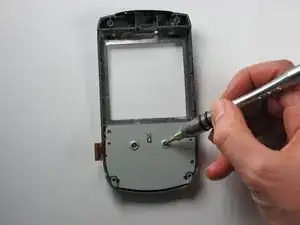
Locate the backside of the Treo's faceplate.
-
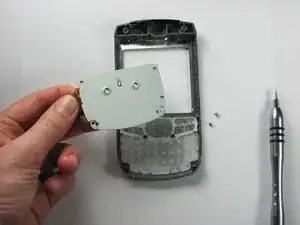
Remove the two screws using the T6 Torx screwdriver.
-
-
-
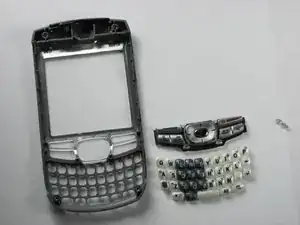
Take off the plastic back panel, to gain access to the rubber keys of the keyboard.
-
Push on the keys and function bar from the front of the Treo. They should all pop right out.
-
To reassemble your device, follow these instructions in reverse order.
Donde puedo comprar un telefono palm
lupem5635 -
Meurge porfabor
lupem5635 -