Introduction
Tools
Parts
-
-
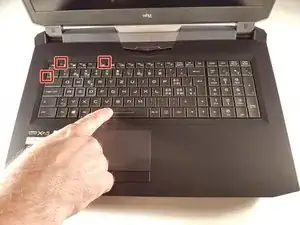
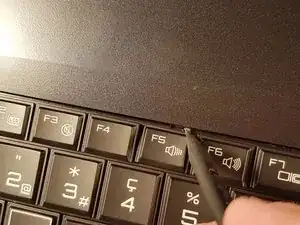
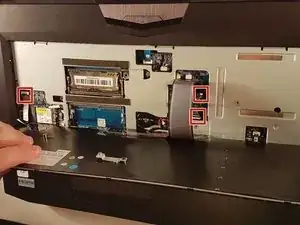
Press a paper clip in the three places marked in red
-
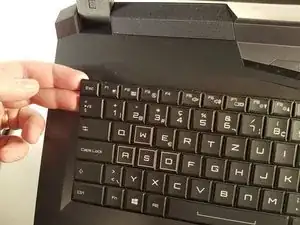
Lift the keyboard and feel free to put some strength
-
-
-
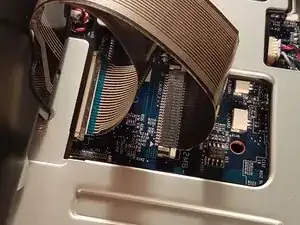
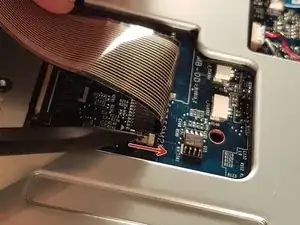
Pull the white drawer in the direction of the arrow to unlock the connector
-
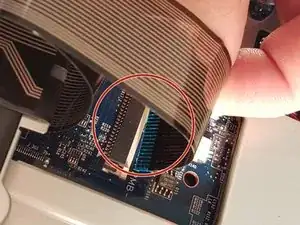
Disconnect the red circled connector
-
-
-
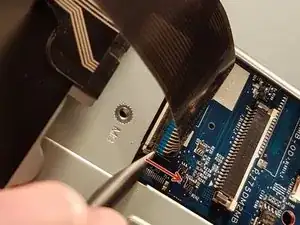
Pull the black drawer in the direction of the arrow to unlock the connector
-
Disconnect the red circled connector
-
-
-
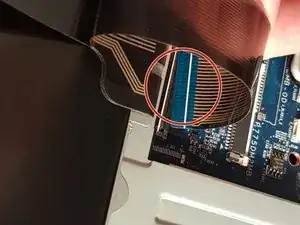
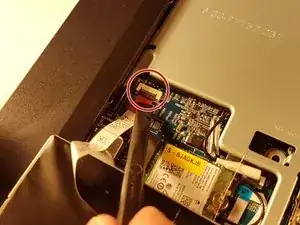
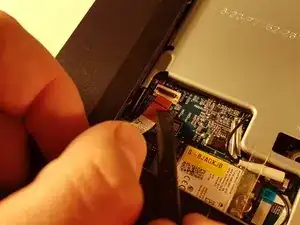
Lift the flap that holds the connector circled in red
-
Disconnect the red circled connector
-
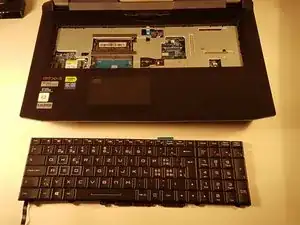
Remove the keyboard
-
-
-
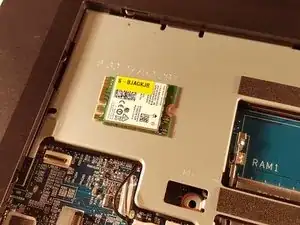
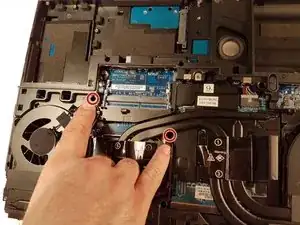
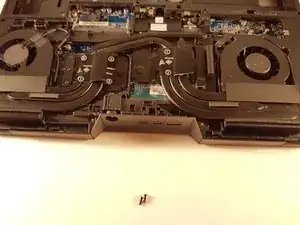
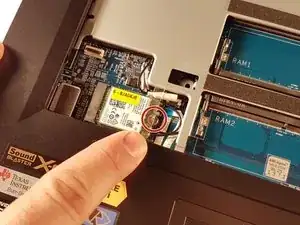
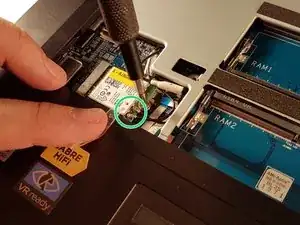
Unscrew the screw circled in red.
-
Disconnect the two connectors circled in green.
-
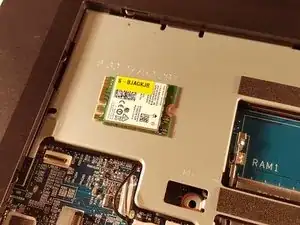
Remove the WLAN card.
-
Conclusion
To reassemble your device follow the following instructions in reverse order
