Introduction

  1. uUT1yrXZoQZJv1EZ
    uUT1yrXZoQZJv1EZ
    BkHYX4n1Vd2nTOfe
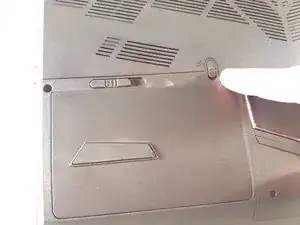
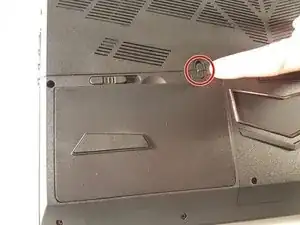
    • Unlock the lock circled in red.

  2. AhPGi1bk3uaMELTH
    AhPGi1bk3uaMELTH
    kDlNMpGW5ACJxCFS
    dFWEIYlhWhDEO3Da
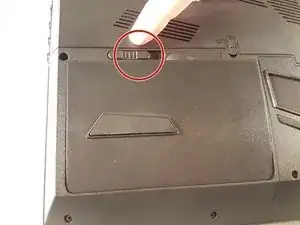
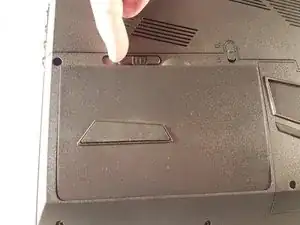
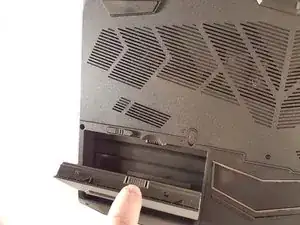
    • Lift the battery while unlocking the lock circled in red.

  3. BOFxD5edmLJYWJRm
    BOFxD5edmLJYWJRm
    xNXFSwk1XZllwrbQ
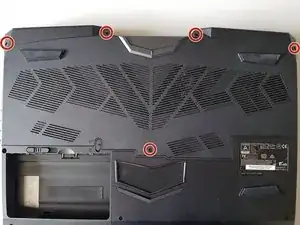
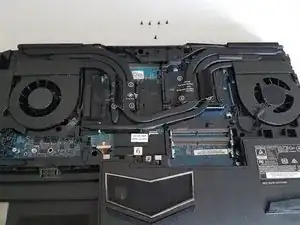
    • Unscrew the five screws circled in red.

  4. AHNXoZMHRKR2GRJ5
    AHNXoZMHRKR2GRJ5
    SVGcTpH6rII5gFJk
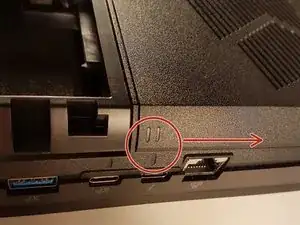
    • Slide the plate in the direction of the red arrow.

  5. ngaqRI1LtuVDBYKW
    ngaqRI1LtuVDBYKW
    rjZ45mrTVEgFQVaP
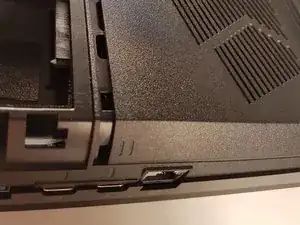
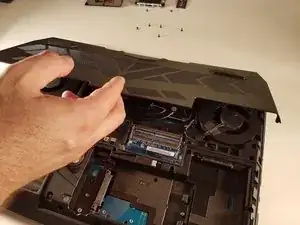
    • Lift the plate.

  6. X5TUorGU4FHuheJJ
    X5TUorGU4FHuheJJ
    RBALDZfcrue6XbLt
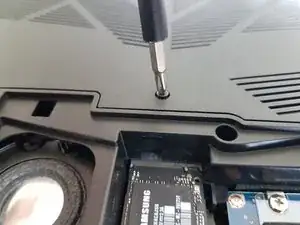
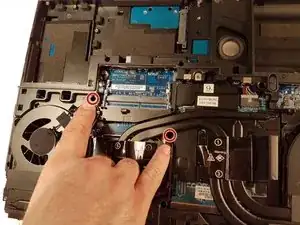
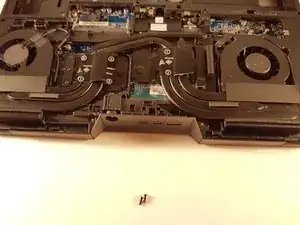
    • Unscrew the two screws circled in red

  7. B3oTxMethOOj3o2B
    B3oTxMethOOj3o2B
    634e53hheo1AmZnM
    qKWp6Icx2pKWMHNI
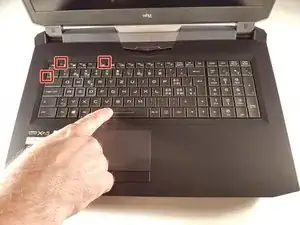
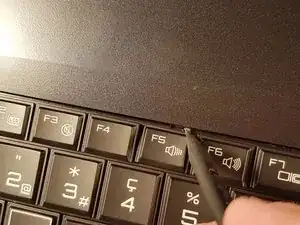
    • Press a paper clip in the three places marked in red

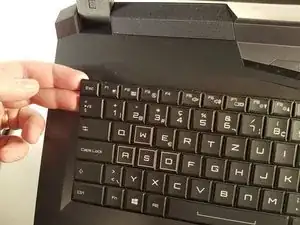
    • Lift the keyboard and feel free to put some strength

  8. GBONIttjk2xVtWbi
    GBONIttjk2xVtWbi
    dyxOi16pPXiVhLGH
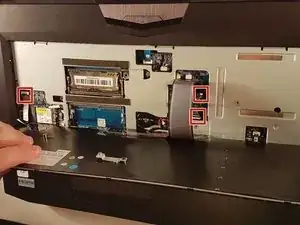
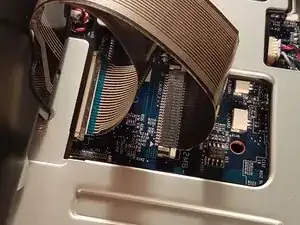
    • Disconnect the three framed connectors in red

  9. SfWEgLFBNotPkOEL
    SfWEgLFBNotPkOEL
    2NhtIZaVvgqaYCyZ
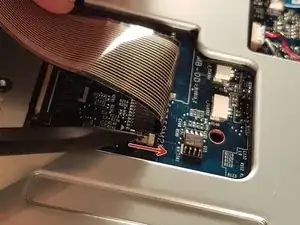
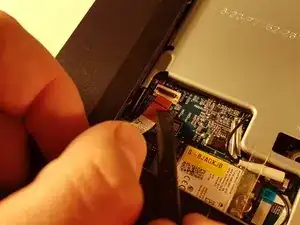
    • Pull the white drawer in the direction of the arrow to unlock the connector

    • Disconnect the red circled connector

  10. KXecpVQ3G3iJ2PoJ
    KXecpVQ3G3iJ2PoJ
    l4Wffxlxmc3SNyZw
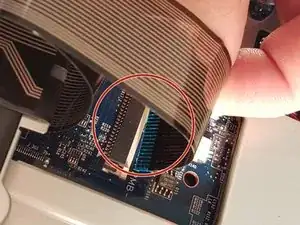
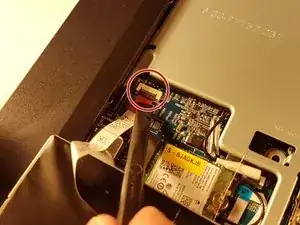
    • Pull the black drawer in the direction of the arrow to unlock the connector

    • Disconnect the red circled connector

  11. 5IXVZYyjBhNSvoti
    5IXVZYyjBhNSvoti
    TfMyvIw5LB4RLImA
    N6uQ2pZKjumuKxKY
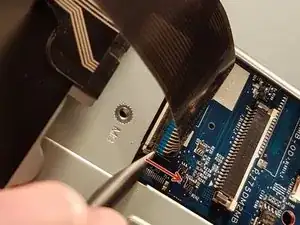
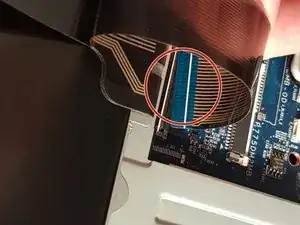
    • Lift the flap that holds the connector circled in red

    • Disconnect the red circled connector

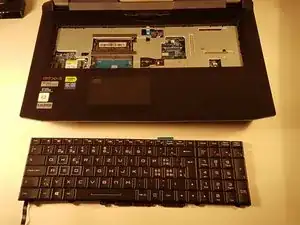
    • Remove the keyboard

  12. rcGqTn5OmUXdbQDi
    rcGqTn5OmUXdbQDi
    VuIHFu6jUxIUAvAb
    yEGbnXQJS46GBqqP
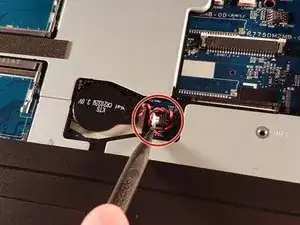
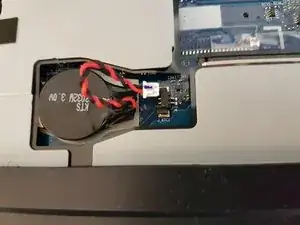
    • Disconnect the connector circled in red.

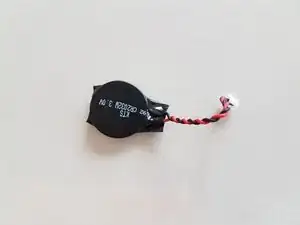
    • Remove the battery.

    When sourcing a replacement battery note which connector pin has the red wire. This is shown most clearly in the middle photo for step 12. Be careful, as similar batteries have the reverse polarity.

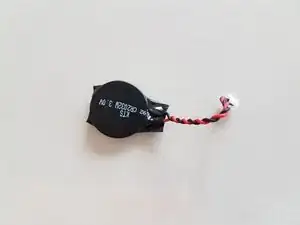
    I bought a ten-pack of batteries for less than some suppliers were selling a single battery. EEMB CR2032-Molex51021-RP (CR2032-MX51021-RP). The connecting wires were longer than the original, but were easy to fit into the battery space.

    Very many thanks for this great guide - it saved me a lot of unnecessary work.
    Terry Payman -

Conclusion

To reassemble your device, follow the instructions in the reverse order.

Felice Suglia

Member since: 15/06/13

30527 Reputation

One comment

When sourcing a replacement battery note which connector pin has the red wire. This is shown most clearly in the middle photo for step 12. Be careful, as similar batteries have the reverse polarity.

I bought a ten-pack of batteries for less than some suppliers were selling a single battery. EEMB CR2032-Molex51021-RP (CR2032-MX51021-RP). The connecting wires were longer than the original, but were easy to fit into the battery space.

Very many thanks for this great guide - it saved me a lot of unnecessary work.
Terry Payman -