Introduction
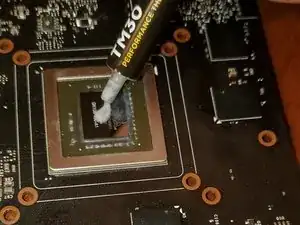
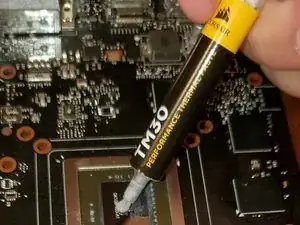
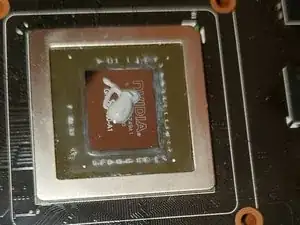
Graphics cards are a component of a computer to accelerate video display capabilities, particularly when it comes to playing video games. Like all components, they require heat management to operate normally. During normal operation, cool air is drawn in from the surrounding environment into the heat sink, which is designed to counter-act the generation of heat from the graphics processor. This cool air is converted to hot air, and expelled out of the back of your machine. To assist in this process, a thermally conductive paste (called thermal paste) is applied between the surface of the graphics chip and the copper heat sink. However, over time, this paste will lose its ability to conduct heat, which can cause premature failure of your graphics card.
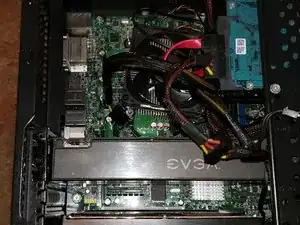
This guide will teach you to safely remove your graphics card’s heat sink from the circuit board, so you can replace the thermal paste and keep your machine running. For the sake of this guide, an NVIDIA GeForce GTX 660 by EVGA is used.
Tools
Parts
-
-
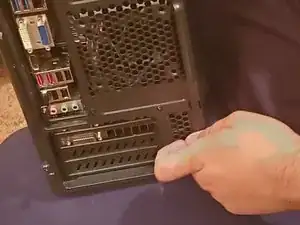
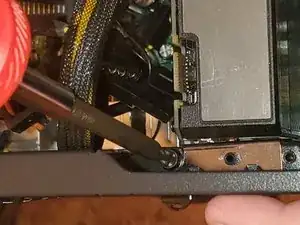
Using a Philips #00 screwdriver, unscrew the two screws holding the video card in place.
-
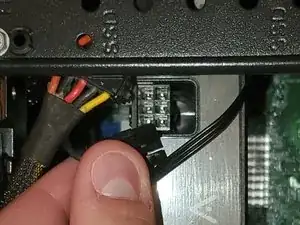
Remove the 6-pin PCIe power connector. This is a cable that supplies your GPU with extra power from your power supply.
-
On the motherboard, press the tab on the side of the PCI Express slot (the port the GPU is connected to) and pull on the graphics card to remove it from your system.
-
-
-
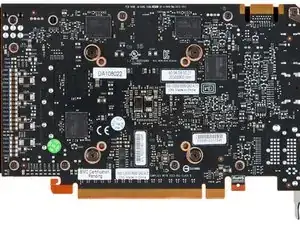
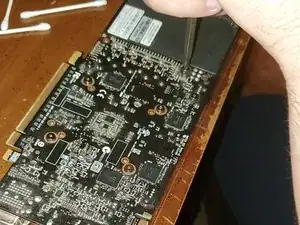
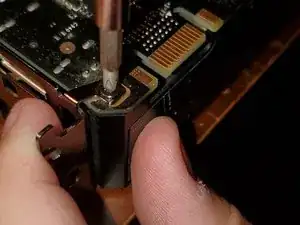
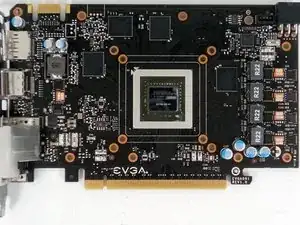
Unscrew all screws on the bottom of the graphics card. This will allow you to remove the heatsink from the graphics card.
-
-
-
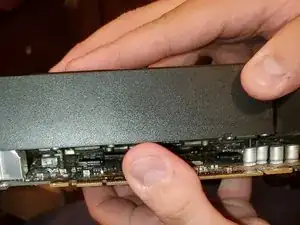
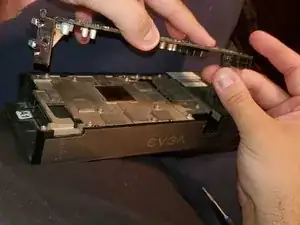
Gently pull on the heatsink to remove the heatsink from the graphics card.
-
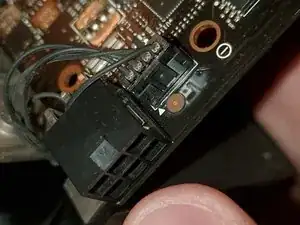
Next to where the 6-pin power connector is, is the fan connector. Handling the heat sink's fan cable from the sides, gently remove the cable from the slot.
-
-
-
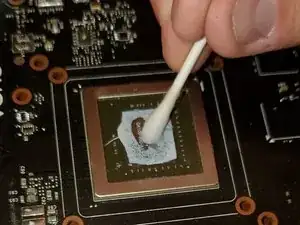
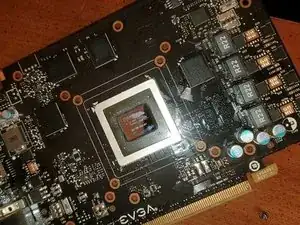
Wipe the top of the graphics chip gently with 91% isopropyl alcohol to remove the old thermal paste, avoid being too rough to prevent scratching the chip.
-
-
-
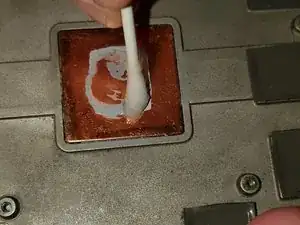
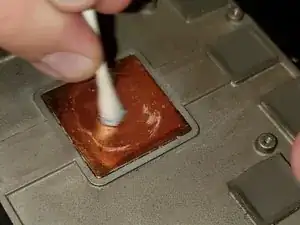
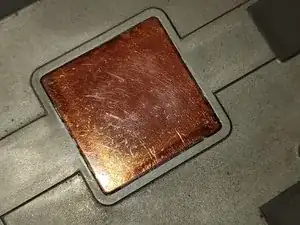
Repeat that process on the heatsink. This will allow for even distribution of the thermal paste to fill properly.
-
To reassemble your device, begin with Step 4, then work backwards from there.
Be sure to reconnect the fan to the graphics card before you begin to screw the heat sink down.
Be sure to tighten the screws in a star pattern. This will evenly distribute the force between the heat sink and graphics card, making the thermal paste work better.
