Introduction
If you are unable to connect to Bluetooth and you have tried all troubleshooting for connecting a phone to the device, the Bluetooth module may need to be replaced. This guide will explain how to replace a broken Bluetooth module to ensure proper connectivity with the device.
-
-
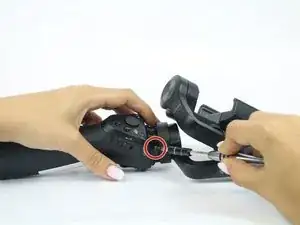
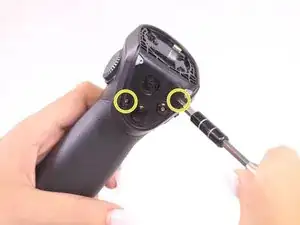
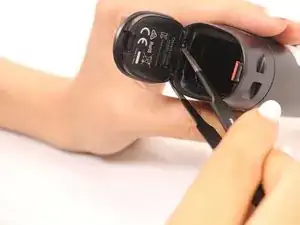
Use Phillips #00 screwdriver to remove the three screws found on the gimbal stabilizer to detach handle from gimbal.
-
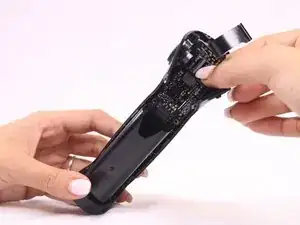
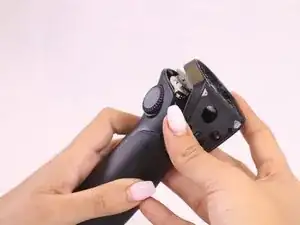
Carefully detach handle from gimbal and disconnect the cable that connects the two.
-
-
-
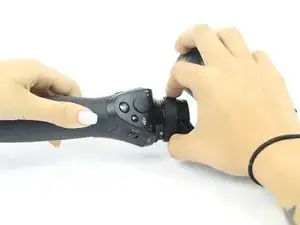
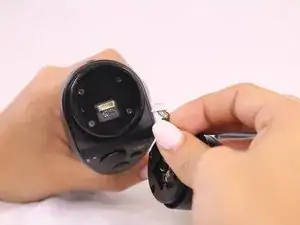
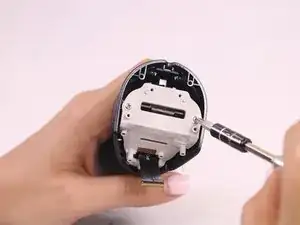
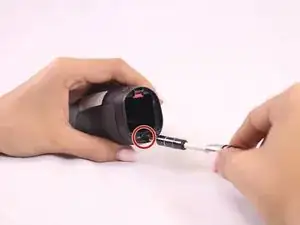
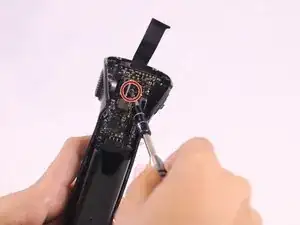
Locate the hex screws found at the top base of the handle, and unscrew using the 1.5mm hex screwdriver.
-
-
-
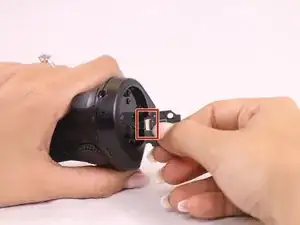
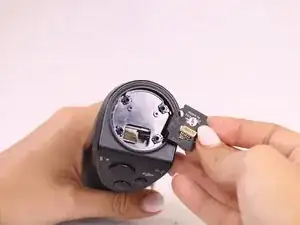
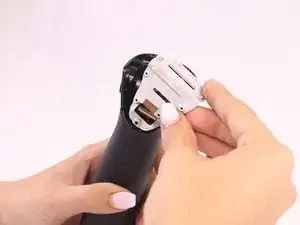
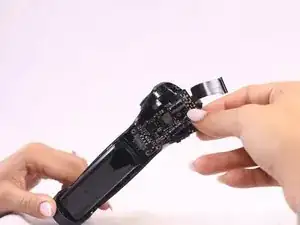
Remove the quick release PCBA by locating the connecting wires and release the ribbon cable with tweezers.
-
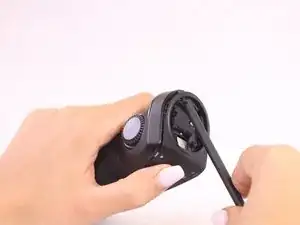
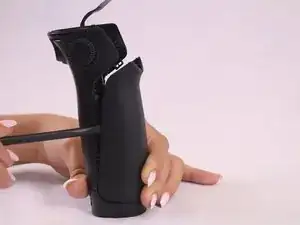
Use the spudger to pry open and remove the face plate, starting at the back of the handle.
-
-
-
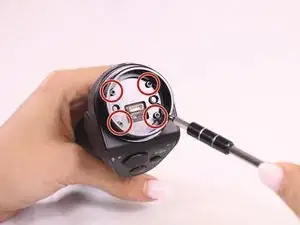
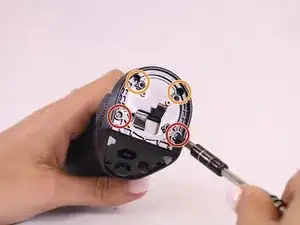
Locate four screws directly on top of handle.
-
Unscrew the silver, bottom two screws, that are closest to the face plate using the 00 screwdriver.
-
Unscrew the black, top two screws, located furthest from the face plate, using the 0 screwdriver.
-
Remove the remaining two screws found on the front of the faceplate.
-
Remove the rest of the face plate shell.
-
-
-
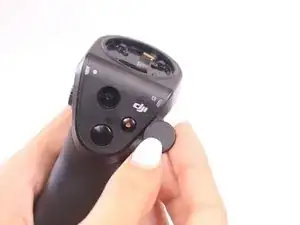
Locate and remove the black screw found at the base of the grey mounting plate.
-
Remove the grey face plate.
-
-
-
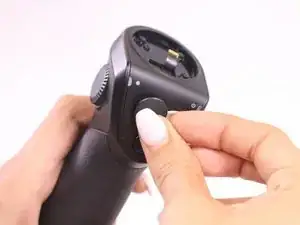
Open the battery hatch and remove it by using the tweezers to press the hinge into the device.
-
Remove the black screw located underneath where the battery hatch was.
-
-
-
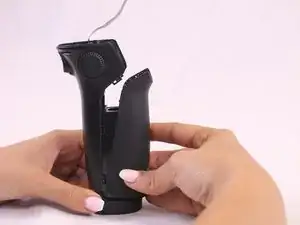
Use the spudger to remove the front handle casing by sliding the spudger into the area between the handle grooves.
-
Slide the spudger around the groove to find the 6 clasps that hold the front part of the handle, and unclasp them.
-
Take off the front handle section to reveal the whole interior of the device.
-
-
-
Locate and remove the black screw in the center of the motherboard chip.
-
Remove motherboard and replace.
-


To reassemble your device, follow these instructions in reverse order.
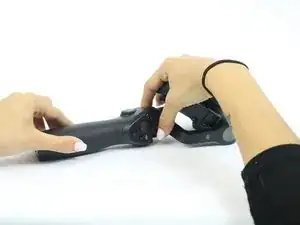
This step isn't clear. How is the ring removed? Twist? Pry?
Jo Dee Lee -
Same question for me
Guitt97ii -
Tried for hours. Seems it’s glued on?
Jo Dee Lee -
ok, the top cap is screwed on. I used a double sided tape around it to have a better grip and just twisted it. The cap has thread lock in it.
Jo Dee Lee -
You passed this step?
Guitt97ii -
U passed this step???
Guitt97ii -
No solution for this step?
Guitt97ii -