Introduction
The motor powers the rotating head of the toothbrush. If it is damaged or wears out due to use, it will need to be replaced. Some steps in this procedure require desoldering connections. For a review of soldering techniques, check out this How to Solder Guide.
Tools
-
-
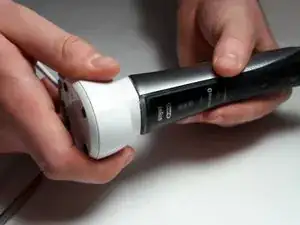
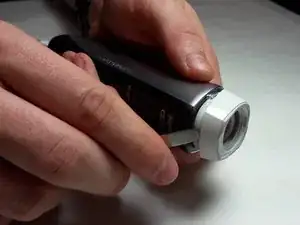
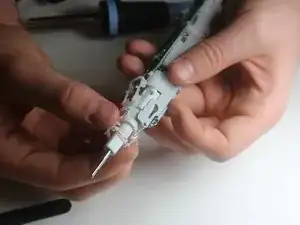
Use the charging station to remove the a small plastic plug from the end of the toothbrush by inserting the charging station into the end insert and twisting counter-clockwise by 90 degrees.
-
-
-
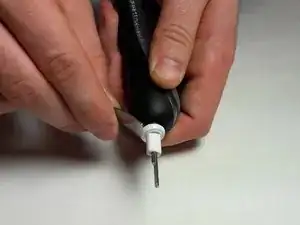
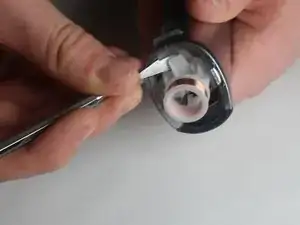
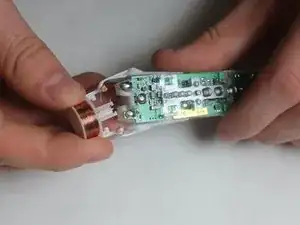
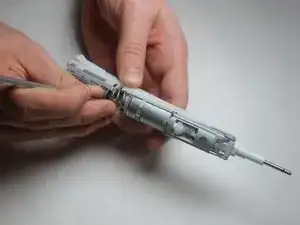
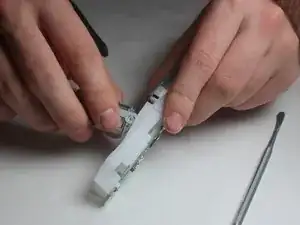
Use a spudger to loosen the two plastic tabs next to the induction coil that secure the internal assembly to the frame.
-
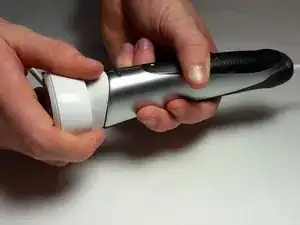
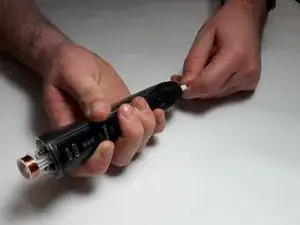
Push on the rotating head in order to pop the assembly out of the black plastic casing.
-
-
-
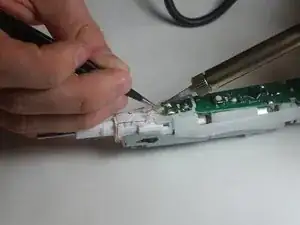
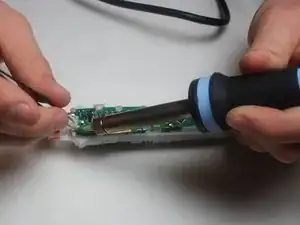
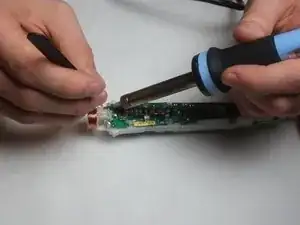
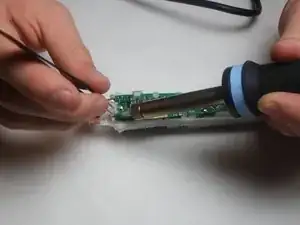
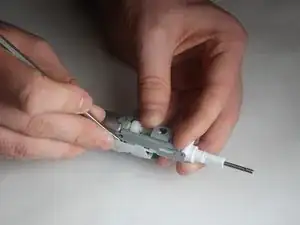
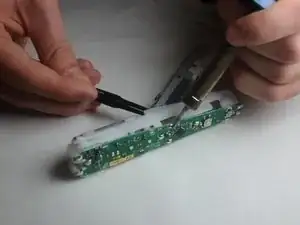
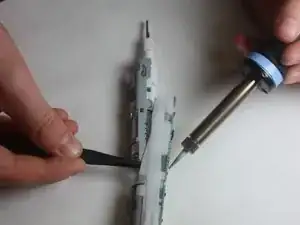
Melt the solder at the two pads on either side of the top of the motherboard. This will require a high heat soldering iron. Remove the wire from the solder pads using tweezers once the solder melts.
-
-
-
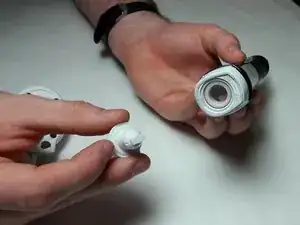
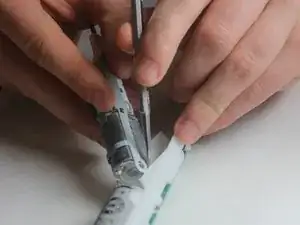
Remove the motor housing from the plastic casing. This can be accomplished by using the nylon spudger to pry the motor housing out of the supporting structures.
-
To reassemble your device, follow these instructions in reverse order.
4 comments
Hallo,
Super-Anleitung. Kannst Du verraten, was für einen Motor man zur Austausch benötigt?
Spannung, Leistung, Umdrehungen, Maße, etc.?
Und vielleicht eine Bezugsquelle.
Danke Dir,
Kai
How do I know if the motor needs replacing? My battery seems fine. The toothbrush buzzes and I can hear it change modes when I push the mode button, but the head doesn’t swivel. Thanks
Laura -
Die Spule unten muss nicht ab! Woher bekommst du eine Ersatz motor? Im Internet findet man Nichts?!
Vielleicht bei diesem Verkäufer?
VauWeh -
