Introduction

Prerequisite-only guide for opening an iPhone XR, allowing access to internal components for repair or replacement.

  1. C3NHJXiiQMPmRmH1
    C3NHJXiiQMPmRmH1
    AvZqCHCmwCqavQEa
    ElEZlRVXFlXaE11y
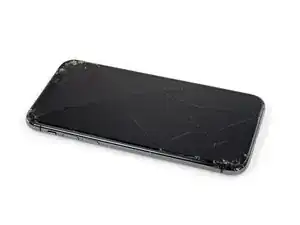
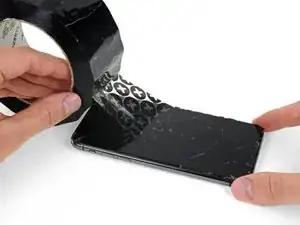
    • If your iPhone has a cracked screen, keep further breakage contained and prevent bodily harm during your repair by taping over the glass.

    • Lay overlapping strips of clear packing tape over the iPhone's screen until the whole face is covered.

    • Wear safety glasses to protect your eyes from any glass shaken free during the repair.

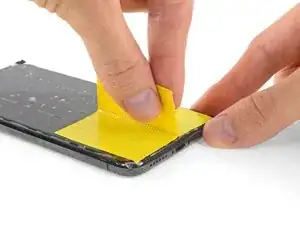
    • If you can't get the suction cup to stick in the next few steps, fold a strong piece of tape (such as duct tape) into a handle and lift the screen with that instead.

    • If all else fails, you can superglue the suction cup to the screen.

    This looks like a repeat of Step 3.

    GenjideGaulle -

  2. lXwQA2bBknBmaYMk
    lXwQA2bBknBmaYMk
    FHSJhUkdlCcsOYQb
    eEJeUWVQi3pZT5nt
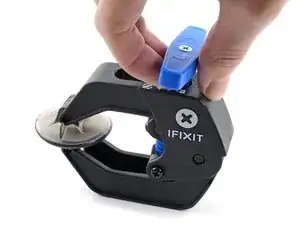
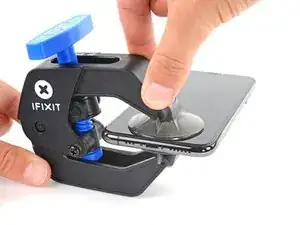
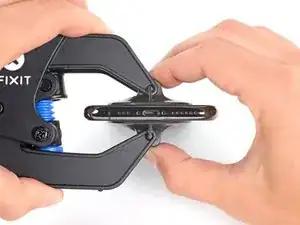
    • The next three steps demonstrate the Anti-Clamp, a tool we designed to make the opening procedure easier. If you aren't using the Anti-Clamp, skip down three steps for an alternate method.

    • For complete instructions on how to use the Anti-Clamp, check out this guide.

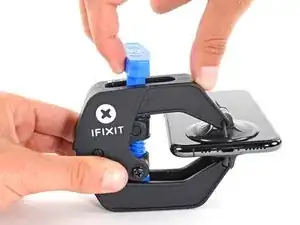
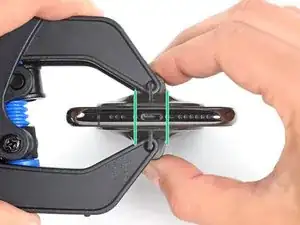
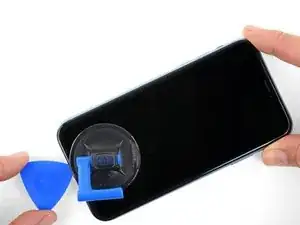
    • Pull the blue handle backwards to unlock the Anti-Clamp's arms.

    • Slide the arms over either the left or right edge of your iPhone.

    • Position the suction cups near the bottom edge of the iPhone—one on the front, and one on the back.

    • Squeeze the cups together to apply suction to the desired area.

    • If you find that the surface of your iPhone is too slippery for the Anti-Clamp to hold onto, you can use tape to create a grippier surface.

  3. EOrAXSnhbDqUEfeq
    EOrAXSnhbDqUEfeq
    IZBIIwSmgie3pKNV
    AX2lQWb4EBr6rFML
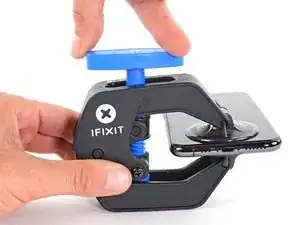
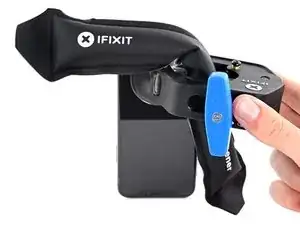
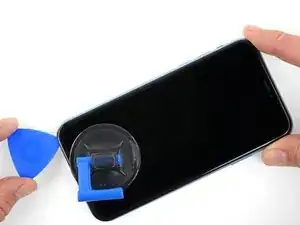
    • Pull the blue handle forward to lock the arms.

    • Turn the handle clockwise 360 degrees or until the cups start to stretch.

    • Make sure the suction cups remain aligned with each other. If they begin to slip out of alignment, loosen the suction cups slightly and realign the arms.

  4. rIFHrN5JZhosBVDF
    rIFHrN5JZhosBVDF
    RHq3otgHGgSRUaHQ
    MyajHuYx1EYm4LAd
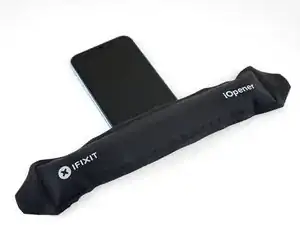
    • Heat an iOpener and thread it through the arms of the Anti-Clamp.

    • You can also use a hair dryer, heat gun, or hot plate—but extreme heat can damage the display and/or internal battery, so proceed with care.

    • Fold the iOpener so it lays on the bottom edge of the iPhone.

    • Wait one minute to give the adhesive a chance to release and present an opening gap.

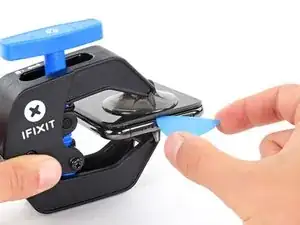
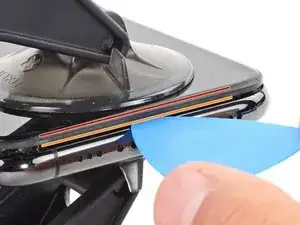
    • Insert an opening pick under the screen and the plastic bezel, not the screen itself.

    • If the Anti-Clamp doesn't create a sufficient gap, apply more heat to the area and rotate the handle a quarter turn.

    • Don't crank more than a quarter turn at a time, and wait one minute between turns. Let the Anti-Clamp and time do the work for you.

    • Skip the next three steps.

    Please UPDATE THIS STEP to say 'insert the opening pick underneath the PLASTIC FRAME OF THE SCREEN' and not the screen. Way too many people are taking this as the way to do it then posting their screen looks different when it's open when they've actually removed the screen leaving the frame in place. It's not rocket science.

    [deleted] -

    Thanks for the suggestion! We updated this step to clarify that.

    Arthur Shi -

  5. CvqPuR6YujN6uWQ6
    • Heating the lower edge of the iPhone helps soften the adhesive securing the display, making it easier to open.

    • Use a hairdryer or heat gun, or prepare an iOpener and apply it to the lower edge of the iPhone for about a minute in order to soften up the adhesive underneath.

    An alternative to the Iopener or heat gun is to heat water to EXACTLY 80 degrees F (cooking thermometer is great for this) and pour into a reinforced ziplock type bag. Leave the bag on the screen, but be sure that none of the hot water rests on the zipper portion, as the water is hot enough to soften that seal and leak out on to your device! This meat had is my personal favorite as the heat is distributed very equally and precisely as compared to a heat gun, but is more accessible than the Iopener.

    Colin Wylie -

    When using an iOpener, rest the glossy (transparent) side on the phone so it contacts the phone and conducts heat easily

    Afiq -

  6. P5PouqftuOuIAKpF
    P5PouqftuOuIAKpF
    IhTlLHCH2DAmlimO
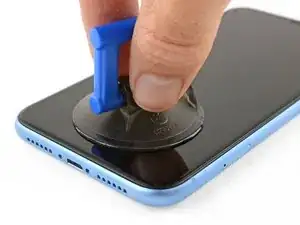
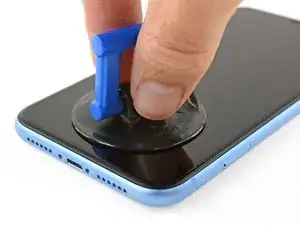
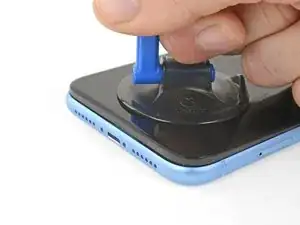
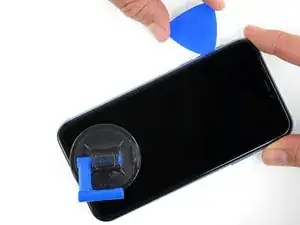
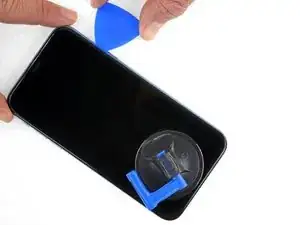
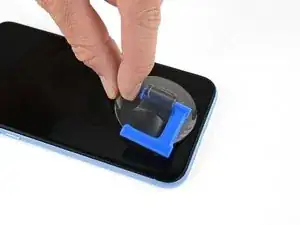
    • If you're using a single suction handle, apply it to the bottom edge of the phone, while avoiding the curved portion of the glass.

  7. nmV3em2q4QXYS1al
    nmV3em2q4QXYS1al
    ade6PZ4Lt42pSQnj
    3fHmwqIgAuXYKGFA
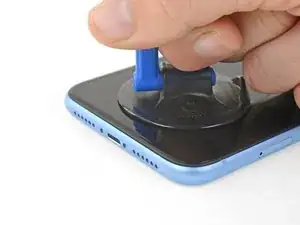
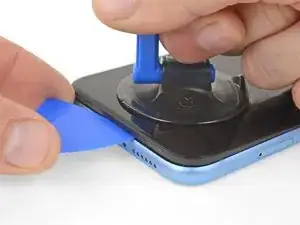
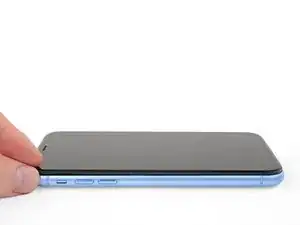
    • Pull up on the suction cup with firm, constant pressure to create a slight gap between the front panel and rear case.

    • Insert an opening pick under the screen and the plastic bezel, not the screen itself.

    • The watertight adhesive holding the display in place is very strong; creating this initial gap takes a significant amount of force. If you're having a hard time opening a gap, apply more heat, and gently rock the screen up and down to weaken the adhesive until you create enough of a gap to insert your tool.

  8. mTLhKZ2OFBeZ2Tdm
    mTLhKZ2OFBeZ2Tdm
    Y45KLZQdRY3bn32a
    frfW3Vhso4IPv1nR
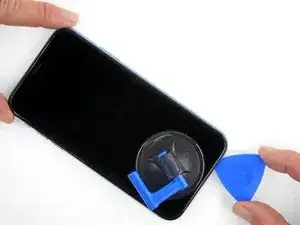
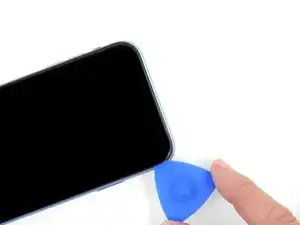
    • Slide the opening pick around the lower left corner and up the left edge of the iPhone, slicing through the adhesive holding the display in place.

    • Don't insert your pick more than 3 mm, as you may damage internal components.

    I think it's important to note that depending on how a screen was damaged, make sure to insert the pic under the black bezel directly under the actual screen. This bezel is a frame around the digitizer. I unknowingly inserted the pic between the bezel and the screen, and separated them both. I did this all the way around the phone. So I basically had to struggle to keep together two different sections of the display assembly because of this mishap, until I removed all the ribbon connectors. It made things much more difficult.

    Dave -

    An edit to my above comment: by digitzer, I mean the LCD shield. My apologies.

    Dave -

  9. RiRjcYKAFFOeKIcv
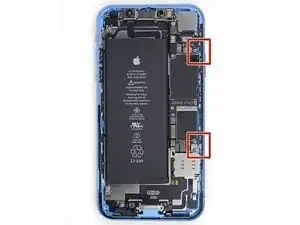
    • There are delicate cables along the right edge of your iPhone. Don't insert your pick at the marked spots, as you may damage the cables.

  10. ciFaLRnrmwyZDMOS
    ciFaLRnrmwyZDMOS
    H5TqnANpvmXIGpQe
    SRHh1OkaYV5x5XkG
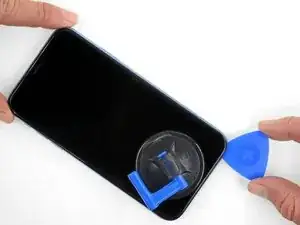
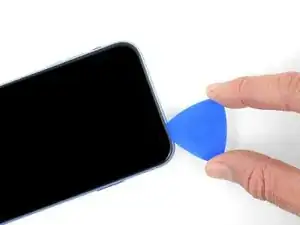
    • Re-insert your pick at the bottom edge of the iPhone, and slide it up the right side to continue separating the adhesive.

    • Don't insert your pick more than 3 mm, as you may damage the display cables.

    My replacement screen for the XR has a black rim but it looks pink. Is that normal?

    Irwin Cantor -

    You can use some Isopropyl alcohol in a syringe with a thin needle to soften even more the adhesive around the screen. But be careful so as not to overdo it. Just a few drops. It will become more easier to remove the screen.

    Dan Brock -

    Step 11 says not to insert your pick around the right side to avoid damaging cables, then Step 12 says to insert it on the right side. Help, I'm confused!

    ingwis -

    Hi there!

    Thank you for the feedback! The wording in step 11 was definitely ambiguous, so we have changed it! You only need to avoid the marked spots rather than the right edge.

    Alex Diaz-Kokaisl -

  11. qJy3qiZlDfvYHwCQ
    qJy3qiZlDfvYHwCQ
    XxFonXKXmI3M5iSN
    1uZnbxjnhtQFtsUm
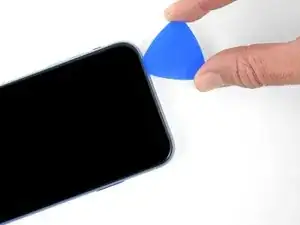
    • The top edge of the display is secured with both glue and clips.

    • Slide the opening pick around the top corner of the display, while gently pulling or wiggling the display down in the direction of the Lightning port.

    • The clips will break if you use too much force. Work carefully and be patient.

    • Don't insert your pick more than 3 mm, as you may damage the front panel sensor array.

    • Slide the pick to the opposite corner and cut any remaining adhesive securing the display.

  12. OHLZ3rYnPU6OUxI2
    • Pull on the small nub on the suction cup to remove it from the front panel.

  13. gvaAabBGpp5PNyMF
    gvaAabBGpp5PNyMF
    aLbYdtq5MLGGwHqi
    41YpqEeGtyYn5Wxq
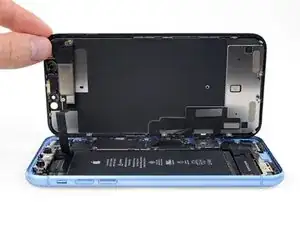
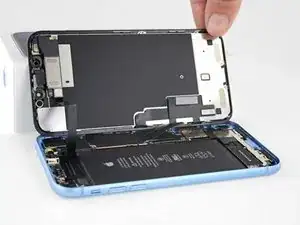
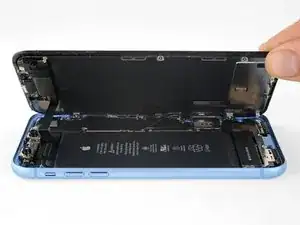
    • Open the iPhone by swinging the display up from the left side, like the back cover of a book.

    • Don't try to fully separate the display yet, as several fragile ribbon cables still connect it to the iPhone's logic board.

    • Lean the display against something to keep it propped up while you're working on the phone.

    • During reassembly, lay the display in position, align the clips along the top edge, and carefully press the top edge into place before snapping the rest of the display down. If it doesn't click easily into place, check the condition of the clips around the perimeter of the display and make sure they aren't bent.

    sure looks like the "hinge" is on the right hand side to me.. not left...!

    Doug Trout -

    If you leave the suction cup attached to the screen during the “hinging” process, it makes for a very handy holder for the screen until it’s completely detached.

    Richard Deubler -

    What about the sticky black adhesive clinging to the inside of the case?

    Ronald -

Conclusion

To reassemble your device, follow these instructions in reverse order.
Adam O'Camb

Member since: 11/04/15

195421 Reputation

0 comments