Introduction
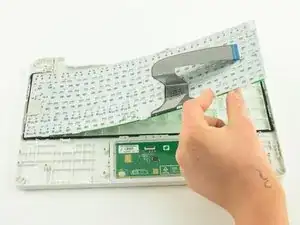
This guide will detail how to replace the keyboard in the One Education Infinity:One laptop.
Tools
-
-
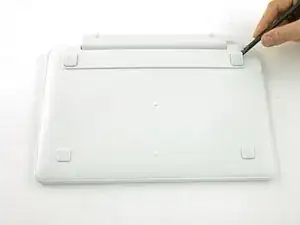
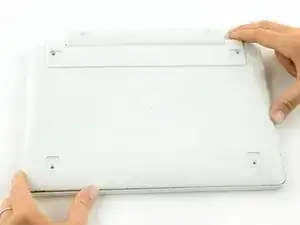
Use a spudger to pry the four rubber pads away from the bottom of the case.
-
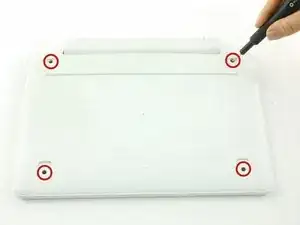
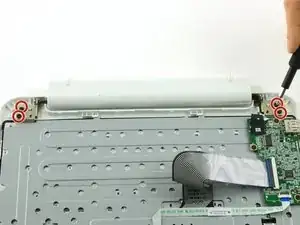
Use a Phillips #00 screwdriver to unscrew the four 6.4 mm screws.
-
-
-
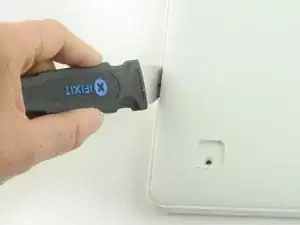
Insert a Jimmy or other prying tool into the seam on the edge of the casing.
-
Trace along the edges of the device until all clips are released.
-
Lift the back case away from the device.
-
-
-
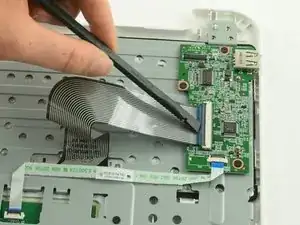
Flip up the black retaining flap on the ZIF connector holding the large grey ribbon cable in place.
-
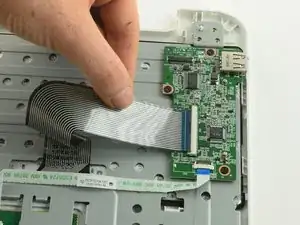
Pull the ribbon cable straight out of the ZIF connector.
-
-
-
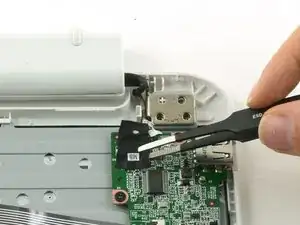
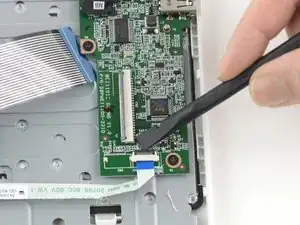
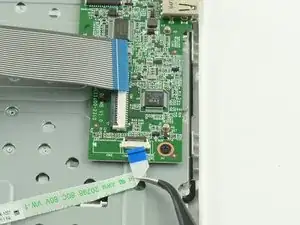
Use the flat end of a spudger to flip up the black tab on the smaller ZIF connector.
-
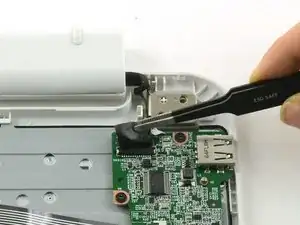
Use tweezers to pull the ribbon cable straight out of the connector.
-
-
-
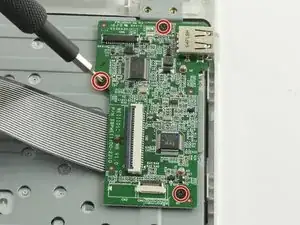
Use a Phillips #000 screwdriver to unscrew the three 3.4mm screws.
-
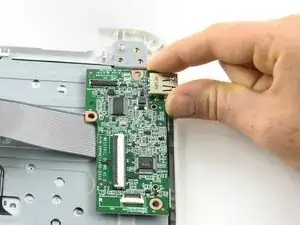
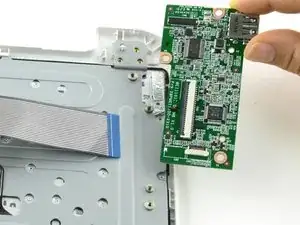
Lift the daughterboard away from the device to remove.
-
-
-
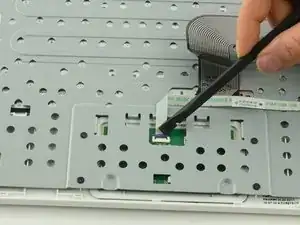
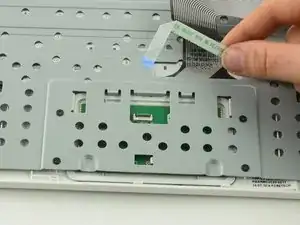
Use a spudger to lift up the black retaining flap on the touchpad's ZIF connector.
-
Pull the ribbon cable straight back to remove.
-
-
-
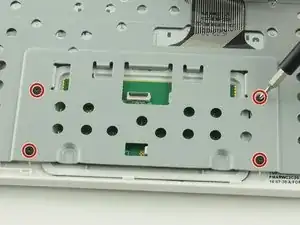
Use a Phillips #00 screwdriver to unscrew the four 6.4mm screws holding the touchpad in place.
-
-
-
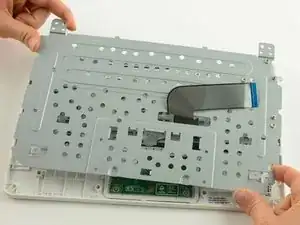
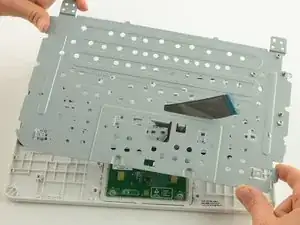
Feed the ribbon cable through the hole in the metal frame.
-
Left the metal frame away from the device.
-
To reassemble your device, follow these instructions in reverse order.
