Introduction
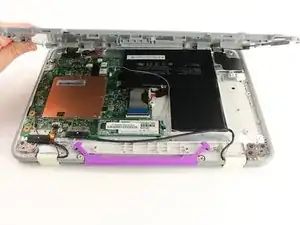
This prerequisite guide shows how to open up the screen casing of the One Education Infinity for access to the components on the back of the screen. These components include the LCD display and touch screen assemblies, two antennae for sending and receiving signals, the webcam, a couple of circuit boards most likely responsible for image and touch input processing, and the upper portion of the hinge assembly.
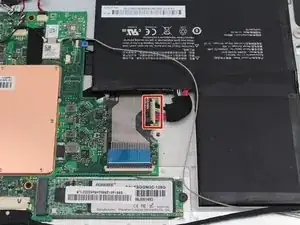
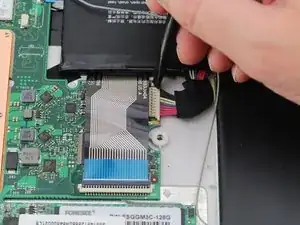
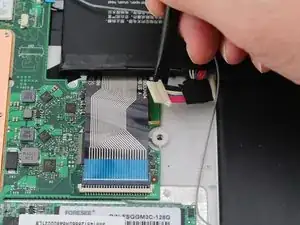
Additionally, note that this guide has the user remove the battery prior to disassembling the upper case to prevent any electrical damage while disconnecting the display cables. However, the same effect can be achieved by simply disconnecting the battery cable, so the battery removal in step 5 can be skipped to save a bit of time and effort.
Tools
-
-
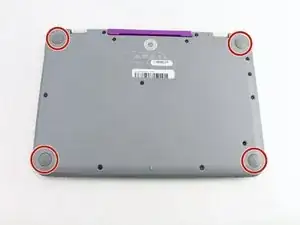
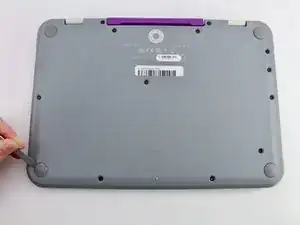
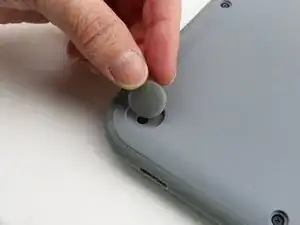
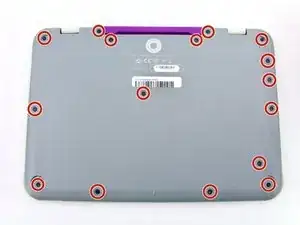
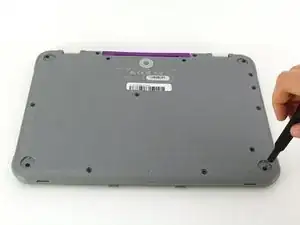
Using a Phillips #00 screwdriver, remove the sixteen 5.0 mm black screws from the back panel.
-
-
-
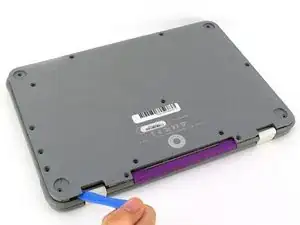
Using the iFixit plastic opening tool or spudger, start near the white hinge of the device and lift along the outer edges of the device until all clips are released.
-
Lift the back case off of the device.
-
-
-
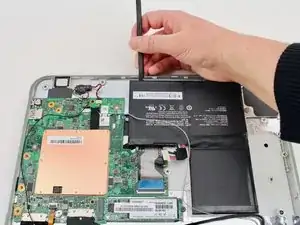
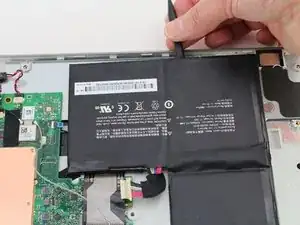
Wedge a plastic spudger underneath the battery from the upper edge and slide it carefully along the length of the battery to separate it from the case.
-
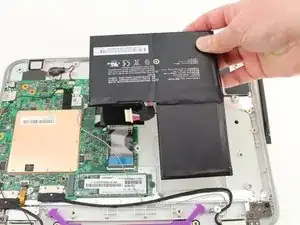
Lift the battery out from the internal case.
-
-
-
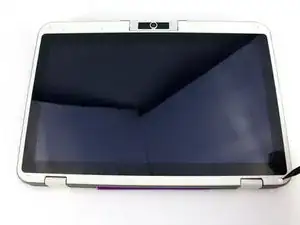
Flip open the laptop so that the screen is exposed.
-
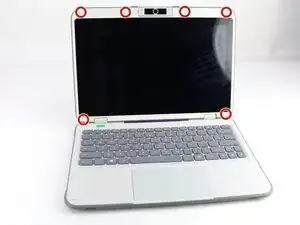
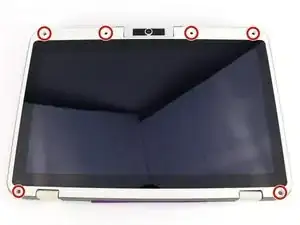
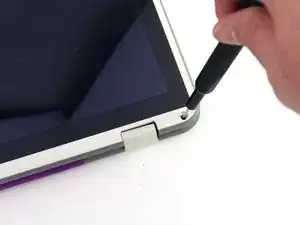
Using a spudger, remove the six screw covers along the bezel of the screen.
-
-
-
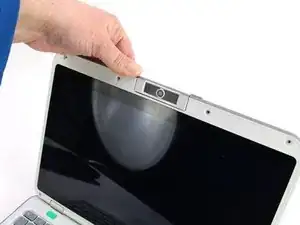
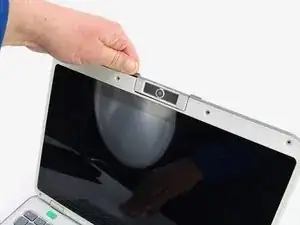
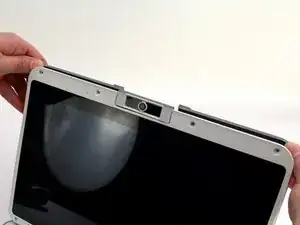
Use the two tabs on the top edge of the screen to pry the case apart.
-
Once the two top clips have been disengaged, start to work your way around the rest of the screen.
-
-
-
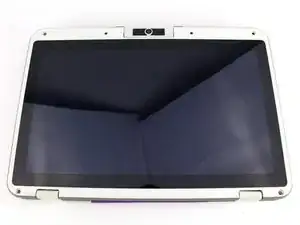
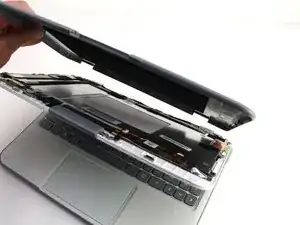
Once all the clips have been popped off, remove the upper case from the back of the display assembly.
-
To reassemble your device, follow these instructions in reverse order.
