Introduction
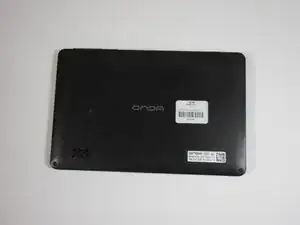
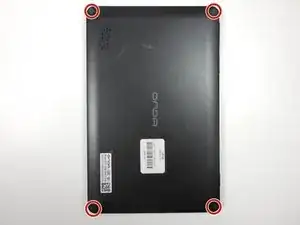
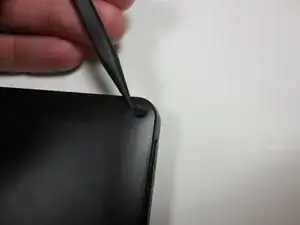
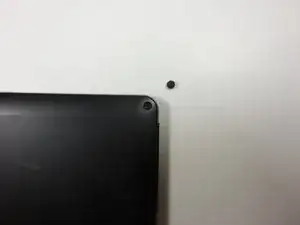
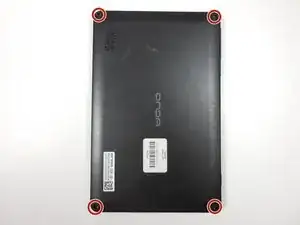
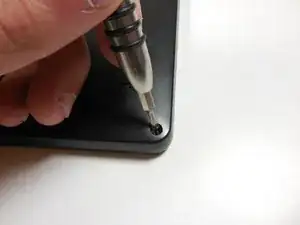
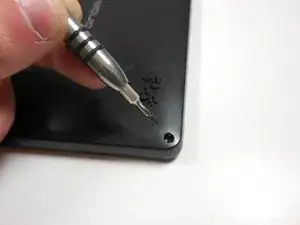
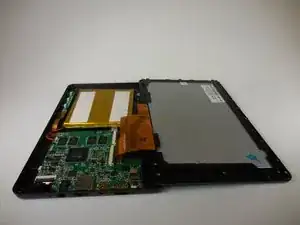
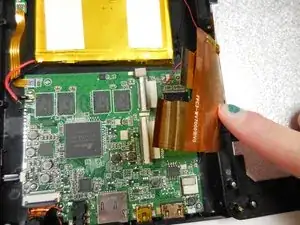
This guide is the first step to complete all other repairs for this device. The disassembly is easy and does not require much time. This guide will show you how to take the back panel off of the device so that you have access to all the parts inside of the device. There are no safety hazards to worry about in this guide; the only warning is to be aware of the ribbon connectors that hold the two panels together.
Tools
-
-
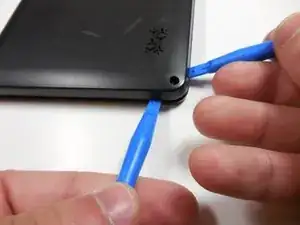
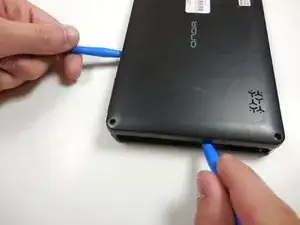
Starting at one corner, gently pry the back panel assembly from the screen assembly using two plastic opening tools.
-
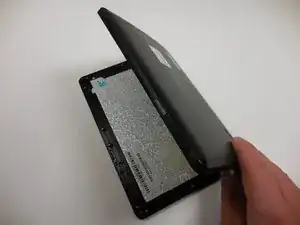
Slide the opening tools around the perimeter of the device to separate the back panel assembly from the screen assembly.
-
-
-
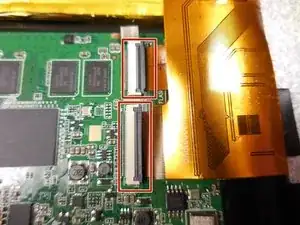
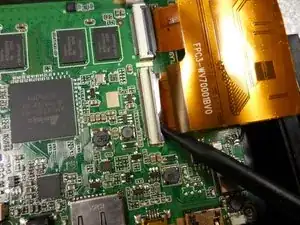
Disconnect the two ribbon connectors by flipping the gray tabs up with a fingernail or a spudger.
-
Remove the ribbon cables.
-
To reassemble your device, follow these instructions in reverse order.
