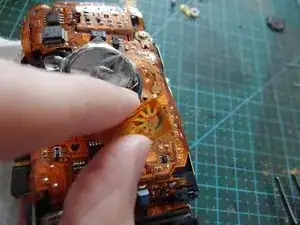
Introduction
-
-
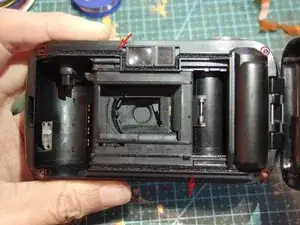
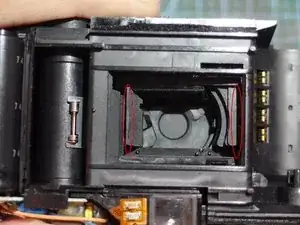
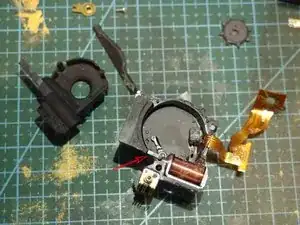
Unscrew the four screws marking by circles. Then you can take the back part off. Take care of the light shade stripe at the arrow. If you want keep it not break, drop little alcohol and carefully lift it up.
-
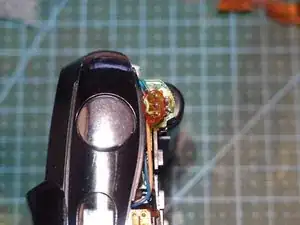
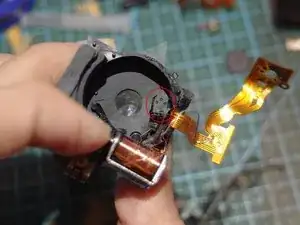
Do not touch the part in the red circle!
-
-
-
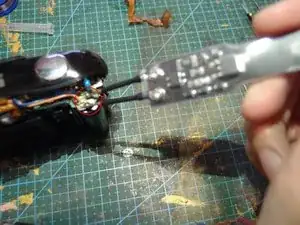
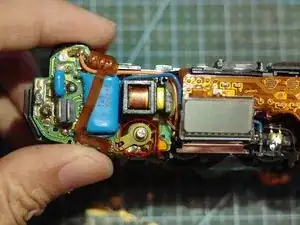
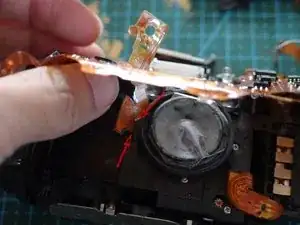
Desolder the 3 shutter and FPC connection wires.
-
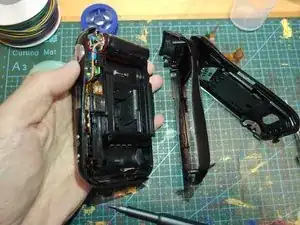
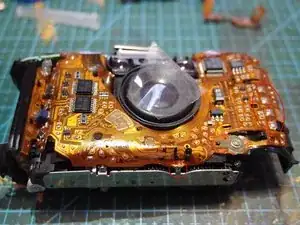
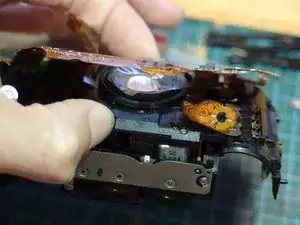
You can take the front cover off. Take care of the LCD screen.
-
-
-
Desolder the FPC connection to body and film cassette code contacts.
-
Unscrew the screw at the right down corner.
-
-
-
Some Flex has jump wire by the previous repair, it's recommend to replace the Flex with new one.
-
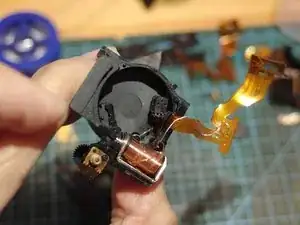
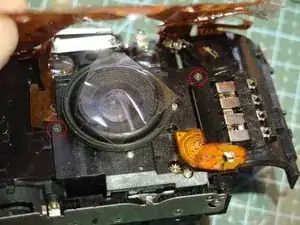
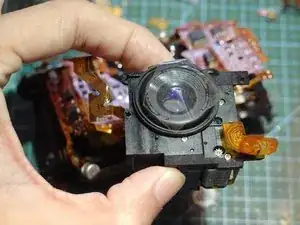
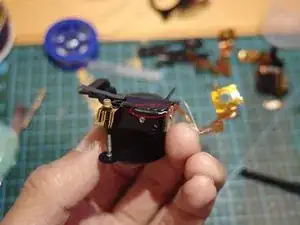
Unscrew the 2 screws to take lens module apart.
-
-
-
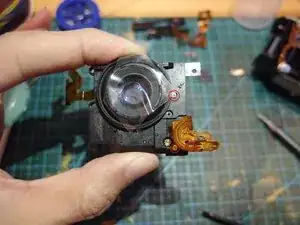
Gently remove the glued light shades.
-
Split the two glued parts by a knife.
-
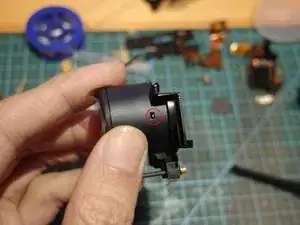
There are two holes on the lens barrel, gently push the hole with some little tips and take the top part off.
-
-
-
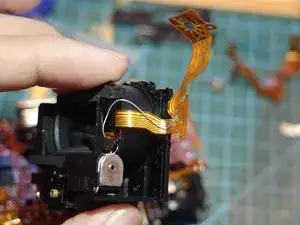
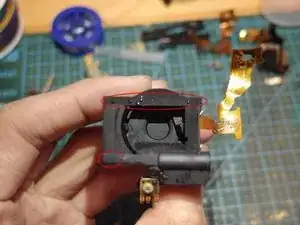
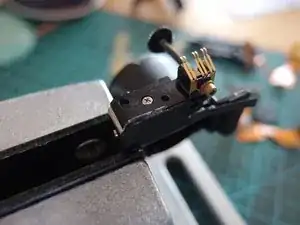
The handle pointed by the arrow is very important. If the shutter is okay, no need to continue to disassemble the shutter.
-
Hold that pin, keep the shutter open and take the Optocoupler out.
-
Replace the Flex Cable with new one and assembly back to test.
-
-
-
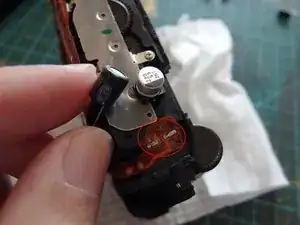
Additionally, after replacing the Flex, check two contacts using a multimeter at scale diode. If the contact okay, shutter not trigger, the main trigger Capacitor may worn out, replace with new one(220uf) and try again.
-
If you U1 encounter problem like the one in video.
Please following these steps to check if change Flex can fix:
- half press the shutter, check if green light up in viewfinder(not blinking)
- point camera to some different distance objects, check light green again
- press the shutter, shutter open sound can be heard
If green light blinking all the way, focus function not working well. It's not worth to given a try.
If the shutter not working(no sound), it's may be of Flex break or Capacity worn out.
Follow this guide to change Flex.
To reassemble your device, follow these instructions in reverse order.
