Introduction
If your Olympus Stylus (1030 SW) camera has multiple damage parts, such as both front and rear cases, flash assembly, the AV port, or the batter door, you can use this guide to replace these parts.
Using this guide you will find how to replace damage products of the Olympus Stylus (130 SW). Before using our guide you should make sure the camera is powered off, and inspect for any damaged or missing pieces.
-
-
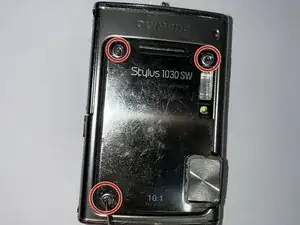
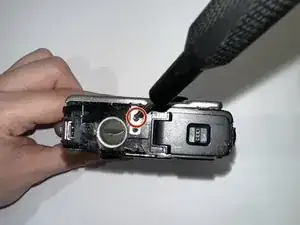
Use your screwdriver with a Phillips #00 screwdriver to remove all three screws.
-
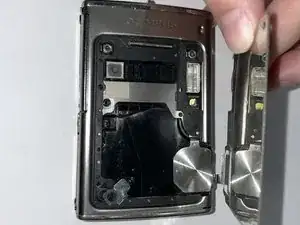
Use your hand to lift and remove the front case.
-
-
-
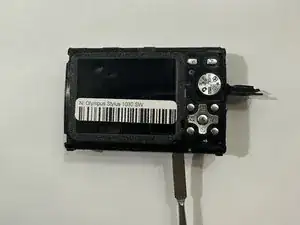
Remove the rear case.
-
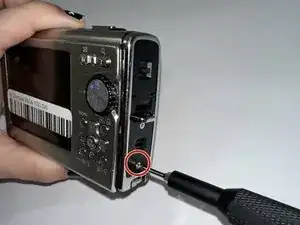
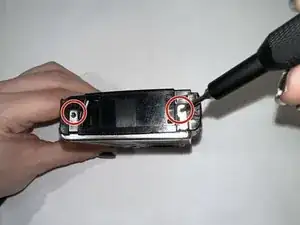
Use a Phillips #00 screwdriver to remove both screws from the side panel.
-
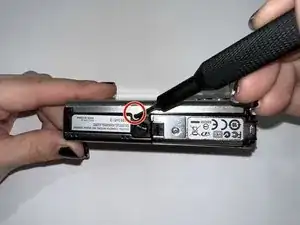
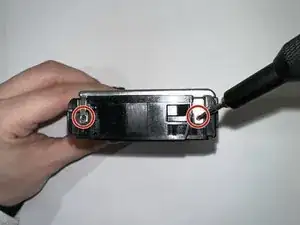
Remove both screws from the battery door.
-
-
-
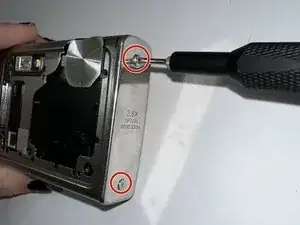
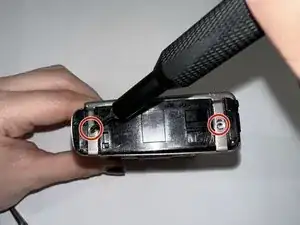
Flip your camera with the rear side facing away from you. Take your screw driver with the #00 size to remove both screws.
-
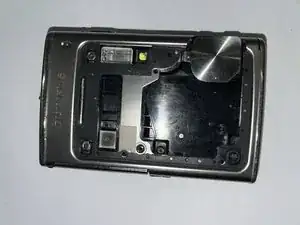
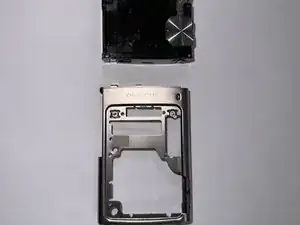
Remove the front case.
-
-
-
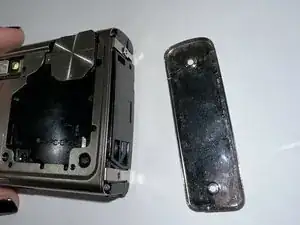
Remove the rear case.
-
Start with the rear end facing away from you.
-
Use a Phillips #00 size to remove both screws.
-
Flip the camera to the front facing you.
-
Remove the single Phillips #00 screw.
-
-
-
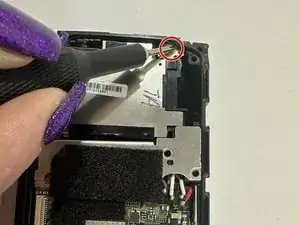
Use your fingers to lift the black flap and use a Phillips #00 screwdriver to remove the two screws.
-
-
-
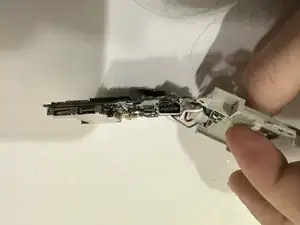
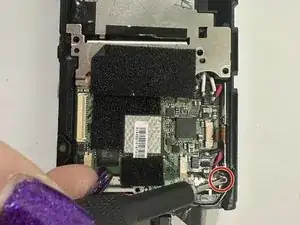
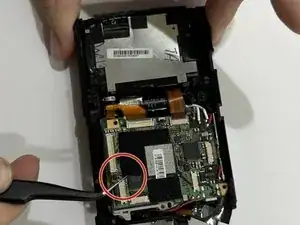
With your tweezers from your kit, take out the motherboard of the camera.
-
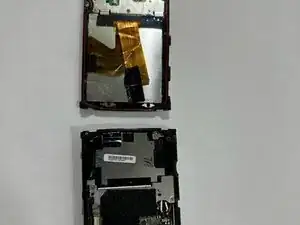
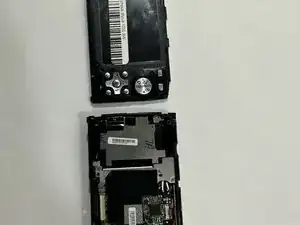
Once the motherboard is removed separate the motherboard.
-
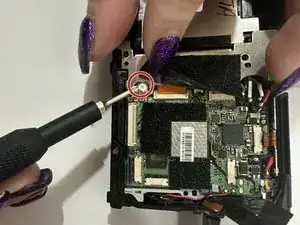
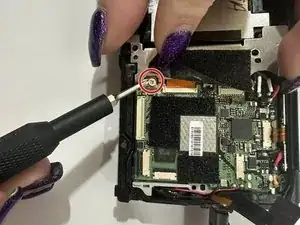
The AV port is visible, use your spatula to wedge between the AV port to remove.
-

To reassemble your device, follow these instructions in reverse order.