Introduction

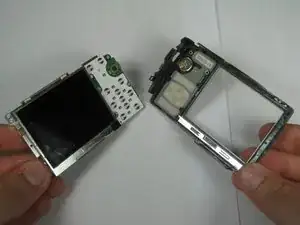
Use this guide to replace the LCD.

  1. nWCrP2ciGA3BWeEi
    nWCrP2ciGA3BWeEi
    4OLLqKyZHgm3lWt4
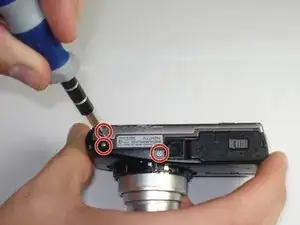
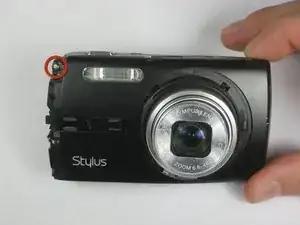
    • Remove the five Phillips #00 bottom and right side panel screws.

    Put a notice on here that the screws are very small and are easy to misplace while disassembling device. Also, while disassembling the device there was only one screw present, where the guide suggested there were three.

    Curtis Reedy -

    Before beginning, put a note that the camera should be turned off before proceeding.

    Curtis Reedy -

    Add a note at the beginning of the guide that there are a large number of small screws that should be separated as the steps are completed.

    Curtis Reedy -

    There's a capacitor .....watch out for it in every step.

    BILL BOYD -

  2. oxAsOZ2SFGGMNRuh
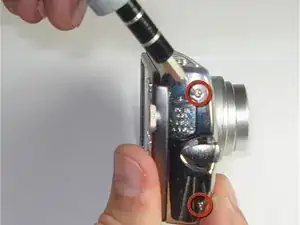
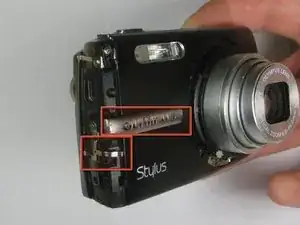
    • Remove the right side panel by pulling off the large silver piece.

    There is no reference to removing screws from the right side panel, where it is necessary to remove 2 screws to do so.

    Curtis Reedy -

  3. Teo2OBEcIwX4gZYP
    Teo2OBEcIwX4gZYP
    KXsbeTqMVWQrtgGu
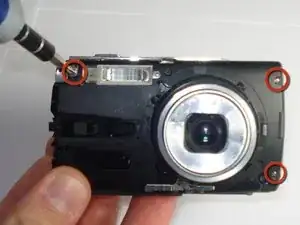
    • Remove the remaining three Phillips #00 side and front panel screws.

  4. KQJ65IkAfKxgNbCT
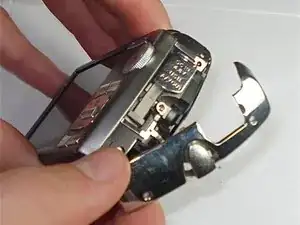
    • Using your thumb and forefinger, pull off the silver name plate and silver "T-shape" piece.

  5. ZDICwaDcLsf5fWkB
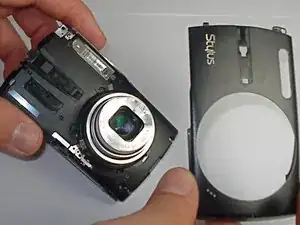
    • Remove the black front panel by sliding it towards the lens and then pulling it up off of the camera.

  6. iXrfTiMeOEPFjeTe
    iXrfTiMeOEPFjeTe
    SRwIsBvyELCVGKxZ
    G5jdDDquQOgNmCGZ
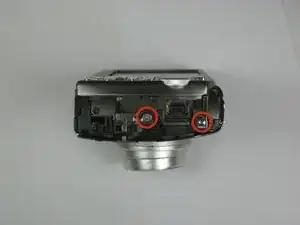
    • Remove the three Phillips #00 screws from the front of the camera.

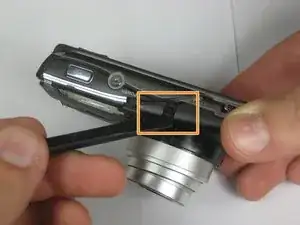
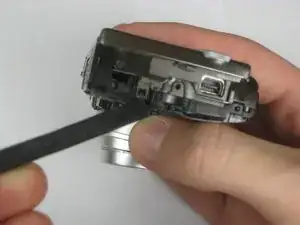
    • Using a spudger, lift the two tabs to separate the case—one tab on top and one tab on the right side.

    Wrong point of focus for the second picture. What should be in focus is very blurry.

    Curtis Reedy -

  7. enJVfQcESAg4hLKE
    enJVfQcESAg4hLKE
    6Q2XiEQEIu1nnIyQ
    bxrNMX3MLo1RpSro
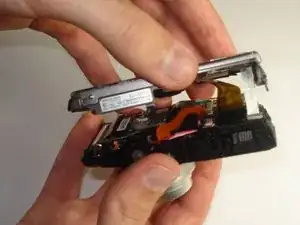
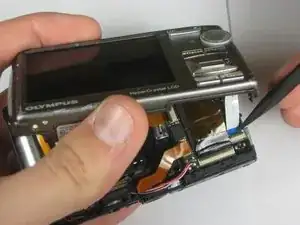
    • Using a plastic spudger, lift up the black clips.

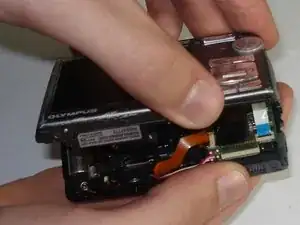
    • Still using the plastic spudger, detach the gold connector strip and white connector strip.

    • Using both hands, pull the camera apart into two pieces.

    There were multiple gold strips, so the one that needs to be pulled should be highlited in the picture.

    Curtis Reedy -

    in step seven pull up the black bar of the ZIF connectors before pulling out the white or gold ribbons

    Curtis Reedy -

  8. 3POtY64pLrWJWraL
    • Peel up the blue and black tape. This can be done with a spudger.

  9. CGLIPh3yVUFJAXsQ
    CGLIPh3yVUFJAXsQ
    wGwnisvyA5TtD5gg
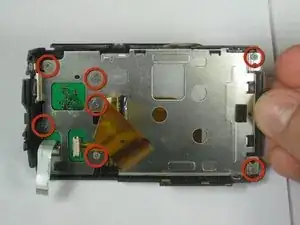
    • Unscrew the screws. (6 screws)( photo shows 7 screws -editorial comment)

  10. r3XEt6qDXEKkV2IZ
    r3XEt6qDXEKkV2IZ
    AUXOtPHcjrSgQZCJ
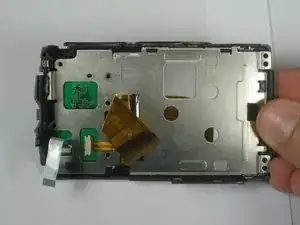
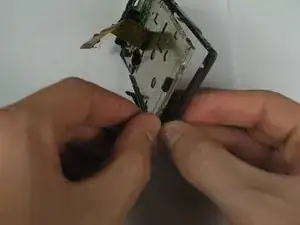
    • Push out the LCD screen by pushing on the screen side.

Conclusion

To reassemble your device, follow these instructions in reverse order.
Curtis Reedy

Member since: 13/01/11

267 Reputation

0 comments