Introduction

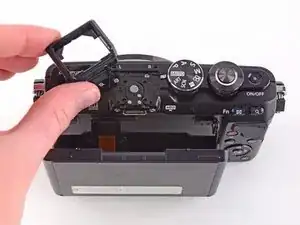
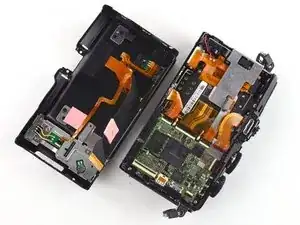
Use this guide to replace a damaged back case, or open the case to access other components of your camera.

We highly suggest you use a magnetic project mat or an organization tray. This camera has many different types of screws and keeping them organized is key to proper reassembly.

  1. eLaFUrSnRhVBLKHv
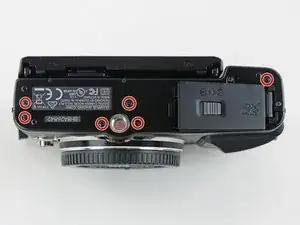
    • Use a Phillips #00 screwdriver to remove the six 2 mm screws on the bottom of the camera.

  2. 45H1KfAqKukZPFGB
    • Remove the two 4 mm reverse threaded Phillips screws from the bottom of the camera.

    • Reverse threaded screws tighten counter clockwise and loosen clockwise.

  3. CyVovF4HvunSvZJ4
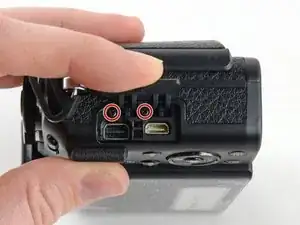
    • Remove the two 4 mm Phillips screws under the HDMI port cover.

  4. iS24MTol4sfR2gTQ
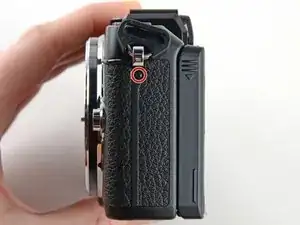
    • Use a Phillips #00 screwdriver to remove the 5 mm screw near the left hand grip.

  5. Tnq14bgsPXtBL4lW
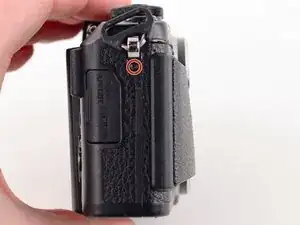
    • Use a Phillips #00 screwdriver to remove the 5 mm screw near the right hand grip.

  6. IyDEL5o5iPExv4yW
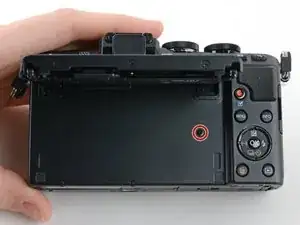
    • Flip open the LCD.

    • Use a Phillips #00 screwdriver to remove the 2 mm screw beneath the LCD assembly.

  7. ZDAs4EQCGXpXPKY5
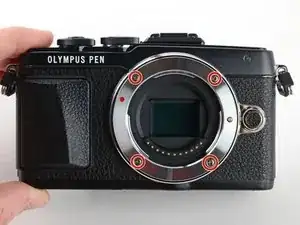
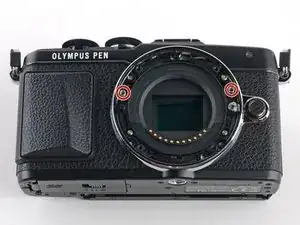
    • Use a Phillips #00 screwdriver to remove the four 6.3 mm screws from the lens mount.

  8. oYJYLnFLGnO1Skk3
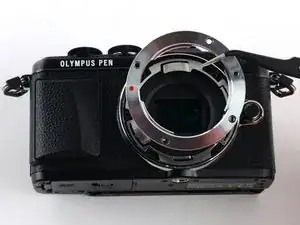
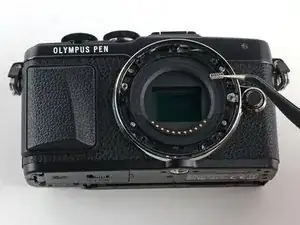
    • Remove the lens mount with tweezers.

  9. tgV13J13wcbD1CO3
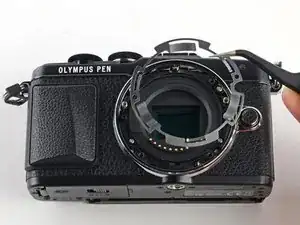
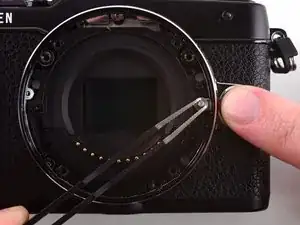
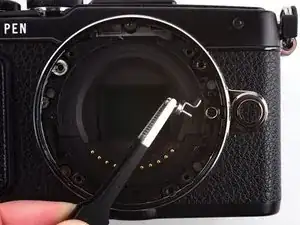
    • Use tweezers to remove the inner metal ring.

  10. OET2DmtIvVfjVZrR
    OET2DmtIvVfjVZrR
    EeIOlIJ4icvZEsqI
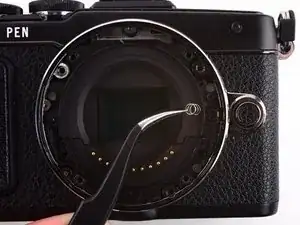
    • Use tweezers to remove the two springs lying beneath the inner metal ring.

  11. IBNcX3jqPb3WYFgN
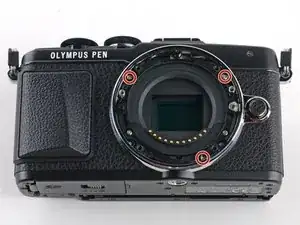
    • Use a Phillips #00 screwdriver to remove the three 5 mm screws.

  12. lrRRFovbQAuWMFci
    • Remove the two 4 mm Phillips screws.

  13. Dr1LZiwCCLgpoEy2
    Dr1LZiwCCLgpoEy2
    awoyfIxZR3lSQhdt
    BEiqQwpZIj1atNTY
    • Press and hold the lens release button while using tweezers to remove the lens hook.

    • Use tweezers to remove the spring underneath the lens hook.

  14. d6kESKpOdqs6p2LN
    d6kESKpOdqs6p2LN
    ygWhCekTbWQtPUQx
    c1UVfBL6JWrITCsi
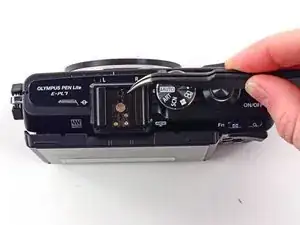
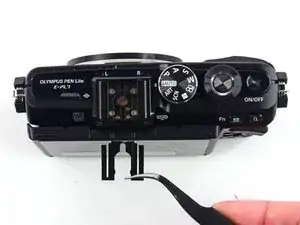
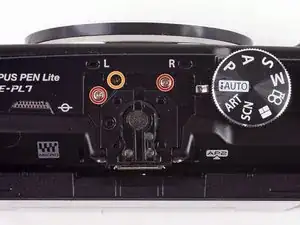
    • Use tweezers to remove the metal clip from the external flash mount.

  15. mKQGJVYfr3iIMrWv
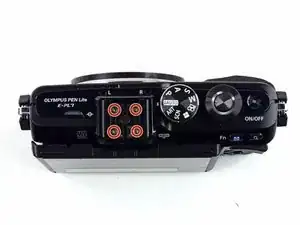
    • Use a Phillips #00 screwdriver to remove the four 4 mm screws from the external flash port.

  16. 4gtKWOQakQ2LyGsA
    4gtKWOQakQ2LyGsA
    GWMXfGe6xbRMrVFv
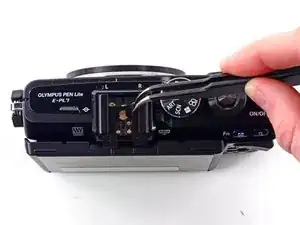
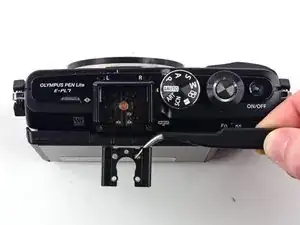
    • Remove the second external flash clip with tweezers.

  17. GBNMsWnMSYZvMb4E
    GBNMsWnMSYZvMb4E
    ZNkkcLkDpycWbiO6
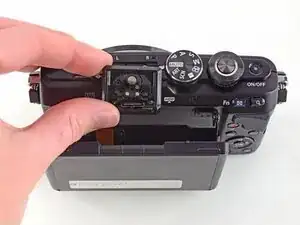
    • Remove the external flash port casing to expose five more screws.

  18. em1vVgv4wOGVOdNd
    • Use a Phillips #00 screwdriver to remove the two 6.4 mm screws.

    • Remove the 2 mm Phillips screw.

  19. IBmA3RaHOssE25Bm
    • Remove the two 3.8 mm Phillips screws from the sides of the external flash connector.

  20. ShS3sQ2WNMZPJEZf
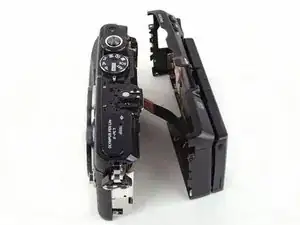
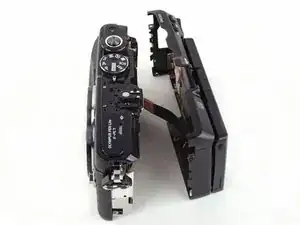
    • Gently pull the back case away from the camera.

    • Do not attempt to remove the back case, as it is attached to the camera by a ribbon cable.

  21. lFsGgvysmbICCDoT
    lFsGgvysmbICCDoT
    P2VBZI6LmORMm5qP
    PBB1KCqY2x1fmYOB
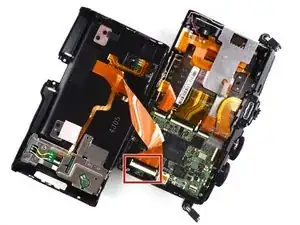
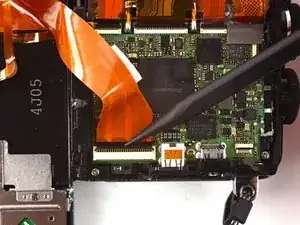
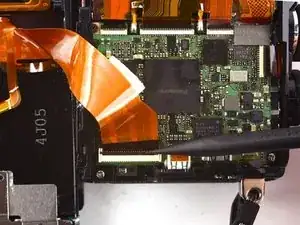
    • To remove the ribbon holding the back case to the camera, use the pointed end of a spudger to flip back the top bar on top of the ZIF connector.

  22. 35fQyqxs5GNIlHPD
    35fQyqxs5GNIlHPD
    kR1AkGdpDsel5Zfh
    fEaNL3Y2dQMGKdF4
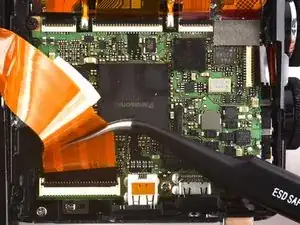
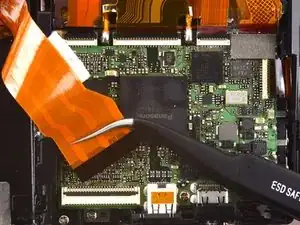
    • Use tweezers to pull the ribbon out of the connector.

    • Remove the back case.

Conclusion

To reassemble your device, follow these instructions in reverse order.

Kelsea Weber

Member since: 12/11/15

19745 Reputation

One comment

Loads of screws that don’t need to be removed just to remove the rear case.

Omit step 3,

Omit steps 6 to 13

Omit step 18

Take great care not to pull on ribbon cables
Rod Heeley -