Introduction

Before removing the LCD screen, you will have to remove the camera casing.

  1. LmMUhPNXbwsx3fhQ
    LmMUhPNXbwsx3fhQ
    oyZWPUliCHxJMgfT
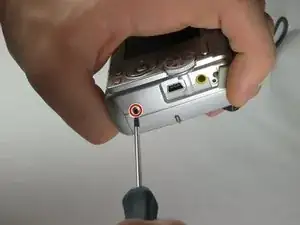
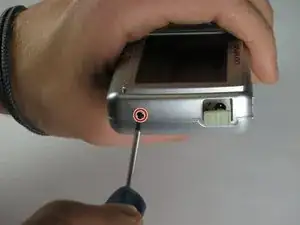
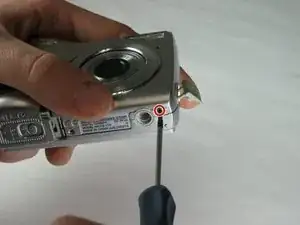
    • Remove the 2 exposed screws on opposite sides of the camera. Turn the screws counter-clockwise to remove.

  2. HSfmLADdO4RXTkGY
    HSfmLADdO4RXTkGY
    NPwW1nkFKnFg462F
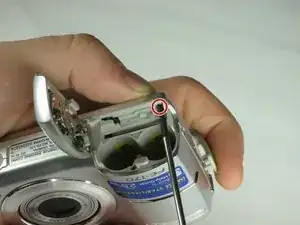
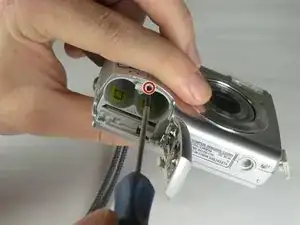
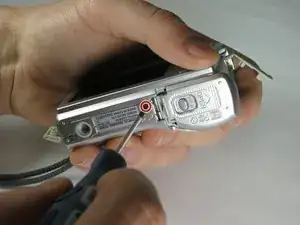
    • Open the battery compartment and remove the 2 screws in the top of the opening.

  3. 2oSjaVDjFPHf42UT
    2oSjaVDjFPHf42UT
    QdSPWdCSEDtTtx66
    • Remove the 2 exposed screws on the bottom of the camera.

  4. TULq4rOj1cMRriRx
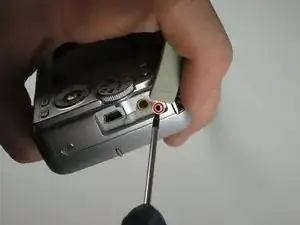
    • Uncover the mini-usb dock on the side of the camera and unscrew the screw next to the flap joint

  5. ABoU1Yu3SnDvxGFQ
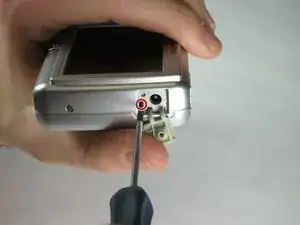
    • Uncover the video cable port on the side of the camera and remove the screw

  6. eF23I4kgN5mLaDJN
    eF23I4kgN5mLaDJN
    vuw6DfRaHZEvZqiB
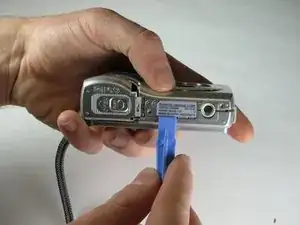
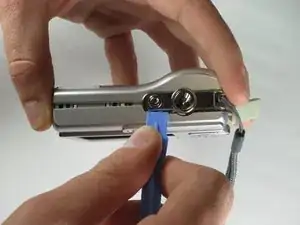
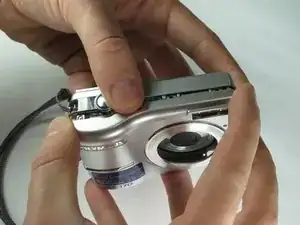
    • Carefully slip the head of the plastic opening tool under the panels by finding the crack between the panels. Lightly apply pressure in the shown places at the top and bottom of the camera.

  7. D2L4ZghG4Gy15pbP
    D2L4ZghG4Gy15pbP
    16u4ymQMWB5NhATH
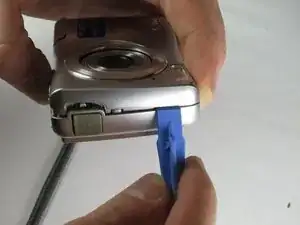
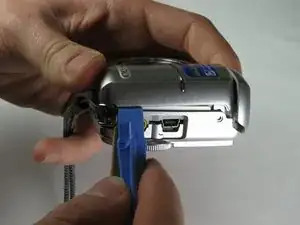
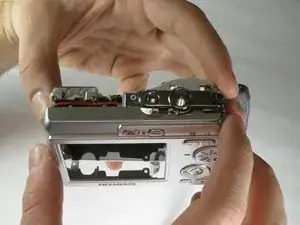
    • Loosen the panels on the sides of the camera in the shown places by slipping the plastic opening tool in the crack between the panels. Lightly apply pressure.

  8. Uh3EXRI2OQnkS3Ug
    Uh3EXRI2OQnkS3Ug
    rYigEFYvkscqnB1P
    • Ensure that the panels have been loosened. Carefully use hands to pull back and remove the panels.

  9. s4gI12q2flGNDkMH
    s4gI12q2flGNDkMH
    jO2AkNASfmKCRRQZ
    mxMb4gN2VRADQ1W2
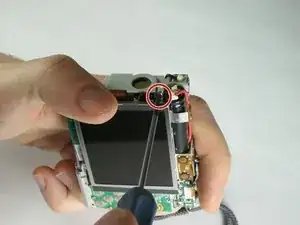
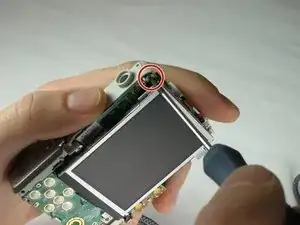
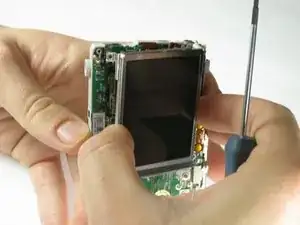
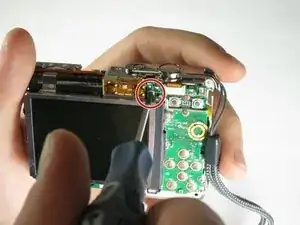
    • Remove the three screws holding the LCD Screen in place.

    • The screws are located at the upper right, upper left, and lower left corners of the screen, as shown in the pictures.

    • After removing the screws, do not let the screen drop away or try to pull it out. It is still connected by a ribbon of wires.

  10. PLZYbxkUFIB2NKiO
    PLZYbxkUFIB2NKiO
    w2UMtDWrnkGNpnG5
    KKc6LvReSLNO1Hah
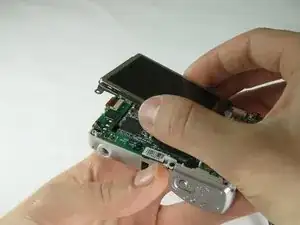
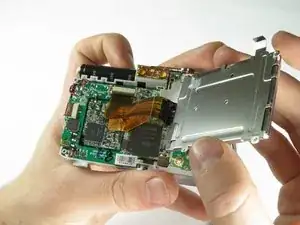
    • Carefully lift the LCD screen away

    • Don't pull away. The ribbon will still be connected to the camera.

  11. Z4jR3RNDYlgEntAl
    Z4jR3RNDYlgEntAl
    PEYhiLEj6eGaHIsM
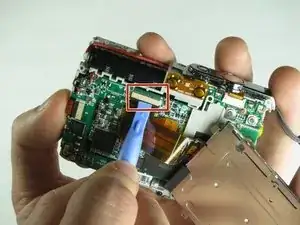
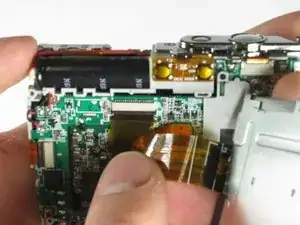
    • Using a plastic opening tool, lift the latch on the ribbon connector.

    • Insert the plastic opening tool beneath the latch, and gently pull up.

    • Carefully pull the ribbon out, and lift the LCD screen out and away.

Conclusion

To reassemble your device, follow these instructions in reverse order.
Who Knows?

Member since: 24/03/15

104 Reputation

0 comments