Introduction
This guide requires you to handle sharp metal objects. Proceed with caution. To avoid misplacing the screws hold them in place with masking tape. Make sure your hands are clean and dry before they come in contact with the internal parts of the camera.
Tools
-
-
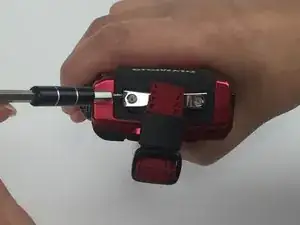
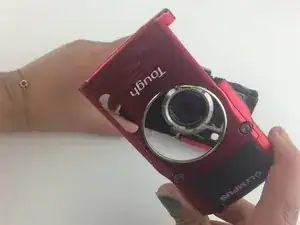
Locate the strap eyelet side of the camera and use the PH000 screwdriver to remove the two 5.3mm screws that hold the strap.
-
-
-
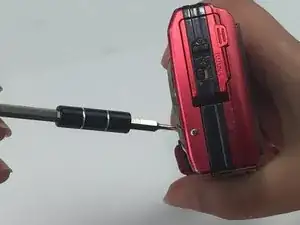
Locate the side of the camera containing the HDMI port. Use the PH000 screwdriver to remove the 5.4mm screw located on the lower left side below the port.
-
-
-
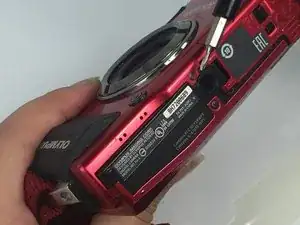
Locate the bottom section of the camera. Using the PH000 screwdriver, remove the two 4mm screws located towards the middle (near the battery compartment).
-
-
-
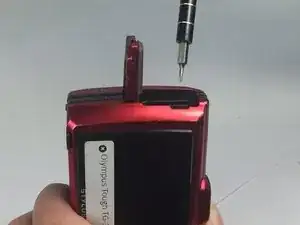
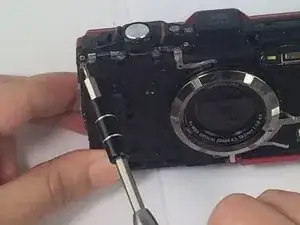
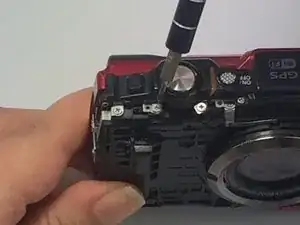
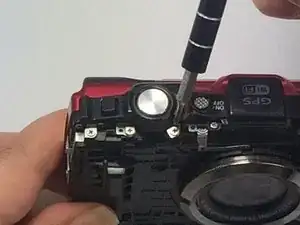
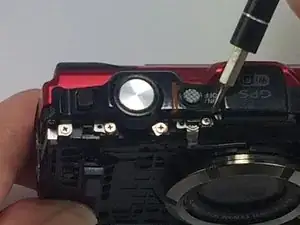
Use the PH000 screwdriver to remove the 5 mm screw located on the top left side of the device.
-
-
-
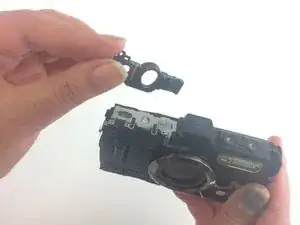
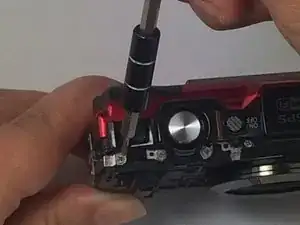
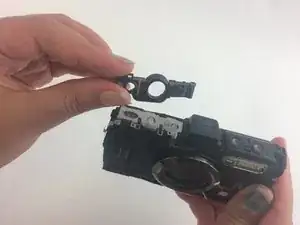
Using your hand, remove the plastic button holder containing the shutter and ON/OFF buttons. The buttons and metal springs under it are now unlocked.
-
To reassemble your device, follow these instructions in reverse order.
One comment
Thanks for the post. Do you know where to buy new switches?
