Introduction

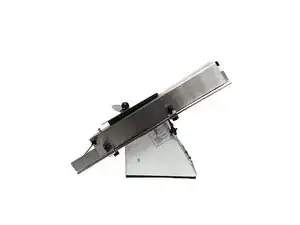
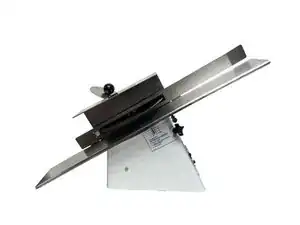
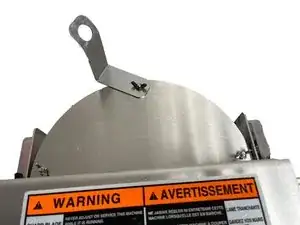
The Oliver Bagel and Bun Slicer 702-N is a powerful tool when it comes to slicing bagels seamlessly in a fast manner. But when it comes to maintaining and replacing internal parts, it can seem daunting. The bagel slicer is composed of various individual parts where it seems impossible to even begin the process of disassembling the slicer. In addition, this is an outdated version so there isn't much support left of this product aside from digging through decades old articles.

The purpose of this guide is to help break down the process of disassembling and replacing the blade of the slicer in digestible parts so that anyone will be able to follow along the guide. The guide will include tips to encourage proper organization of parts and safety practices during disassembly. The photos will act as an essential visual aid so users can reference as they follow the guide so that they know they're following the guide correctly.

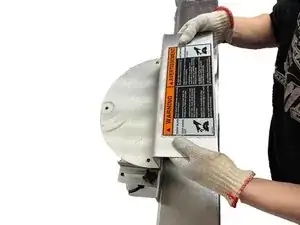
Although cut gloves aren't necessary for disassembly, we highly recommend wearing them as the blade is extremely sharp and improper usage can lead to moderate cuts. Some workplaces even require its employees to wear them as part of workplace safety. So please, keep your hands safe and put on cut gloves!

  1. kpFCQwXwjISbAEeB
    • Remove the black knob underneath the bagel slicer base by twisting it counterclockwise.

  2. PZtRZvNHniqvAYCI
    • On the left end of the slicer, repeat the previous step to remove the bottom knob.

  3. MlJUPxWH5JvZox4n
    MlJUPxWH5JvZox4n
    qxDq1EZ6TFyfPfIe
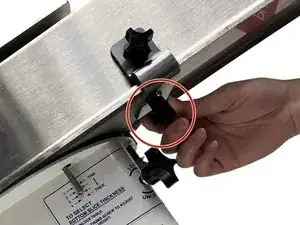
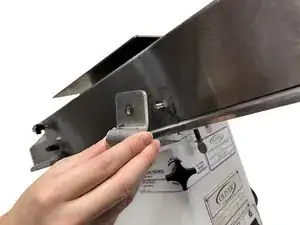
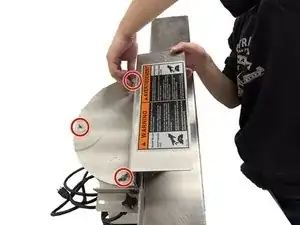
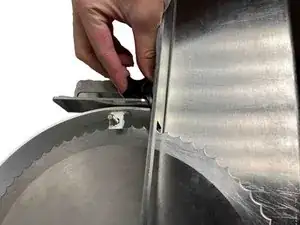
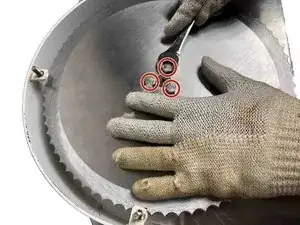
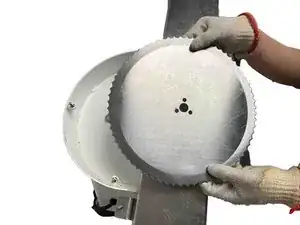
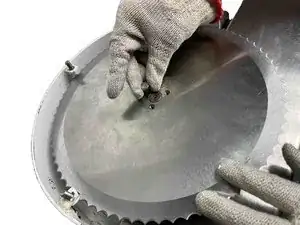
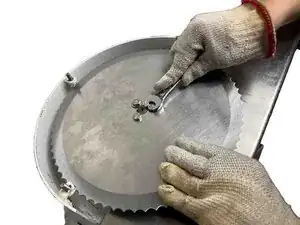
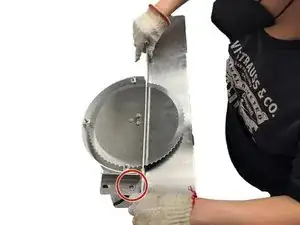
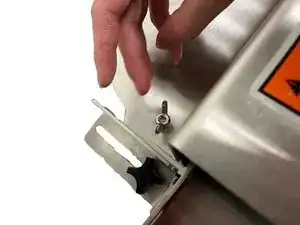
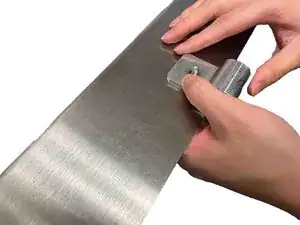
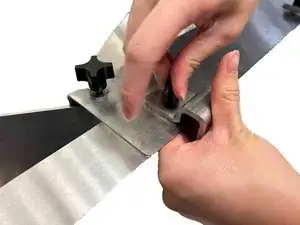
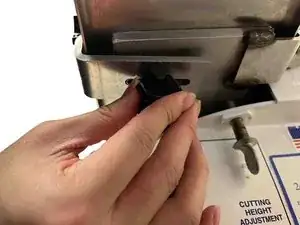
    • Remove the knob located in the middle by twisting it counterclockwise.

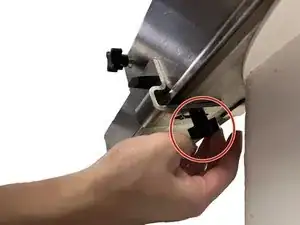
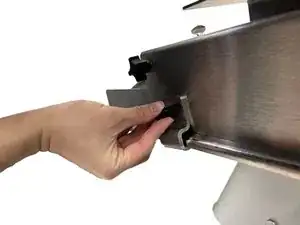
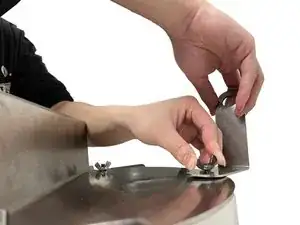
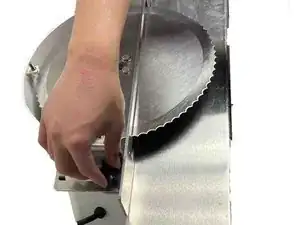
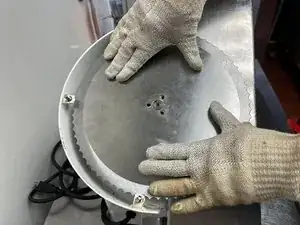
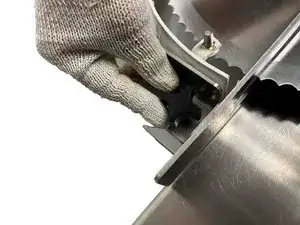
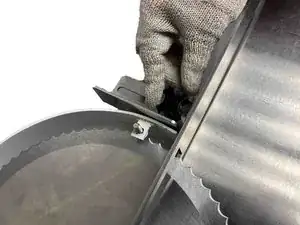
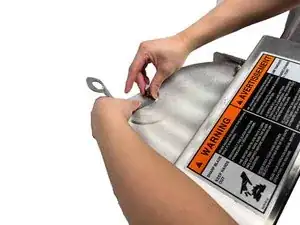
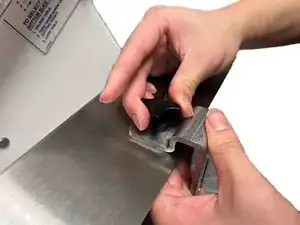
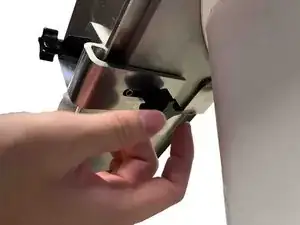
    • After removing the knob, smoothly pull out the lock.

  4. 4QaomBTatRDSIZxg
    4QaomBTatRDSIZxg
    4pApNREmMKbgKPSf
    • Locate the knob on the left and repeat Step 3 to remove the knob and lock.

  5. kQRf4EqgYbrtxBFv
    kQRf4EqgYbrtxBFv
    X4GIDM1gKWSn2U3X
    • While holding the ends of the bagel chute, lift the entire chute up and set it aside.

    • When you remove the chute, the sharp blade will be exposed. Take further caution as you proceed through the guide.

  6. CbsWWbePRKmKbM3C
    CbsWWbePRKmKbM3C
    HVWBUTWL5nRSuUko
    FXbKUtGYiG5ZOkXc
    • Remove all three nuts on the blade cover.

    • It’s important to separate and organize the different small parts in each step to ensure a smooth reassembling process.

  7. cagdkqY4HOpEQDYQ
    cagdkqY4HOpEQDYQ
    Wu64RSY64iiUGR4Y
    • Carefully lift up the blade cover and set aside.

  8. 5K4QZPUUXKttrmAW
    5K4QZPUUXKttrmAW
    diPBrbHJXueLCKvY
    • Remove the black knobs on both sides of the blade and set aside.

    • Make sure that you keep these knobs separate from the knobs in Steps 1-6 as they look identical but are not interchangeable between each other.

  9. xWYiJMdmmXjmFxv6
    • Carefully lift up the part and set aside.

    • Hold the part by its ends so that your hands are as far from the blade as possible.

  10. gGrLWxGgFlrlJyfs
    gGrLWxGgFlrlJyfs
    Po2pI45LESdIVIIt
    • Put on cut gloves before proceeding.

    • Using a 7/16 wrench, remove the three bolts.

    • You may spin the blade clockwise to make the removal process easier.

  11. dCQvpHhB4AM1RQos
    • Carefully the lift the blade up and set aside in a safe spot.

    • Now is a great time to clean and wipe down all individual parts if needed.

  12. NSLgGpkc4YGGauA1
    NSLgGpkc4YGGauA1
    GlIpgpxSwIIaEhnX
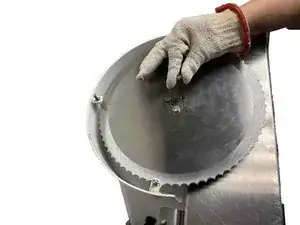
    • With a new blade, place the blade down and align the holes with the holes of the bagel slicer base.

  13. j2hNa6YxjUABgWEI
    • Hold the blade with your non-dominant hand to keep it steady.

    • Screw back in all three bolts of the blade with your by twisting it clockwise.

  14. IsnIsJ1yJE5aIQCA
    • Once the bolts are somewhat secured, use the 7/16 wrench again to tighten them until firm.

  15. 4KcQpmeB1OaKYlaN
    4KcQpmeB1OaKYlaN
    hjCGIFA3FLs5f4TN
    • Insert the part with the outward sticking bolt and place the part down.

    • Make sure to align the outward sticking bolt's hole with the screw.

  16. n3ZDjOkuMBlRVthG
    n3ZDjOkuMBlRVthG
    6AJ5smlZHEtjuBsp
    • Twist the black knobs clockwise on both sides of the part until firmly tight.

    • Make sure you are using the same black knobs you removed in Step 10.

  17. RC1G3aORvMcPUgT1
    RC1G3aORvMcPUgT1
    joePO2gUdxqUOgEr
    • Align the holes of the bagel cover with the bolts and place the cover down.

  18. EjWSYmGNEgcFlemr
    EjWSYmGNEgcFlemr
    LeCGq3BaB4aI4iff
    MGkwQJqQFcWxdFaK
    • Twist all three nuts on the bagel cover clockwise until tight.

  19. FcrZotB2R1HoZk5M
    FcrZotB2R1HoZk5M
    G62tTghUU4PixVvv
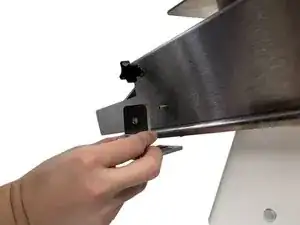
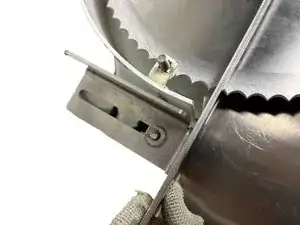
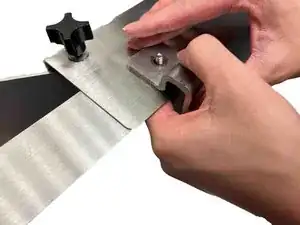
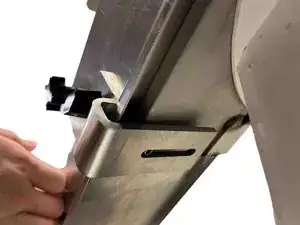
    • On the bagel chute you removed in Step 5, align the lock's hole with the bolt.

    • Place a black knob on top and twist clockwise until tight.

  20. vMXUGDReH2QBVxmG
    vMXUGDReH2QBVxmG
    FmrDNEArYUa1FCml
    JdqMWLOAC5Y6vIlM
    • Repeat Step 19 for the other knob.

    • After completing Steps 19 and 20, your bagel chute should look like the third image.

  21. X2VXDCurmTOchMT4
    X2VXDCurmTOchMT4
    SSy3kCoCQe4Kslad
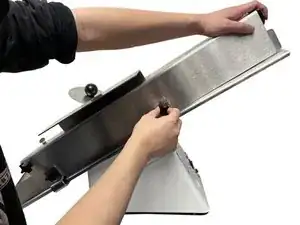
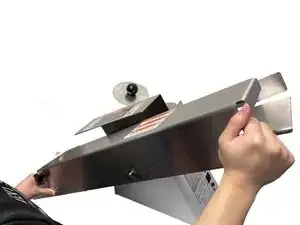
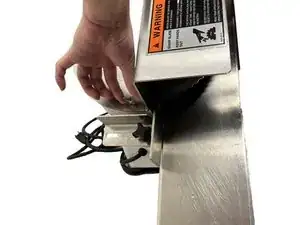
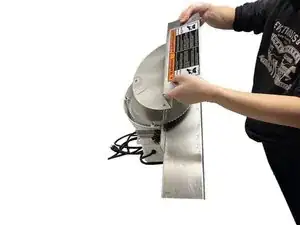
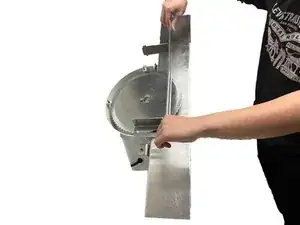
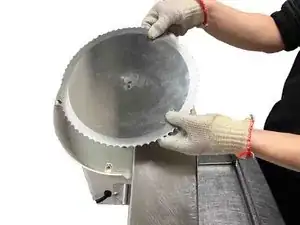
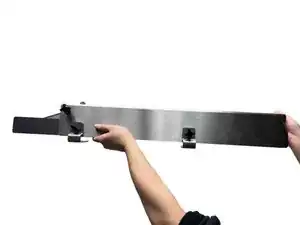
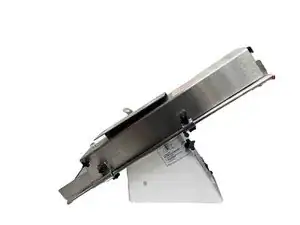
    • Place the bagel chute on top of the metallic slicer base.

    • The bottom part of the lock should go underneath the base.

    • Line up the holes of the locks with the bolts and twist a black knob into the hole of the base.

    • Due to the obscure position of the bolt, you can insert the black knob into the lock first and move it back and forth until you feel a hole.

  22. GJXkoVqU4vrKvwhA
    • Repeat Step 21 for the lock on the other side.

  23. wrw4BUfadAVV2cuO
    • Plug in the power cord to an outlet and turn it on. If it doesn't make a loud screeching sound, you've successfully reassembled the bagel slicer!

Conclusion

To reassemble your device, follow these instructions in reverse order.

Andre Lam

Member since: 03/02/23

337 Reputation

0 comments