Introduction
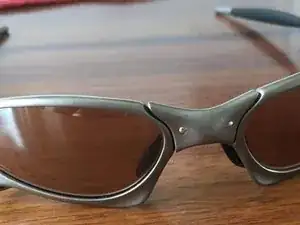
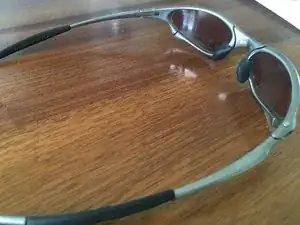
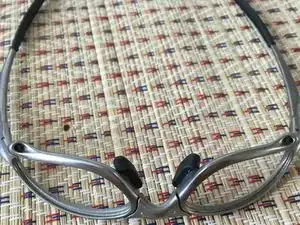
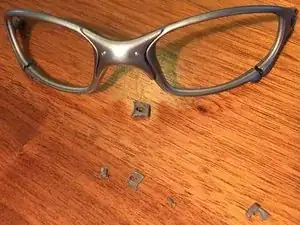
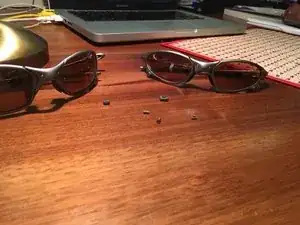
Oakley's X-Metals have an extremely rigid frame made of a titanium alloy. In order for you to actually be able to wear them without stabbing your eyeballs out with the ear stems, they had to add some flex to the frame.
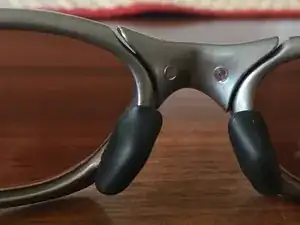
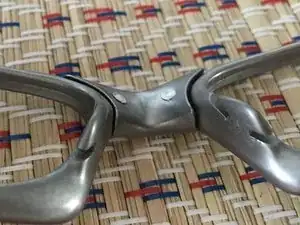
They did that by connecting nose bridge and orbitals with two press-fit pins that are cushioned by rubbers ("flex couplers"). These wear out over time letting those beautiful frames hang off of your face like a drooping flower. Time to replace them.
The guide at hand can be seen as an addition to http://www.linegear-japan.com/page/82 adding dis-and reassembly of Penny's spring hinge and some issues I encountered.
Who should attempt this repair: it is not super easy, but very doable if you have the right tools and like to do this kind of stuff. I specifically added mistakes I made so you don't have to repeat them. In the end, it worked out just fine.
X-Metals are expensive and rare, since they are not built anymore. If this is not for you, send them to a pro to have them tuned for you. There are very good people out there, that can even custom mod them for you, if you like.
Tools
Parts
-
-
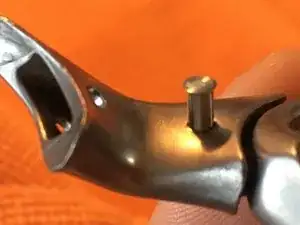
The flex couplers (fancy word for rubbers) inside the nose bridge will be replaced. To do that that, press-fit pins, which connect orbitals and nose bridge and also hold these flex couplers in position, need to be removed
-
Though not mandatory, I advice disassembling the entire frame in order to be able to work free of obstacles.
-
-
-
Though this step is not strictly required, I recommend removing the lenses in order to avoid them getting scratched or being stressed, which in turn might lead to hair cracks.
-
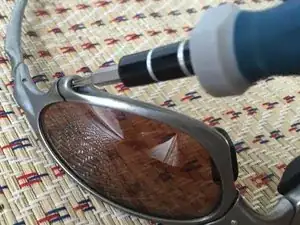
Open both orbitals by unscrewing T6 Torx
-
Remove orbital gasket
-
Remove lenses
-
Remove nose pads
-
-
-
For Penny only, I recommend re-inserting the orbital screws to add more stiffness to the frame for the follwing steps (closed structures can take significantly more load). Penny is the only X-Metal with spring hinges on its ear stems. Removing the latter, requires putting quite some load onto the frame.
-
(Removing ear stems on other X-metals is just a matter of unscrewing them. Make sure you don't loose the four slim plastic washers per ear stem on those models)
-
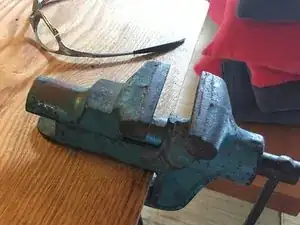
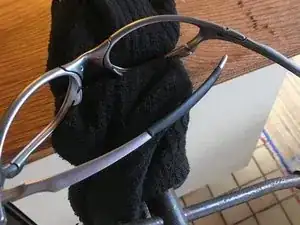
Cover a bench vice with some old cloths so it won't scratch up your frame
-
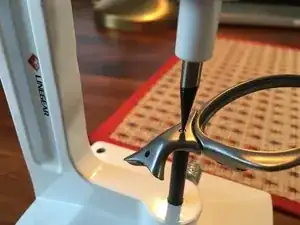
Clamp an orbital into the bench vice. The last picture is not showing the optimal position (refer to next step for that): the orbital screw should have been reinserted (not shown here) and the frame should be low in the bench and close to the hinge, so you can push against it without causing too much torsion on the frame.
-
-
-
The first picture shows an optimal position in the bench vice for removing an ear stem
-
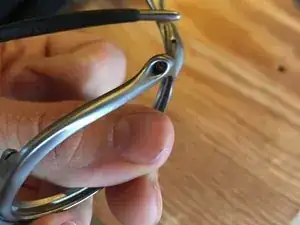
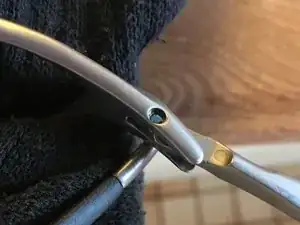
Grab the ear stem close to the hinge (the titanium alloy is probably strong enough not to buckle, but you don't want to find out) and give it a good push against the spring to alleviate any load from the screw. Don't be shy - if any frame, this one can take some abuse.
-
When your pushing force balances the spring inside the frame, the T6 Torx screw is free of load and can be removed.
-
The ear stems come with two sunk metal washers each that make it easy to re-install them compared to other X-Metals that come with four thin, flimsy plastic washers per ear stem
-
-
-
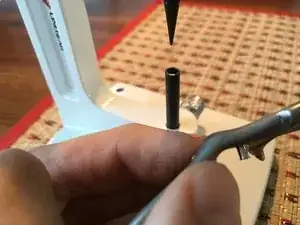
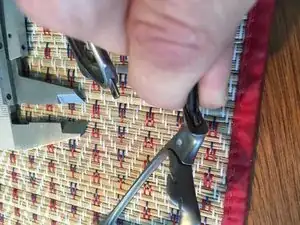
Hint: In case you just received your pin pusher, I recommend filing down the pushing tip slightly:
-
The idea is to increase the tip diameter so you can put less pressure on the rivets surface (less chance of deforming it), while maintaining the same force. Or in easier words, you want to distribute load: P=F/A (pressure=force over area)
-
The tool's leaflet recommends filing it down 2mm. I have not tried since it seems a bit much. I filed it from a tip diameter of 0.9mm to 1.3mm. Due to its conical shape, you don't want to lose too much pusher tip length in order to be able to still fully push the pins out (!)
-
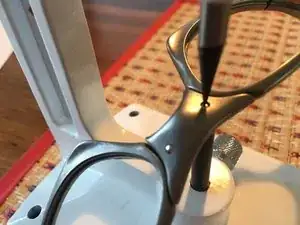
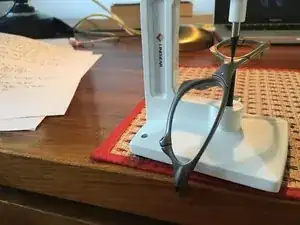
Place the nose bridge flush on the tool's tube. Make sure pushing tip, pin and tube are in perfect alignment.
-
By turning the handle on the pin pusher, slowly push out the pin from top to bottom
-
Each pin might behave differently. Out of the four rivets (two frames) I removed, one took quite some force and came out with a small "pop". One took hard force and came out with a loud "bang". And two came out smooth as butter.
-
-
-
Once you got the rivets out, you can pull out the orbitals as well as the old flex couplers with tweezers
-
Treat your nose bridge to a cleaning
-
-
-
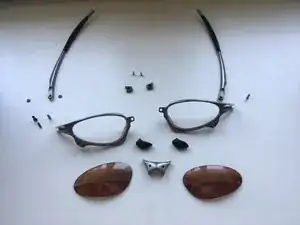
1. picture: Full Penny disassembly.
-
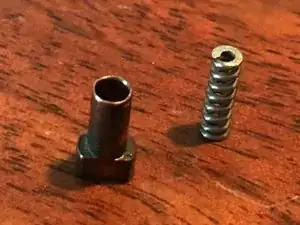
2. picture: On one side of my Penny, the spring hinge assembly came out. For the curious, this is what it looks like: a spiral spring and a cam. It's easy to reinsert and if it doesn't come out by itself, leave it in. There's no need to remove it.
-
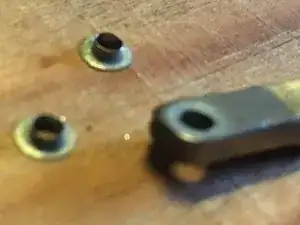
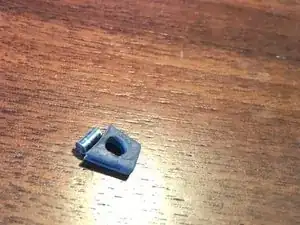
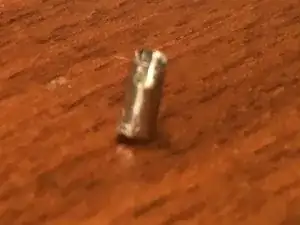
3: Picture: Original Oakley pin and gray nose bridge rubber.
-
-
-
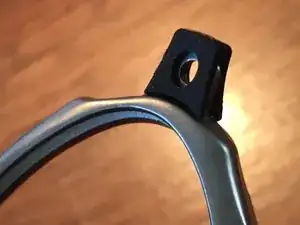
Add a replacement flex coupler to an orbital lug
-
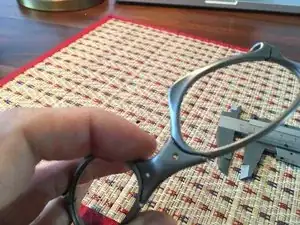
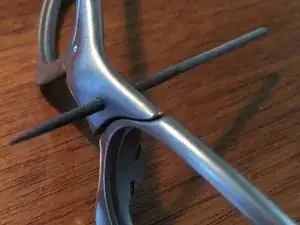
Push the lug into the nose bridge and align them with a rod (or round file) of 2mm diameter. Give it a wiggle to assure the alignment
-
Use a 2mm round file to align and smoothen the pairing. Don't grind it down: you still need a press-fit for the replacement pin to stay in. But you want to give it a good cleaning and you need perfect (!) alignment to successfully re-insert the new pin.
-
See step 11 for any mistakes you can make here, before proceeding to step 10.
-
-
-
The replacement pin should go in smoothly by hand from the back of the nosebridge
-
Pushing the replacement pin in:
-
Cover the pin pusher tool tube with a cloth to protect the nose bridge from scratches
-
Place the nose bridge front down on the cloth-covered tube and slowly screw down the pusher tip until it just touches the pin
-
Make sure pusher tip and pin are in perfectly straight alignment and then slowly push it in
-
Don't push the pin all the way in (until the pin's rim touches the nose bridge). Check the front side in between how far you want the pin to stick out (if at all)
-
-
-
1. Alignment / filing: reinserting the pins takes considerably more force than getting them out. However, as always, too much is too much - the problem being, if you do it for the first time, you don't know what is too little and what is much until it's too late. I had heard this can be a problem and had ordered extra pins just in case.
-
At my very first try I didn't file the inside of the nose bridge bore much. Result: I wasn't able to push pin fully back in. I turned the frame around, pushed it back out, tried a new pin - it worked.
-
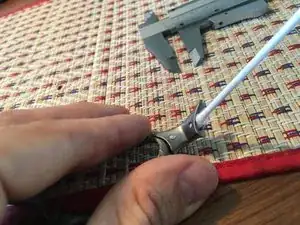
On the other orbital, I had the same problem but couldn't even get the pin back out. It had deformed so much that it was moving neither back nor forth. Pulling its end with a caliper didn't help either.
-
Wipe off the nervous sweat, place the frame in the bench vice, get a 1.5mm drill and very carefully (!) drill a hole in the pin from the front. Make sure you don't touch the walls of the nose bridge bore (2mm diameter) - you don't want to widen the press-fit. Just pretend to be a dentist. When enough material is removed, pull out the culprit.
-
Moral of the story: file, but don't grind. If the alignment isn't perfect the pin can get caught at an edge and will deform when pressure is applied.
-
2. Grinding down the pusher tip:
-
Again, on my first try I hadn't done this enough (since I didn't know what was enough and how much is too much. 1.3mm diameter seems to work). This can result in very tiny spot marks on the back of the pin. Not bad at all but since you're at it... grind it down
-
Additionally, you can try placing cardboard between the pusher tip and the pin. Some people have gone as far as machining tips with a wide end for reinsertion.
-
-
-
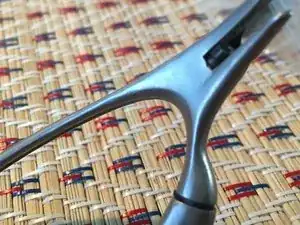
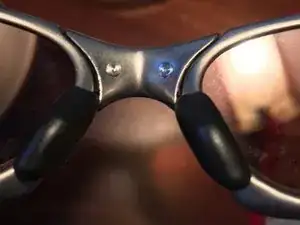
If you follow the advice from the previous step ("learn from my mistakes"), getting the pins back in is not as hard as I made it sound. Having learned what I learned on the Penny, I was able to replace both pins of a Juliet (shown in the picture) in not more than 5min.
-
Reassembly:
-
Fasten the Penny frame in the bench vice again. Reinsert the spring hinge, if it came out. Push the ear stem against the spring hinge (hard!) until the holes of ear stem and frame align. Put the Torx screw back in.
-
Remove orbital screws, reinsert lenses, orbital screws and gaskets
-
Add nose pads and give your baby a good cleaning.
-
Enjoy a sunny day with your freshly tuned X-Metals that are now holding on to your head again snug as a face hugger.
-
