Introduction

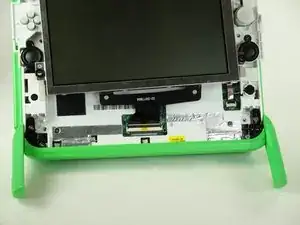
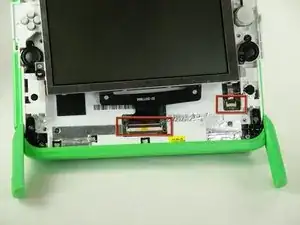
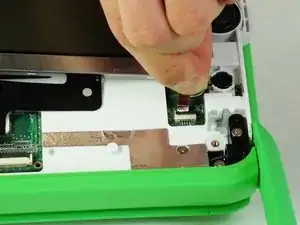
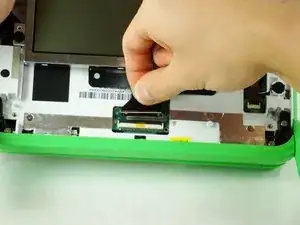
Learn how to replace the speakers on the XO-4 Touch.

  1. IVDjFWXGlqHFaVWw
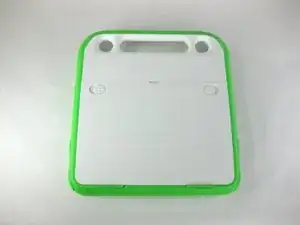
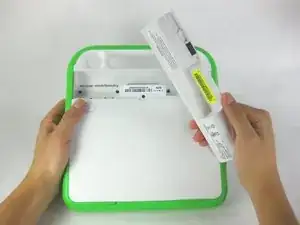
    • Turn the laptop upside-down, with the handle facing away from you.

  2. d5MasQwOp11X2VZr
    d5MasQwOp11X2VZr
    sRU3hllA2YskCHfU
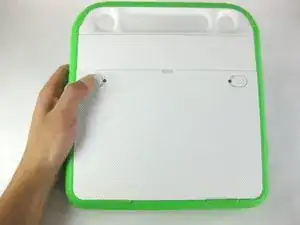
    • Pull the lock tabs towards the green outer edges of the laptop.

    • Hold the left lock tab in the unlock position until the battery is completely removed in the next step.

  3. ZWV1wud4mI1HUWGt
    ZWV1wud4mI1HUWGt
    UnbfciGCtddNpqAL
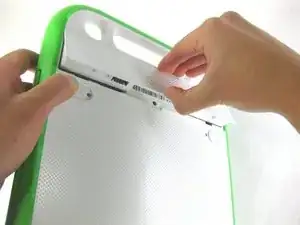
    • Lift up on the middle of the battery to remove it from the device.

  4. ZNwppNTdPuVCNHlb
    ZNwppNTdPuVCNHlb
    PdDWKtkFVQFMB64Y
    XJm6YIlG5kYTADAK
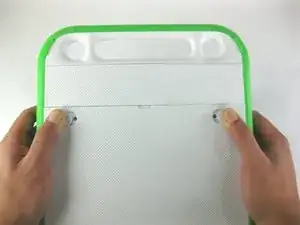
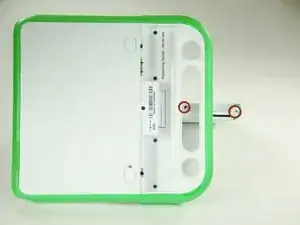
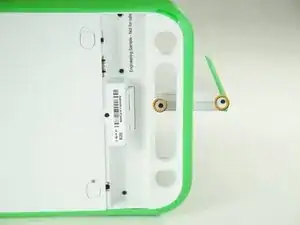
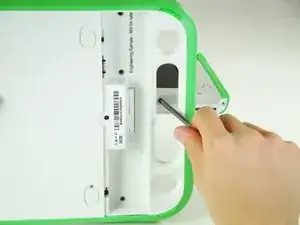
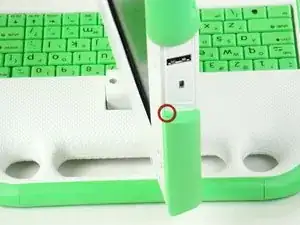
    • Remove the two 4mm Phillips #1 screws underneath the screen on the right-hand side.

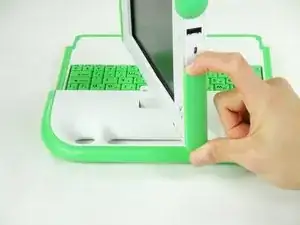
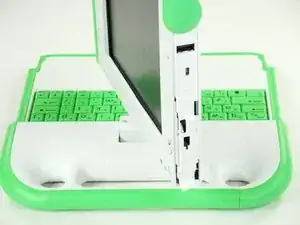
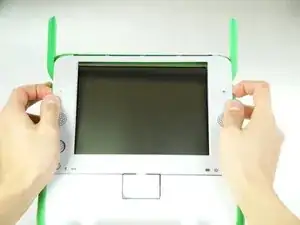
    • Rotate the screen 180° and remove the other two screws.

    • You will have to put your screwdriver through the handle in order to reach the middle screw for both sides.

  5. I1Z2kk1JF2L4WZHc
    I1Z2kk1JF2L4WZHc
    Nx2miaLWtnYXwsBB
    SXaNNPsDjPeOS2qY
    • Remove the green side panel by pressing down on the small green button on the top and sliding the panel up.

    • Repeat the step above for the panel on the other side.

  6. MDDSedKaPcB4QX4L
    • Be careful not to pull the bottom too far out because a ribbon cable is under the frame and can easily break.

    • Gently lift up the lower part of the frame and pull it down to free the screen frame.

  7. pXcPMs3Be4Hd1snY
    pXcPMs3Be4Hd1snY
    ZVcYoG1MdgEQixp4
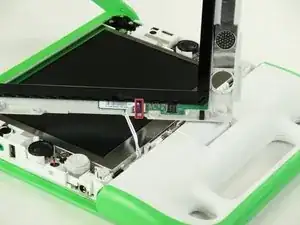
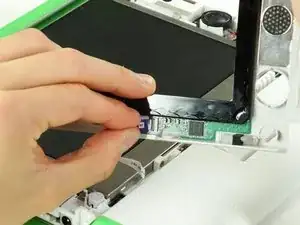
    • Lift the black connector and pull the ribbon cable out by the purple tab, freeing the frame.

  8. EfZ4UtuOt5IRVxX4
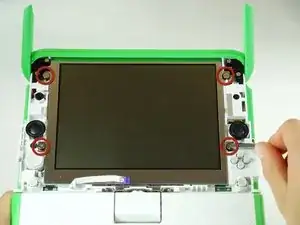
    • Remove the four 7.62mm screws using a Phillips #1 screwdriver.

  9. gEQt5gmm1JkSjGxl
    gEQt5gmm1JkSjGxl
    KydMhVUsYnjxuBdg
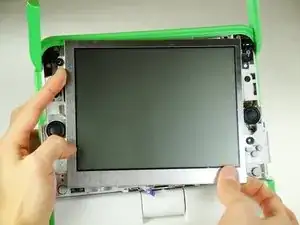
    • Be careful not to pull the screen out too far. There are two ribbon cables attached to the screen, and they can easily break.

    • Carefully lift the screen out.

  10. EIf6RsDWwSGSDelj
    EIf6RsDWwSGSDelj
    WmGEwThaynJIeKOf
    3tpoOnmk1RYPgAHH
    • Notice that the laptop in this picture has been turned 180° with the antennas now below the screen.

    • For each ribbon cable, lift up the black connector and gently pull the ribbon cables out by the plastic tabs.

  11. xU51FJdqQjVvqZOl
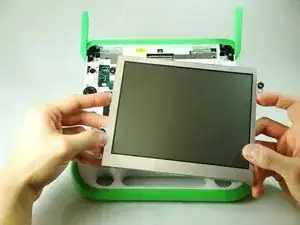
    • Remove the screen from the laptop.

  12. FMeimEIATXZCvDdW
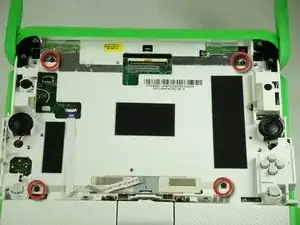
    • Remove the four 6mm screws using a Phillips #1 screwdriver.

  13. tEvhDv6C4oD1l1kM
    tEvhDv6C4oD1l1kM
    eYR4sicGWZpuKZxc
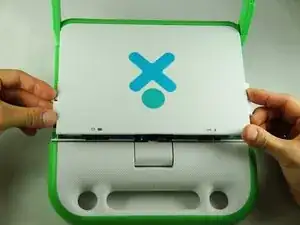
    • Rotate the top half of the laptop so that the back cover is facing you.

    • Pull up the tabs on the lower part of the back cover and pull it down and away from the antennas.

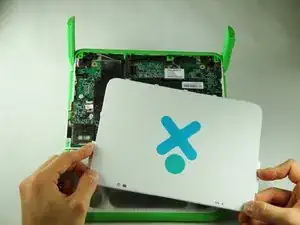
    • Remove the back cover by gently lifting it off of the laptop.

  14. NJbQQhKZyg4mpPou
    NJbQQhKZyg4mpPou
    65LSGe52nDmUX1Pi
    vb1uPv1KUDmuT2Cx
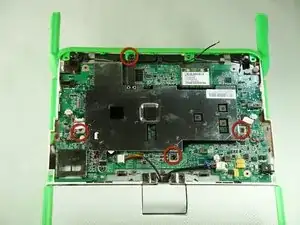
    • Remove the four black 4mm screws from the metal cover using a Phillips #1 screwdriver.

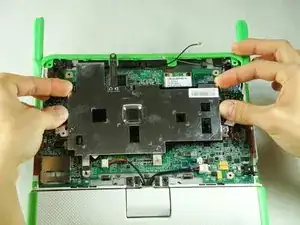
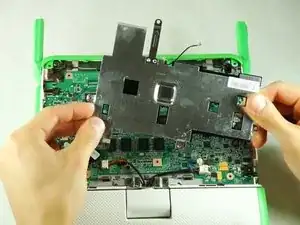
    • Remove the metal cover from the laptop.

  15. A2kXE2wOUF3LHSQp
    A2kXE2wOUF3LHSQp
    IRKH2AZMlUCe5DpP
    UjYXeY4neT3TqyHE
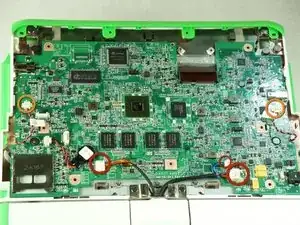
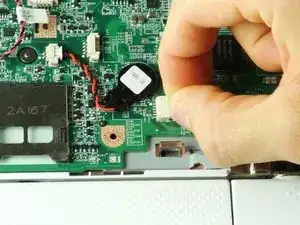
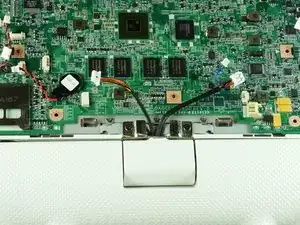
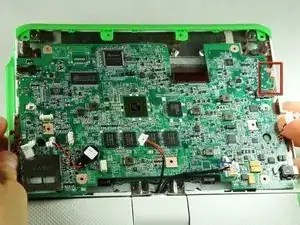
    • Pull the connectors out by holding the plastic tabs and not the wires.

    • Unplug the three wires connecting the motherboard to the bottom half of the laptop.

    • Unplug the two speaker wires from the motherboard.

  16. HA5TZr5KCWIqKnWH
    HA5TZr5KCWIqKnWH
    tGf6sv2bmwUd3hbg
    uUVOFYMATj1yE6MZ
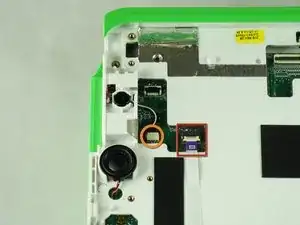
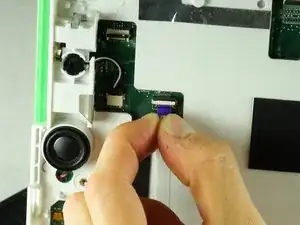
    • Turn the device over to where the screen used to be.

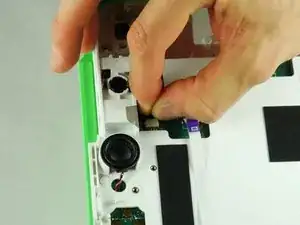
    • Pull out ribbon cable by holding the purple plastic tab.

    • Pull out connector with the black and white wire by holding plastic tab.

  17. WKWW6JMsAMYHuqKN
    WKWW6JMsAMYHuqKN
    qpcaandgnRtByhW4
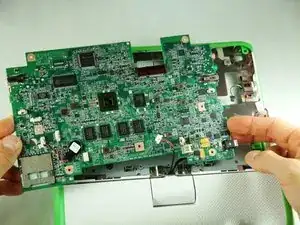
    • Move the motherboard slightly to the left so that the audio input and output jacks are out of the frame.

    • Pull the motherboard out of the laptop.

  18. MYteDUhVMHlNFQoS
    MYteDUhVMHlNFQoS
    BcNvYvJ1eAJp5FTg
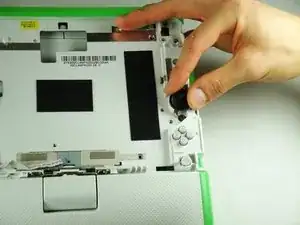
    • Flip the top half of the laptop around so you are now looking at the front.

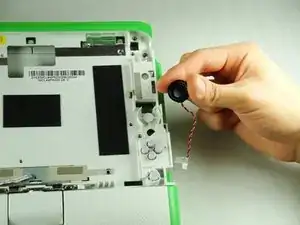
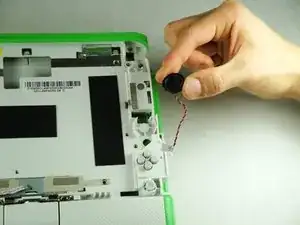
    • Pull the two speakers out and carefully pull the wire through and out the hole.

    • There is a small amount of glue holding the speakers in.

Conclusion

To reassemble your device, follow these instructions in reverse order.
Matthew Smith

Member since: 25/01/13

23 Reputation

0 comments