Introduction
This guide will show you how to remove the microphone from your OLPC X0 4 Touch. The microphone records sound into the laptop.
Tools
-
-
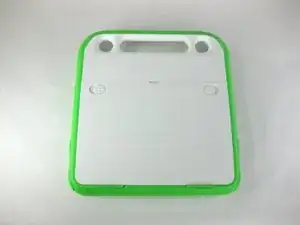
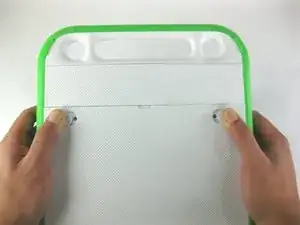
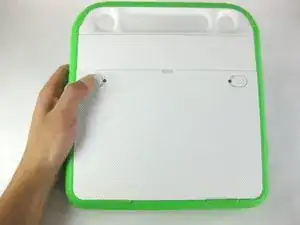
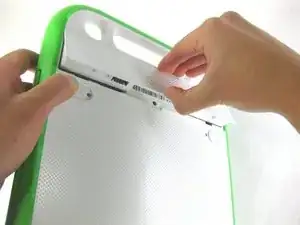
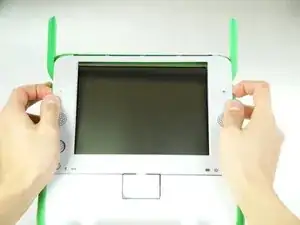
Pull the lock tabs towards the green outer edges of the laptop.
-
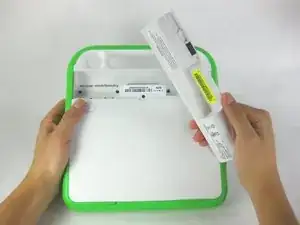
Hold the left lock tab in the unlock position until the battery is completely removed in the next step.
-
-
-
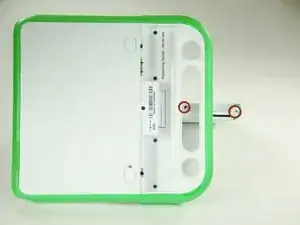
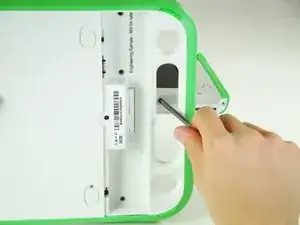
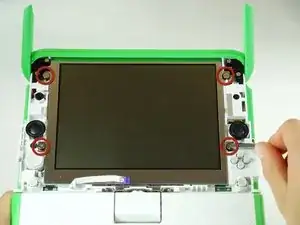
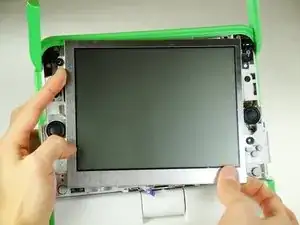
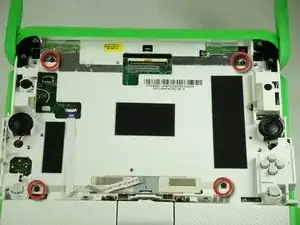
Remove the two 4mm Phillips #1 screws underneath the screen on the right-hand side.
-
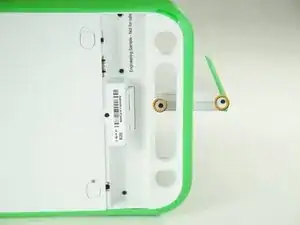
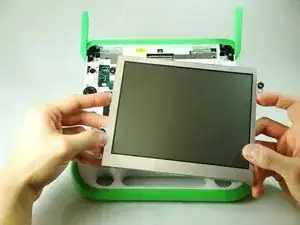
Rotate the screen 180° and remove the other two screws.
-
-
-
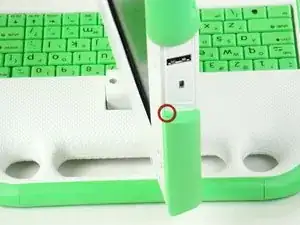
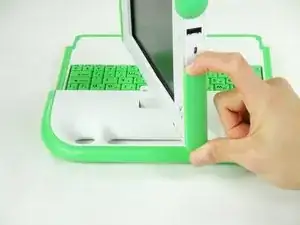
Remove the green side panel by pressing down on the small green button on the top and sliding the panel up.
-
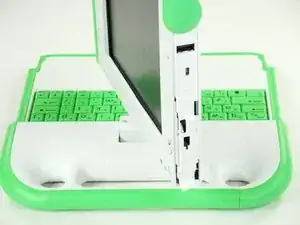
Repeat the step above for the panel on the other side.
-
-
-
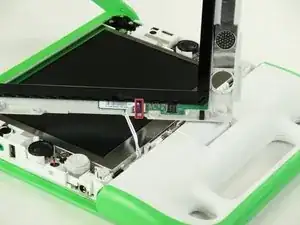
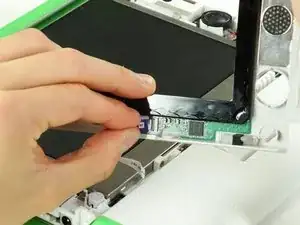
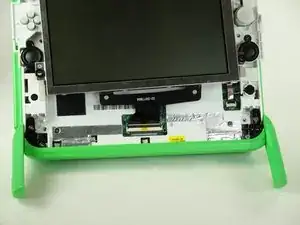
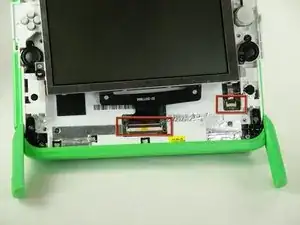
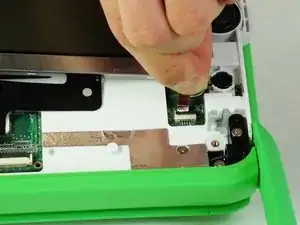
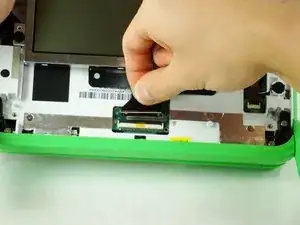
For each ribbon cable, lift up the black connector and gently pull the ribbon cables out by the plastic tabs.
-
-
-
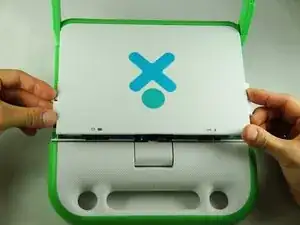
Rotate the top half of the laptop so that the back cover is facing you.
-
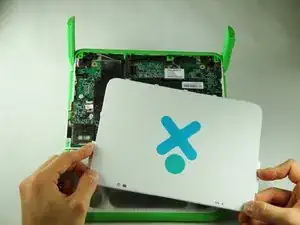
Pull up the tabs on the lower part of the back cover and pull it down and away from the antennas.
-
Remove the back cover by gently lifting it off of the laptop.
-
-
-
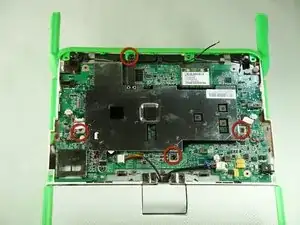
Remove the four black 4mm screws from the metal cover using a Phillips #1 screwdriver.
-
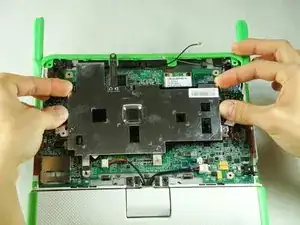
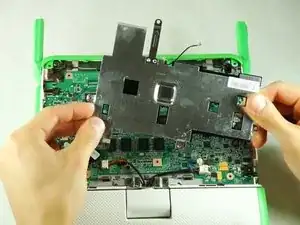
Remove the metal cover from the laptop.
-
-
-
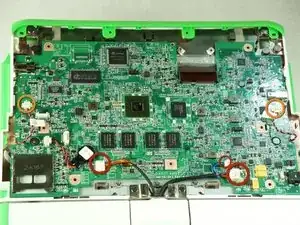
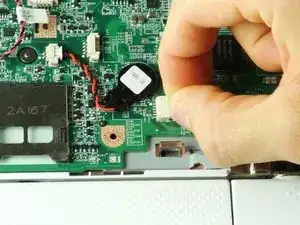
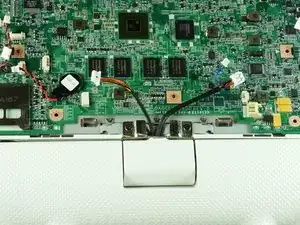
Unplug the three wires connecting the motherboard to the bottom half of the laptop.
-
Unplug the two speaker wires from the motherboard.
-
-
-
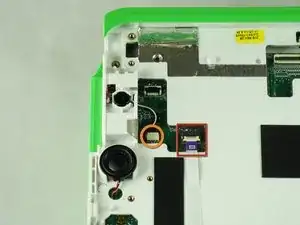
Turn the device over to where the screen used to be.
-
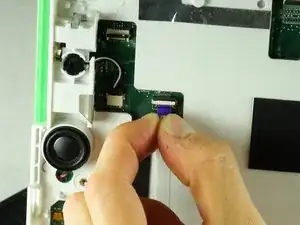
Pull out ribbon cable by holding the purple plastic tab.
-
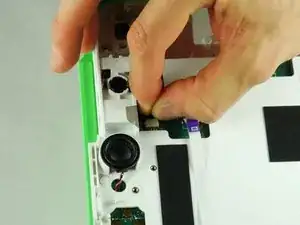
Pull out connector with the black and white wire by holding plastic tab.
-
-
-
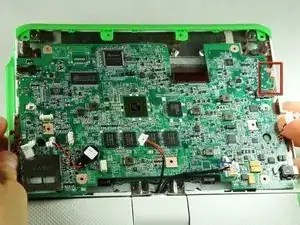
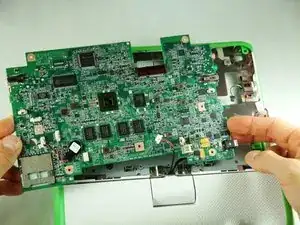
Move the motherboard slightly to the left so that the audio input and output jacks are out of the frame.
-
Pull the motherboard out of the laptop.
-
-
-
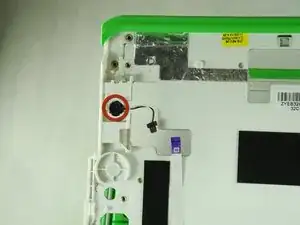
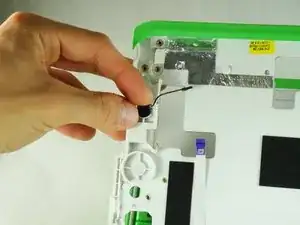
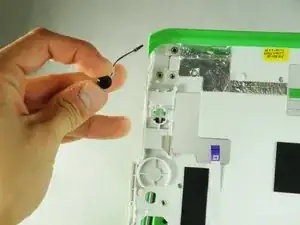
Locate the microphone on the front side of the laptop.
-
Gently, pull the microphone out of its socket.
-
To reassemble your device, follow these instructions in reverse order.
