Introduction

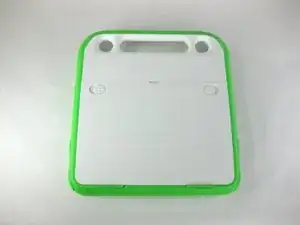
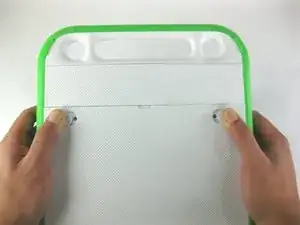
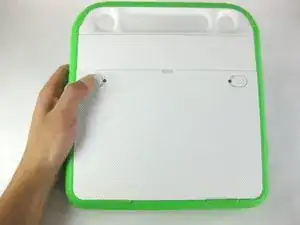
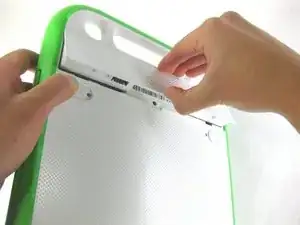
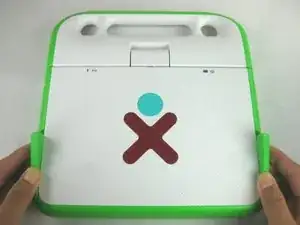
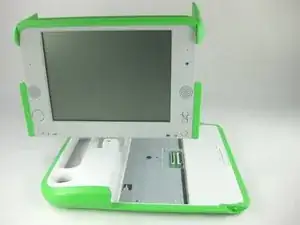
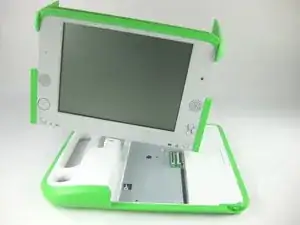
Use this guide to remove and install a new lower case on your OLPC XO-4 Touch.

  1. IVDjFWXGlqHFaVWw
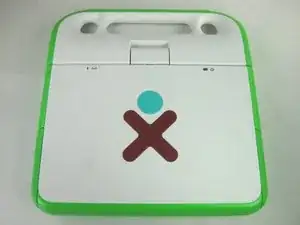
    • Turn the laptop upside-down, with the handle facing away from you.

  2. d5MasQwOp11X2VZr
    d5MasQwOp11X2VZr
    sRU3hllA2YskCHfU
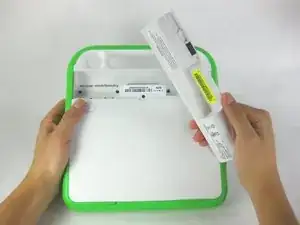
    • Pull the lock tabs towards the green outer edges of the laptop.

    • Hold the left lock tab in the unlock position until the battery is completely removed in the next step.

  3. ZWV1wud4mI1HUWGt
    ZWV1wud4mI1HUWGt
    UnbfciGCtddNpqAL
    • Lift up on the middle of the battery to remove it from the device.

  4. duH23APyoNIBcqx6
    duH23APyoNIBcqx6
    nHeyrbQZWdOCnxQD
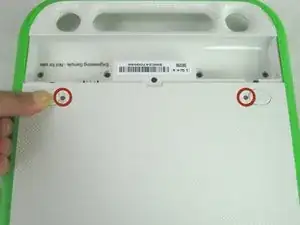
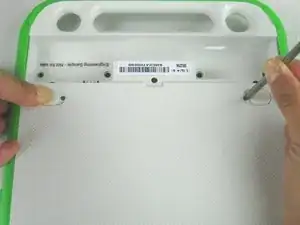
    • Remove the two 2mm Phillips #1 screws from beneath the battery lock tabs.

  5. 5xGrtHDgsFPbKvWV
    5xGrtHDgsFPbKvWV
    Q64NQE1ujDPilYvf
    CPQaFmN43mFLkHdG
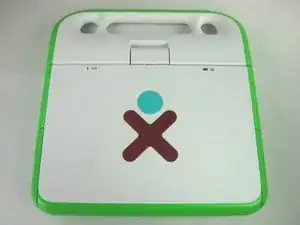
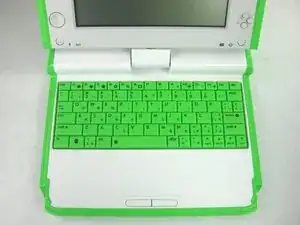
    • Flip the laptop over to its normal position.

    • Lift the two antennas on both sides to unlock the screen.

    • Open the laptop.

  6. TipslQ5P2NHxR6A5
    TipslQ5P2NHxR6A5
    1stUSWCQPZIARLCF
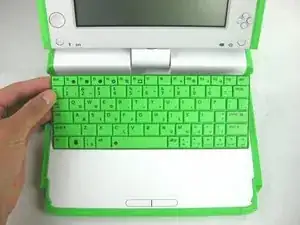
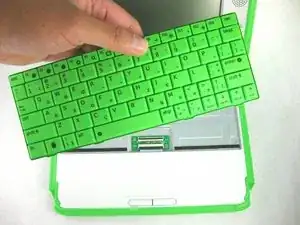
    • Be careful not to pull the keyboard too far because there is still a ribbon cable attached to the bottom.

    • Gently lift up on the back of the keyboard.

    • Pull the keyboard up far enough to expose the ribbon cable.

  7. YcvHYOZXkxxJXlZX
    YcvHYOZXkxxJXlZX
    Un4xYLG1Ab4ojhho
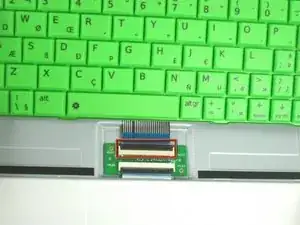
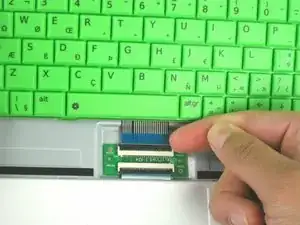
    • Gently lift up on the black connector to release the ribbon cable.

    • Gently pull the blue plastic tab up and away from the black connector.

    • Remove the keyboard from the laptop.

  8. KuT43soKveEFFxZN
    KuT43soKveEFFxZN
    ixcK52bOIubNlny6
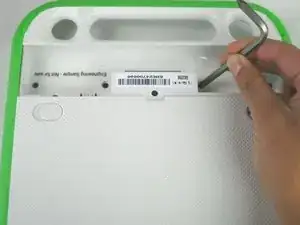
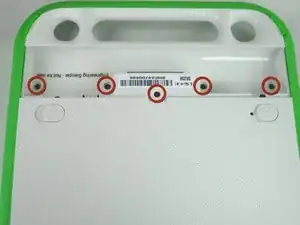
    • Close and flip the laptop over so you are looking at the battery compartment

    • Remove the five 4mm Phillips #1 screws from inside the battery compartment

  9. di2resAVYfj16IyZ
    di2resAVYfj16IyZ
    4M1h6Z3BATteoF25
    Cl5krIPZtRgYHJ22
    • Flip the laptop over, showing the top of the device.

    • Open the laptop and rotate the screen ninety degrees.

    • Tilt the screen so the lower right corner of the screen is closer to the lower case.

  10. FGlJDXGjtgJwcAmA
    FGlJDXGjtgJwcAmA
    gMFWAG4GGjbuBKr2
    BQPlTDFol1NViuM1
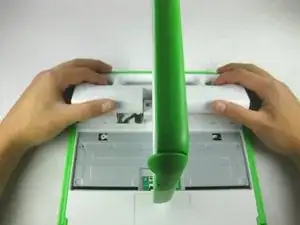
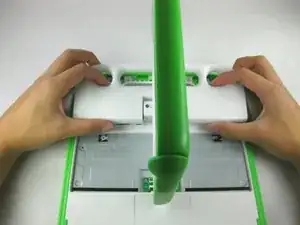
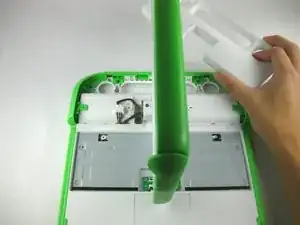
    • Push in and lift up on the keyboard edge of the white handle piece.

    • Pull the piece towards yourself to remove it from the laptop.

  11. b2CVSGI3xiUYWEK1
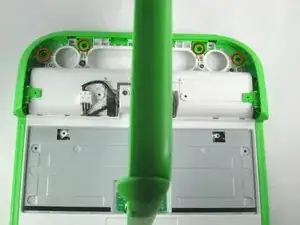
    • Remove the four 4mm Phillips #1 screws attaching the green trim to the body of the computer.

  12. tUXYXFfPBRD2rXAJ
    tUXYXFfPBRD2rXAJ
    v12eaMkSM1BYmBwQ
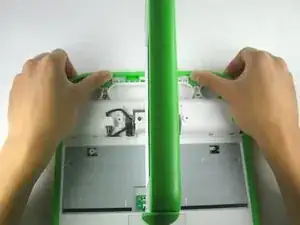
    • Pry off the rear green trim piece.

  13. sQhMCvGgMlaCgrTg
    sQhMCvGgMlaCgrTg
    wBVempV3k26bOgVu
    OU6NOIoE5OBS1I2I
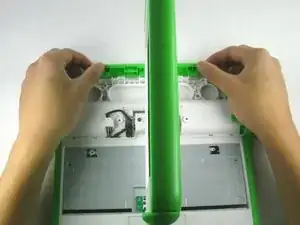
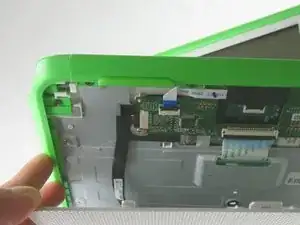
    • Be careful not to pull the bottom portion of the laptop completely off, as there is a cable connecting it to the laptop.

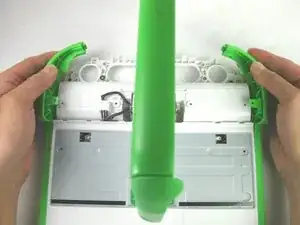
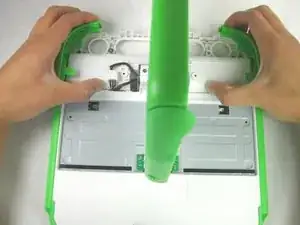
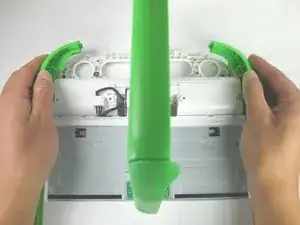
    • Slide the green trim pieces away from the screen.

    • This should release the entire bottom portion of the laptop.

  14. uku2OCZDrHTAkVAN
    uku2OCZDrHTAkVAN
    MBdChigar3mVP5nl
    JiTHCppVvZnOmuqV
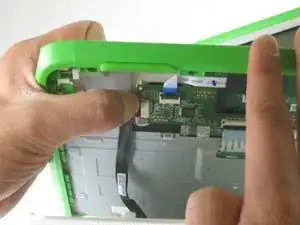
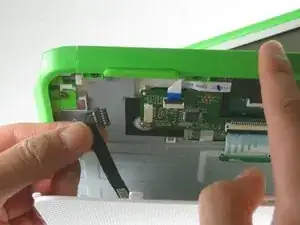
    • Unplug the cable from the mouse buttons controller to completely remove the lower frame from the device.

  15. rwW1ehZoZaS3Avju
    rwW1ehZoZaS3Avju
    QIXoOIG5arlC1se6
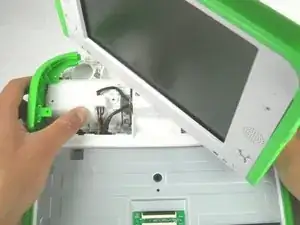
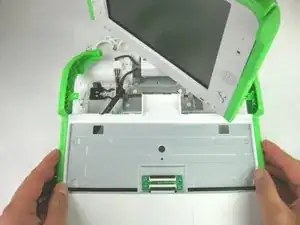
    • Rotate the entire lower assembly up slightly, and pull it away from the screen to free it from the screen hinge.

    • There may be some adhesive holding the cable to the metal plate. Gently pull the cable off of the plate if it is stuck.

Conclusion

To reassemble your device, follow these instructions in reverse order.
Michael Kellerman

Member since: 25/01/13

58 Reputation

0 comments