Introduction
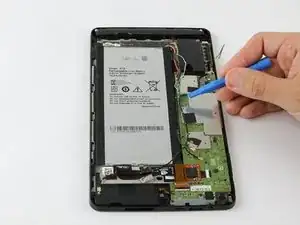
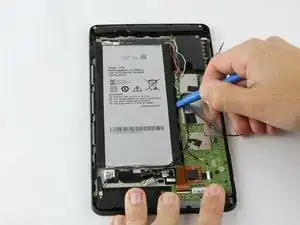
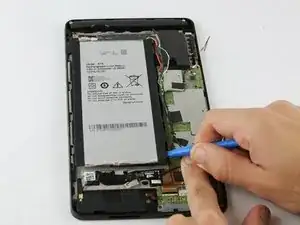
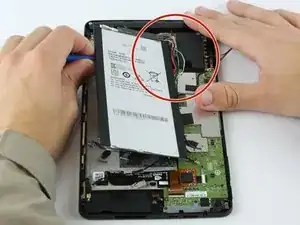
Once uncovered, you can see that the battery takes up the most real-estate inside of the device. The battery is very securely glued in so you will need to be forceful but also extremely careful when removing it.
Tools
-
-
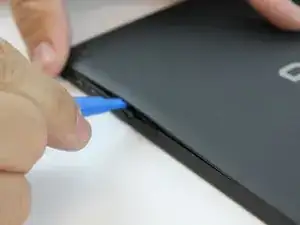
Starting at the Micro SD Card Slot and using the blue plastic opening tool, begin to maneuver the tool around the edges while applying light pressure to lift the panel upwards.
-
-
-
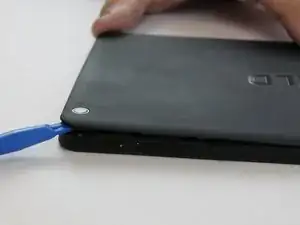
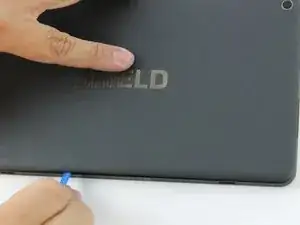
Continue lifting up the panel all the way around the edges of the tablet.
-
Once all of the panel clips are unfastened, gently remove the back panel.
-
-
-
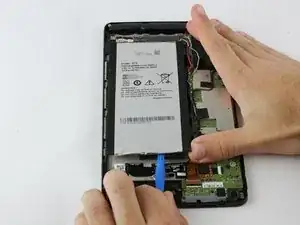
Using the blue plastic opening tool, place the lip of the tool underneath the battery as seen in the photo.
-
-
-
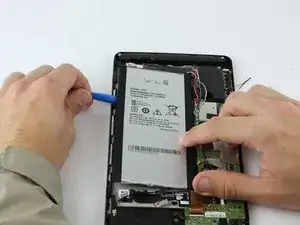
Once you have the blue plastic opening tool underneath the battery, work the tool around the edges of the battery similar to the technique used for the back panel.
-
-
-
When the battery seems loose enough, use the blue plastic opening tool to lift the battery from the device.
-
-
-
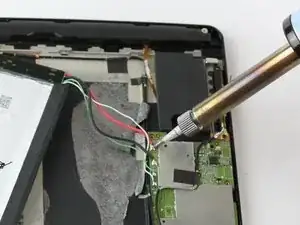
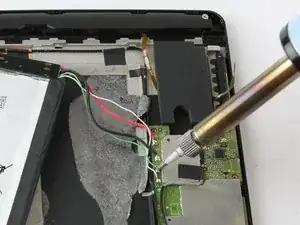
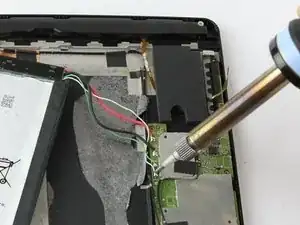
Using a soldering iron, desolder the four wires from the motherboard.
-
Once the wires are free from the motherboard, your battery should be free to remove from your device.
-
To reassemble your device, follow these instructions in reverse order.
7 comments
Hello! Can anyone suggest a specific battery for K1 model ? Also the new battery comes with it's own wires as it is shown on Step5 ?
Hablando -
Quelqu'un peut-il proposer une batterie spécifique pour le modèle K1 s'il vous plait ?
Tony 06 -
Cannot find a replacement battery anywhere, any information would be appreciated.
Thanks!
Carl
Here: to aliexpress
I just happened to be looking because my battery life is atrocious. And here's the forum where I found it. They have other links too if you want to try them out.
I just happened to be looking into this myself. I found a forum with many links that can be found by searching “Finding Replacement Battery in 2017?” . The thread is on XDA-developers.com. This is a link that works: on de.aliexpress.com
Good luck. As there is no convincing upgrade from the Shield K1, I might do this too. Other people noted that you need the little PCB attached to the original battery to solder it onto the bare replacement battery.
