Introduction
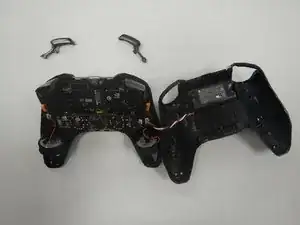
This repair guide shows how to replace the motherboard for a Nvidia Shield Controller Gen 2, manufactured by Nvidia, item model number: 945-12920-2500-000.
The motherboard is a circuit board which connects all the components within a device. If the motherboard is faulty, the controller may not turn on at all.
Tools
-
-
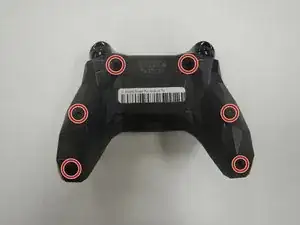
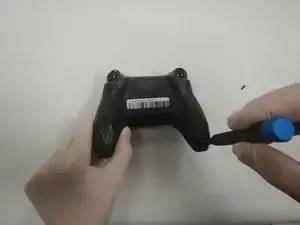
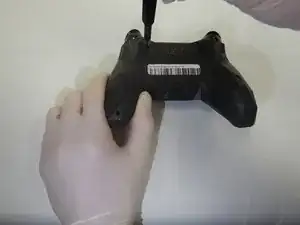
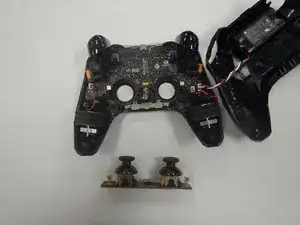
Use the Torx TR6 bit to remove the two 7mm screws behind the analog sticks.
-
Unplug the power supply cable from the analog stick assembly.
-
-
-
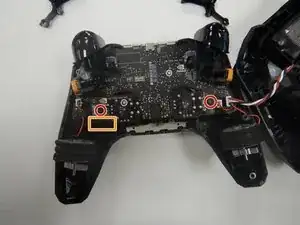
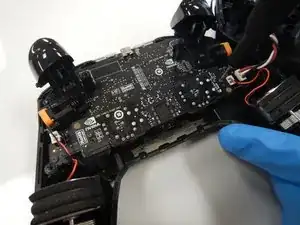
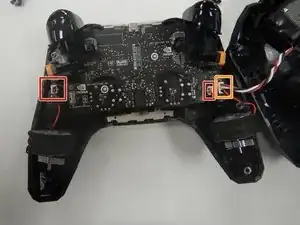
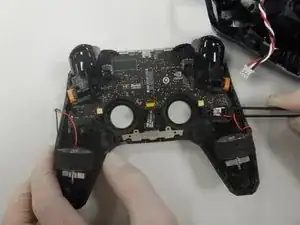
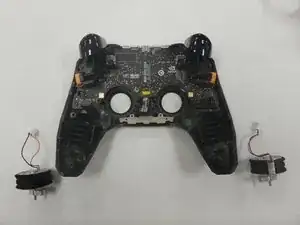
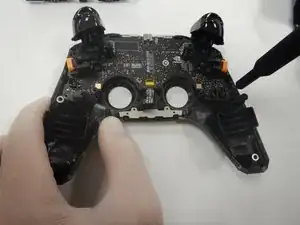
Use a pair of tweezers to unplug the rumble motors from the motherboard.
-
Use a pair of tweezers to unplug the battery cable from the motherboard.
-
-
-
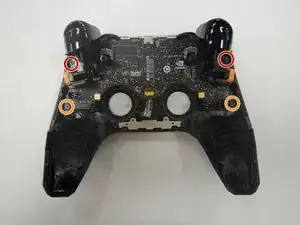
Use a Torx TR6 screwdriver to remove the two 7mm screws towards the top of the frame.
-
Use the Torx T5 screwdriver to remove the two 5mm screws in the bottom corners of the frame.
-
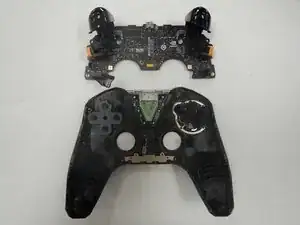
Lift out the motherboard from the case.
-
To reassemble your device, follow these instructions in reverse order.
