Introduction

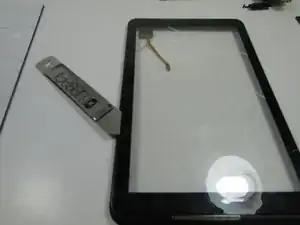
This repair may take some time because you have to remove everything in the device in order to access the screen and adhesive is used to keep the screen attached to its frame.

  1. Tx1x1GTNBu2LSZDw
    Tx1x1GTNBu2LSZDw
    h5IpPRcKeOxKJPAN
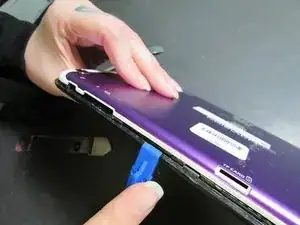
    • Use a Heat Gun to heat the sides of the device and loosen the adhesive.

    • Heat the adhesive/device to just barely too hot to touch.

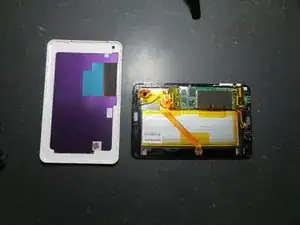
    • Pry up the the back of the device.

    • This process works best if you go one side at a time.

  2. tURpobxYEpIMAfiv
  3. DBTPS2KHwOfWLuGP
    • Peel this connector off the device.

    • This is basically just a sticker, but go slow so you don't tear the connector.

  4. aGjvjHqxOhYlcZYg
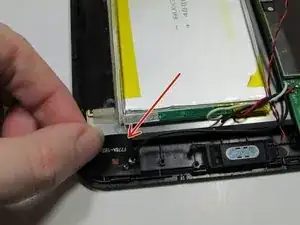
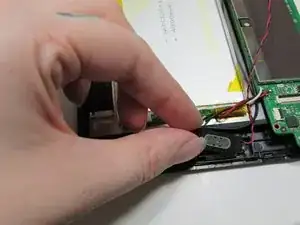
    • Slowly pull the speaker out of its bed.

    • The speaker piece is glued down.

  5. Pta3ZIjWXDVQCyHT
    Pta3ZIjWXDVQCyHT
    dNyp1fNbwSsBxcAH
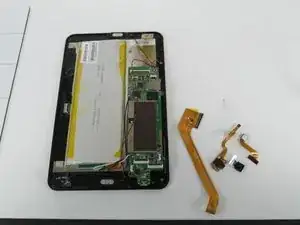
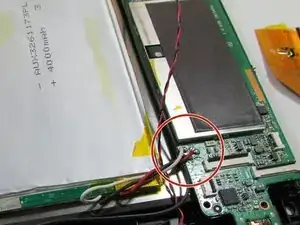
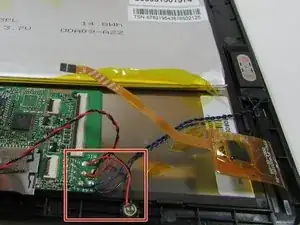
    • If you have not done so already, de-solder the boards from the device.

    • De-soldering the wires right now makes sure none of the wires are damaged or broken when we move the components.

  6. 5dQGHOpybETATpkg
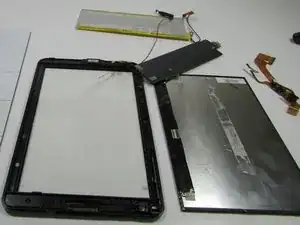
    • The touch screen should lift right out of the device.

  7. bTFlskioaw4XyKR3
    • Use the Heat Gun to heat the adhesive between the screen and edge protector.

    • Pry the two pieces apart.

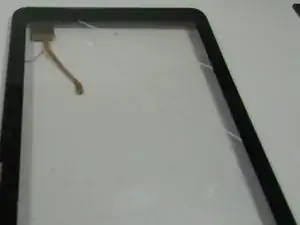
    • Be careful of the circuit ribbon for the touch screen when prying the two pieces apart. The ribbon threads through both pieces.

    • Remember: Heating the device to 'almost to hot to touch' makes the process easier to work with.

    • Tip: Try the heating & prying process on one side of the device at a time.

Conclusion

To reassemble your device, follow these instructions in reverse order.
Kelsey Riggs

Member since: 25/01/17

486 Reputation

0 comments