Introduction
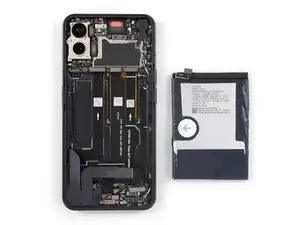
Use this guide to replace a worn-out or dead battery in your Nothing Phone (1).
If your battery is swollen, take appropriate precautions.
For your safety, discharge the battery below 25% before disassembling your phone. This reduces the risk of fire if the battery is accidentally damaged during the repair.
You’ll need replacement adhesive to reattach the rear glass when reassembling the device. Your device will function normally, but will most likely lose its IP (Ingress Protection) rating.
Tools
Parts
-
-
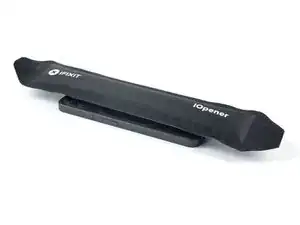
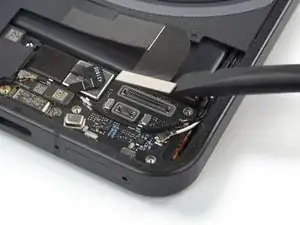
Prepare an iOpener and apply it to the rear glass for at least two minutes to loosen the adhesive underneath.
-
-
-
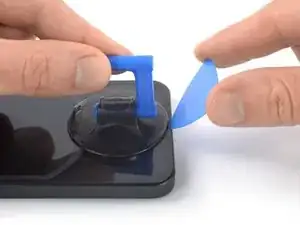
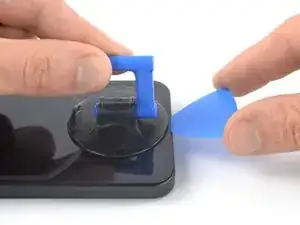
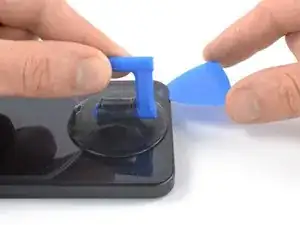
Secure a suction handle to the bottom edge of the rear glass, as close to the edge as possible.
-
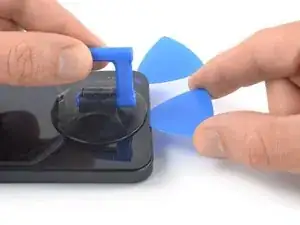
Lift the rear glass with the suction handle to create a small gap between the back cover and the frame.
-
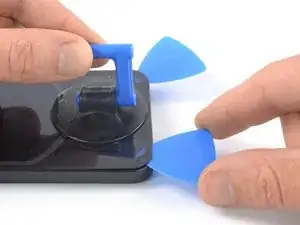
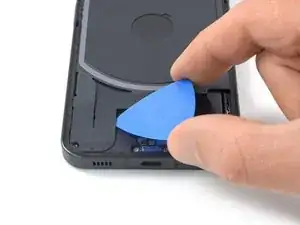
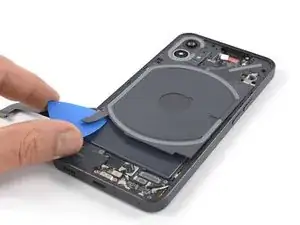
Insert an opening pick into the gap you created.
-
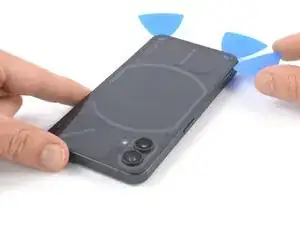
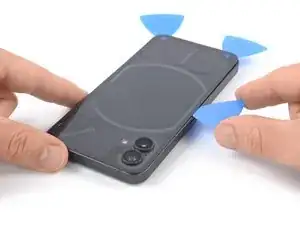
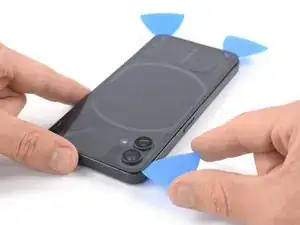
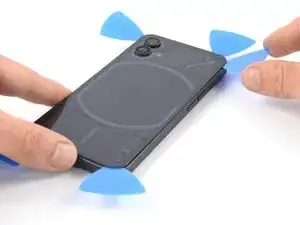
Slide the opening pick to the bottom right corner to slice the adhesive.
-
Leave the opening pick in place to prevent the adhesive from resealing.
-
-
-
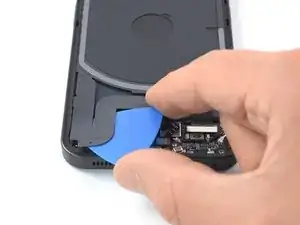
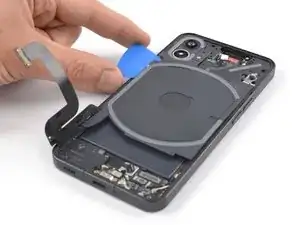
Insert a second opening pick at the bottom edge of your phone.
-
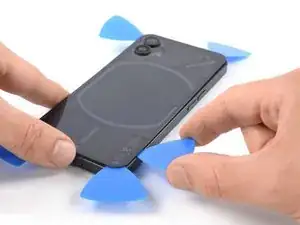
Slide the opening pick to the bottom left corner to slice the adhesive.
-
Leave the opening picks in place to prevent the adhesive from resealing.
-
-
-
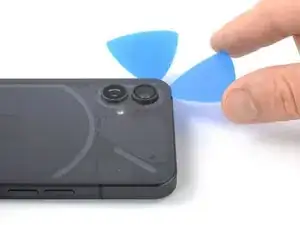
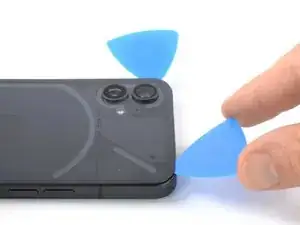
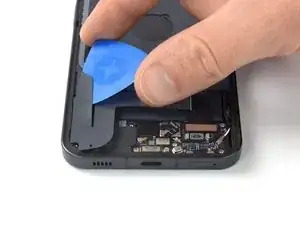
Insert a third opening pick at the bottom left corner of your phone.
-
Slide the opening pick along the left edge of your phone to slice the adhesive.
-
Leave the opening pick in the top left corner to prevent the adhesive from resealing.
-
-
-
Insert a fourth opening pick underneath the top left corner of your phone.
-
Slide the opening pick along the top edge to slice the adhesive.
-
Leave the opening pick in the top right corner to prevent the adhesive from resealing.
-
-
-
Insert a fifth opening pick underneath the top right corner.
-
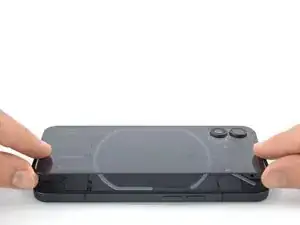
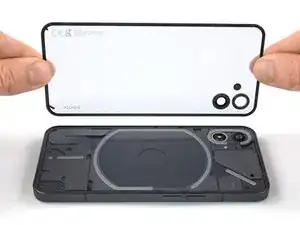
Slide the opening pick along the right edge of the rear glass to slice the remaining adhesive.
-
-
-
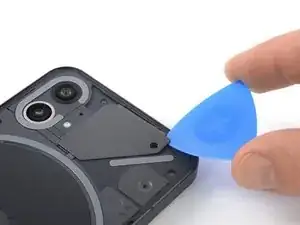
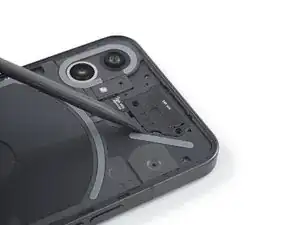
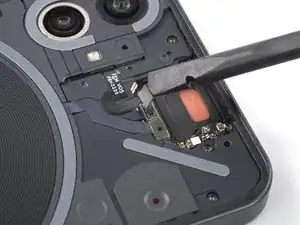
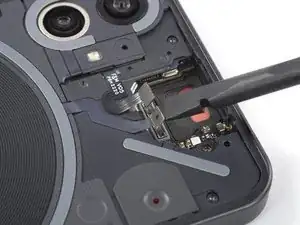
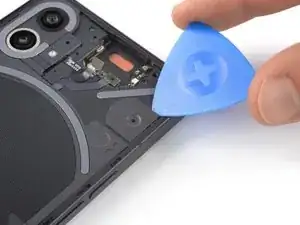
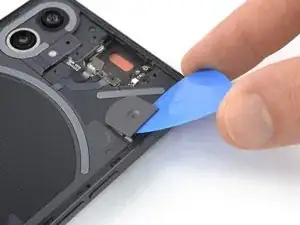
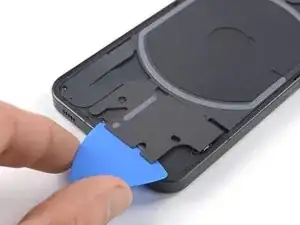
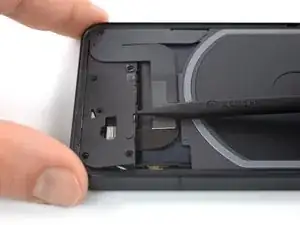
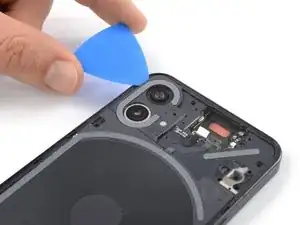
Insert an opening pick underneath the grey plastic cover at the top edge of your phone.
-
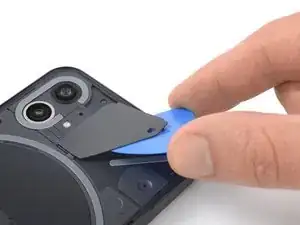
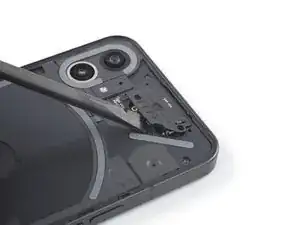
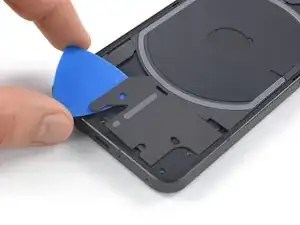
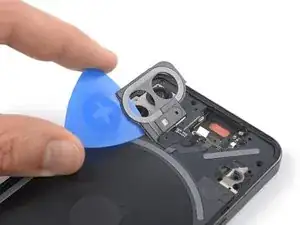
Use your opening pick to pry up the plastic cover.
-
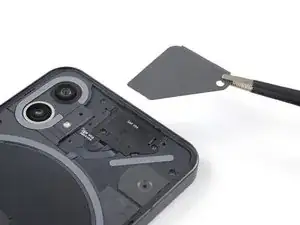
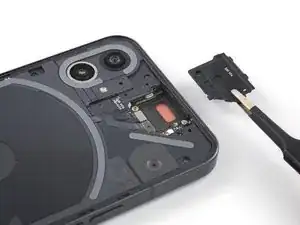
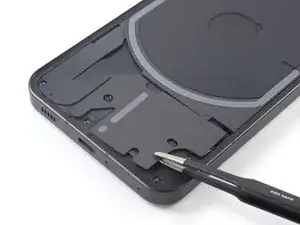
Remove the plastic cover.
-
-
-
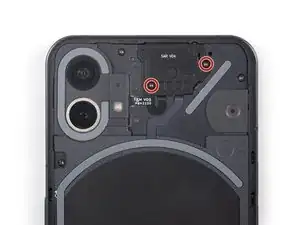
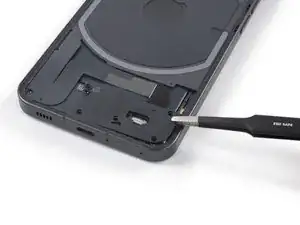
Use a Torx T5 screwdriver to remove the two 4.2 mm-long screws securing the earpiece speaker.
-
-
-
Insert the flat end of a spudger underneath the bottom edge of the earpiece speaker.
-
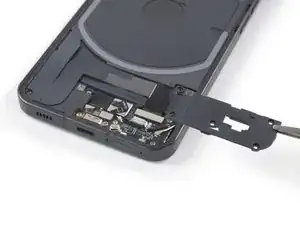
Use your spudger to pry up the earpiece speaker.
-
Use a pair of tweezers or your fingers to remove the earpiece speaker.
-
-
-
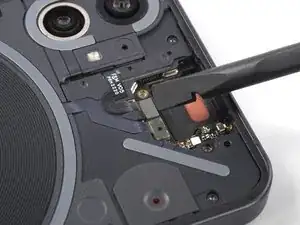
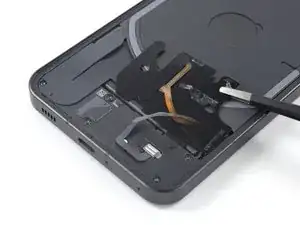
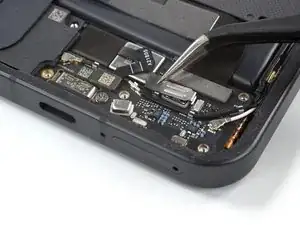
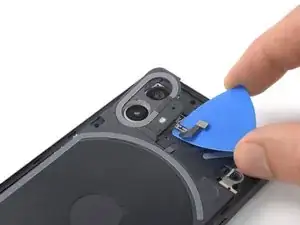
Use a spudger to disconnect the flash assembly cable by prying the connector straight up from its socket.
-
Use a spudger to disconnect the LED glyph cable by prying the connector straight up from its socket.
-
-
-
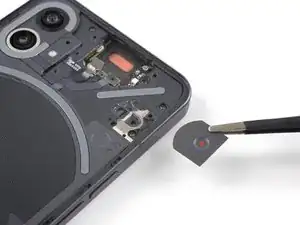
Insert an opening pick underneath the recording indicator light cover at the top right corner of the screen.
-
Use your opening pick to pry up the plastic cover.
-
Use a pair of tweezers or your fingers to remove the recording indicator light cover.
-
-
-
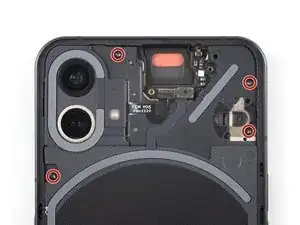
Use a Torx T5 screwdriver to remove the four 4.2 mm-long screws securing the motherboard cover.
-
-
-
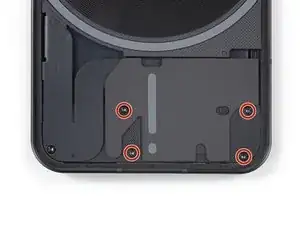
Use a Torx T5 screwdriver to remove the four 4.2 mm-long screws securing the daughterboard cover.
-
-
-
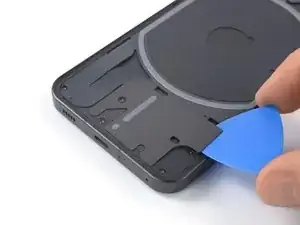
Slide an opening pick underneath the right, bottom and left edge of the bottom LED assembly to carefully separate it from the daughterboard cover.
-
-
-
Use a pair of blunt nosed tweezers and carefully fold the bottom LED assembly over to get free access to the LED cable connector.
-
-
-
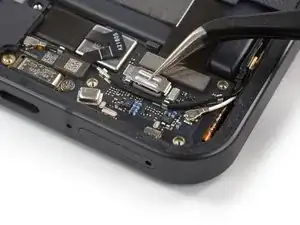
Insert one arm of a pair of tweezers into the gap at the right side of the connector bracket.
-
Push your tweezers toward the left edge of the phone to free the closure flap of the connector bracket.
-
Lift the connector bracket with your tweezers to access the LED connector.
-
-
-
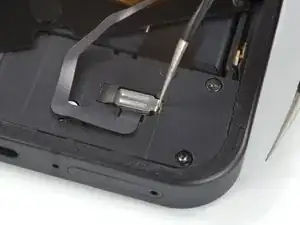
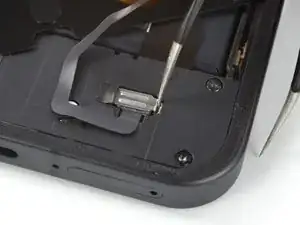
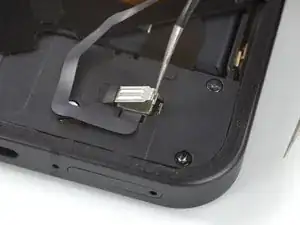
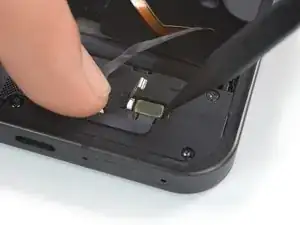
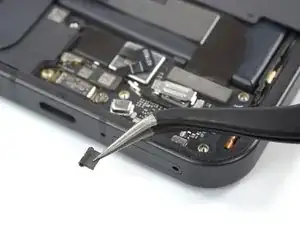
Use a spudger to disconnect the LED cable by prying the connector straight up from its socket.
-
-
-
Use a Torx T5 screwdriver to remove the five 4.2 mm-long screws securing the daughterboard cover
-
-
-
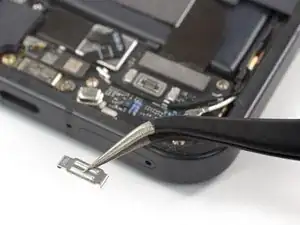
Use a pair of tweezers to carefully separate the grey plastic shield from the daughterboard cover and remove it.
-
-
-
Insert the pointed end of a spudger underneath the top edge of the daughterboard cover just above the black rubber guard securing the LED connector bracket.
-
Pry up with the spudger to release the daughterboard cover from its clips.
-
-
-
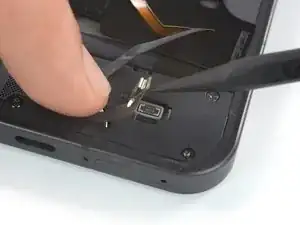
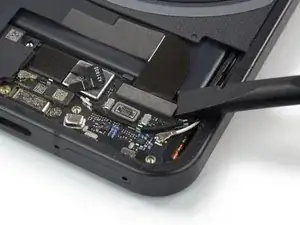
Use a spudger to disconnect the interconnect cable by prying the connector straight up from its socket.
-
-
-
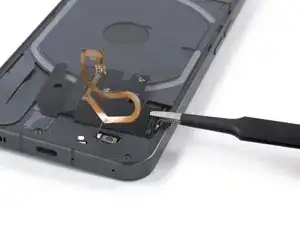
Carefully slide an opening pick underneath the interconnect cable to separate it from the charging coil assembly and the loudspeaker.
-
-
-
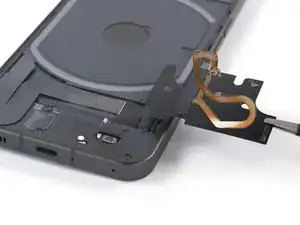
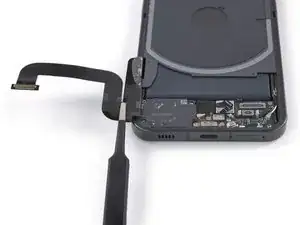
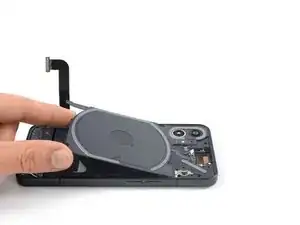
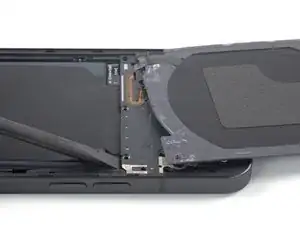
Use a pair of tweezers to fold the interconnect cable to the left like you'd open the cover of a book.
-
-
-
Insert an opening pick underneath the bottom right edge of the charging coil assembly.
-
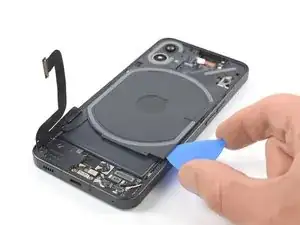
Slide the opening along the right edge of the charging coil assembly to separate the adhesive.
-
-
-
Insert an opening pick underneath the bottom left edge of the charging coil assembly.
-
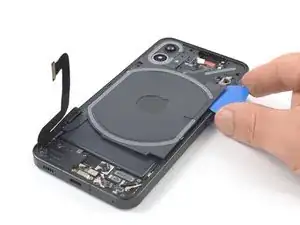
Slide the opening along the left edge of the charging coil assembly to separate the adhesive.
-
-
-
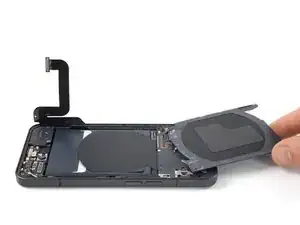
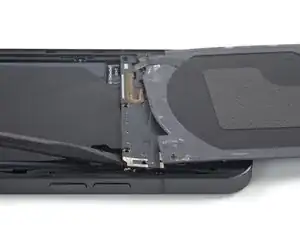
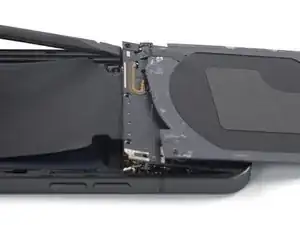
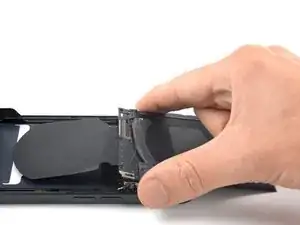
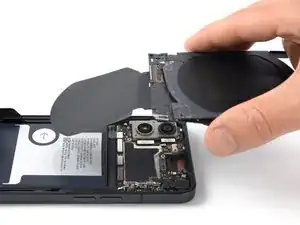
Carefully fold the charging coil to the top edge of the phone to access the motherboard cover screws.
-
-
-
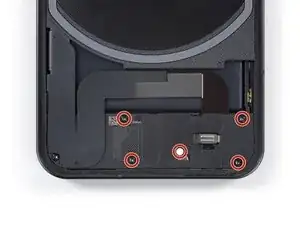
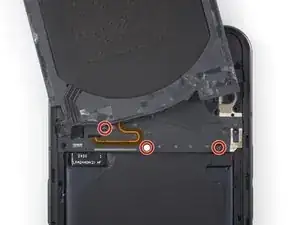
Use a Phillips screwdriver to remove the three 4.2 mm-long screws securing the motherboard cover.
-
-
-
Return the charging coil to its original position.
-
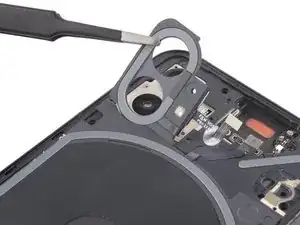
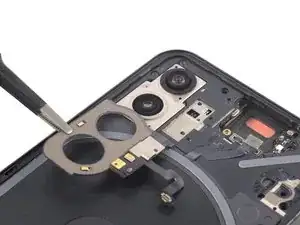
Carefully slide an opening pick underneath the camera cover and flash assembly to separate it from the motherboard cover.
-
-
-
Use a pair of tweezers to carefully fold the camera cover and flash assembly toward the battery.
-
-
-
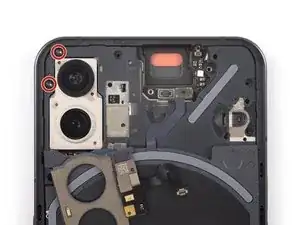
Use a Torx T5 screwdriver to remove the two 4.2 mm-long screws securing the motherboard cover.
-
Return the camera cover and flash assembly to its original position.
-
-
-
Carefully fold the charging coil to the top edge of the phone to access the bottom edge of the motherboard cover.
-
Insert the flat end of a spudger underneath the bottom right edge of the motherboard cover.
-
Pry up with the spudger to release the motherboard cover from its clips.
-
Repeat the prying procedure for the bottom left edge of the motherboard cover.
-
-
-
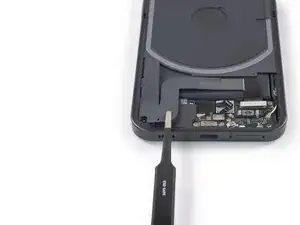
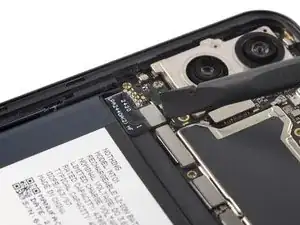
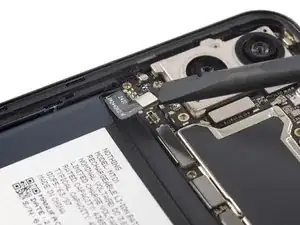
Use a spudger to disconnect the battery cable by prying the connector straight up from its socket.
-
-
-
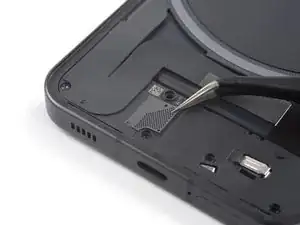
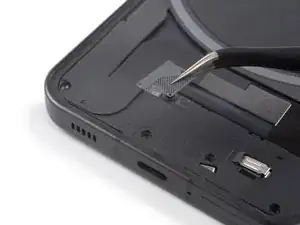
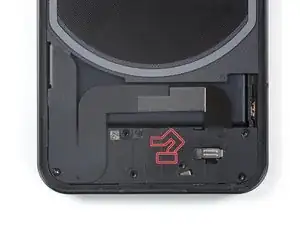
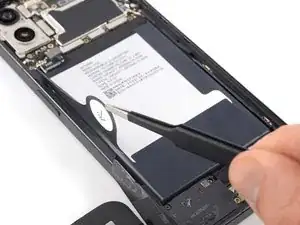
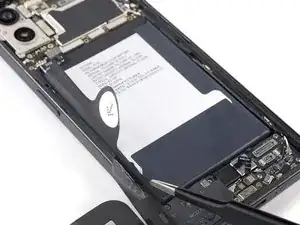
Use a pair of blunt nose tweezers or a clean fingernail to peel the pull-tab labeled with an arrow off the battery.
-
Use the blunt nose tweezers to peel off remaining pieces of the pull-tab from the left battery edge.
-
-
-
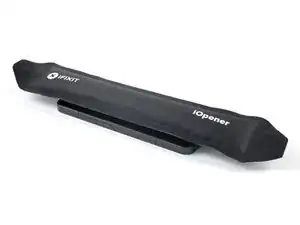
Apply a heated iOpener to the screen to loosen the battery adhesive. Apply the iOpener for at least 2 minutes.
-
-
-
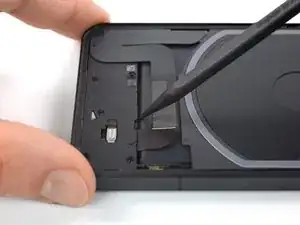
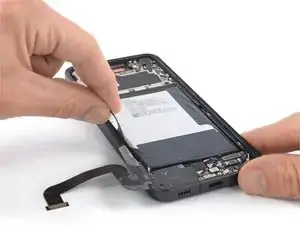
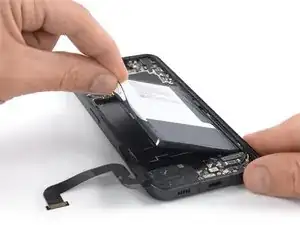
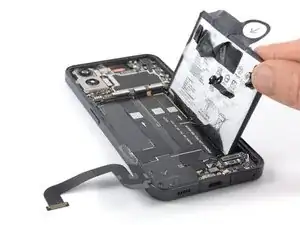
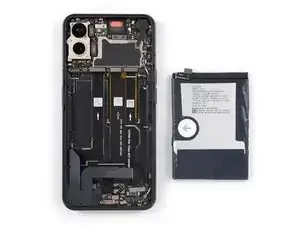
Grab the pull-tab and pull up on the adhesive strip to lift the battery out of its recess and swing it up to an upright position.
-
If possible, turn on your device and test your repair before installing new adhesive and resealing.
To reassemble your device, follow these instructions in reverse order. During reassembly apply new adhesive where necessary after cleaning the relevant areas with isopropyl alcohol (>90%).
For optimal performance, calibrate your newly installed battery after completing this guide.
Take your e-waste to an R2 or e-Stewards certified recycler.
Repair didn’t go as planned? Try some basic troubleshooting, or ask our Answers community for help.
3 comments
and where can i buy new battery?
petawe -
Hallo, ersten danke für die coole und aufschlussreiche Erklärung zum Akku Tausch dieses Handys. Habt ihr eine Ahnung wo man diesen Akku her bekommen kann?
LG Jörg
Hallo, nach langer Dauer habe ich herausgefunden wo man einen Akku für das Norhing Phone (1) bekommt. Ich habe ihn vor kurzem selbst verbaut und er funktioniert einwandfrei.
https://a.aliexpress.com/_EzNY1sh
LG Jörg


Bereite einen iOpener* vor und platziere ihn für einige Minuten am rückseitigen Glas, um den Kleber darunter zu lösen.
*Ein Haarfön, eine Heissluftpistole und ähnliches könnte auch zum erwärmen verwendet werden. Dies aber BITTE mit Vorsicht, Akkus mögen zu starke Hitze nicht z.B.
byte park -