Introduction
Tools
-
-
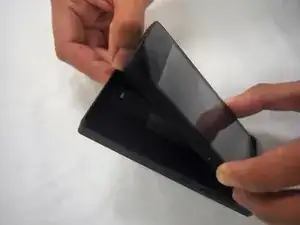
Remove the back cover of the device by applying light pressure toward the outer rim and display.
-
-
-
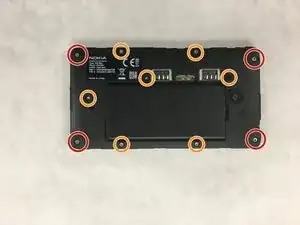
Remove 7 (size 4 M1 4*3.5) and 4(size 6 M2 6*4.5) screws using P5 hex screwdriver.
-
The M2 screws are shown in red.
-
The M1 screws are shown in orange.
-
-
-
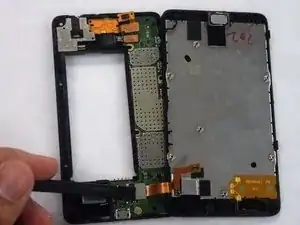
Gently separate the display from the chassis.
-
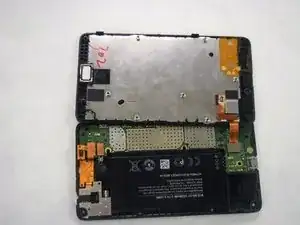
Slowly spread the display and chassis until the inside of the device is reachable.
-
Conclusion
To reassemble your device, follow these instructions in reverse order.


