
Introduction
This guide will give step-by-step instructions for removing the Nokia 6236i front casing without damage. This action may be considered if the front case is cracked, needs in-depth cleaning, or keyboard buttons need replacement.
-
-
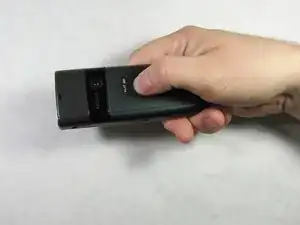
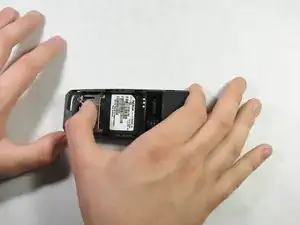
Using your thumb, apply pressure to the battery casing (below the camera). Firmly pull towards the bottom of the phone.
-
Lift the battery case off of the phone.
-
-
-
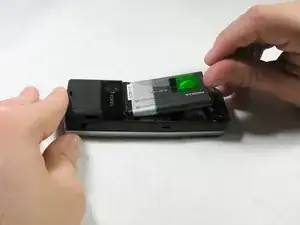
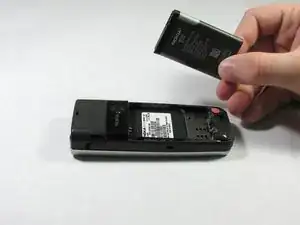
Use your thumb to get underneath the battery and pull up and out from the bottom of the battery tray.
-
The battery should lift out with minimal resistance.
-
-
-
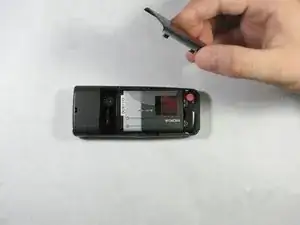
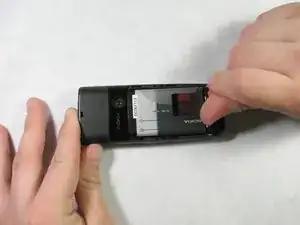
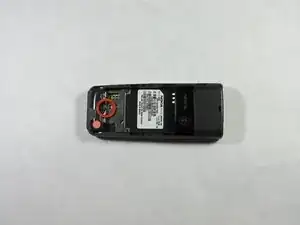
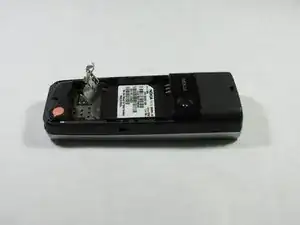
Once the battery is removed, pull the tab of the metal sim card cover, and lift it up.
-
The sim card is underneath and can now be removed.
-
-
-
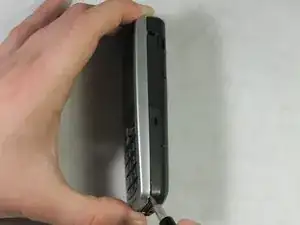
Insert a spudger into the indention on the bottom right side of the device.
-
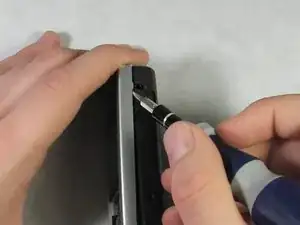
Slide the spudger upward to a second indention at the top of the phone.
-
The front casing will detach from the phone.
-
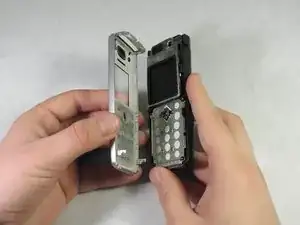
The front casing will be detached without causing damage to the case or phone model.
For reassembly, complete the listed steps in reverse.