Introduction

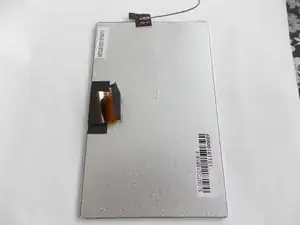
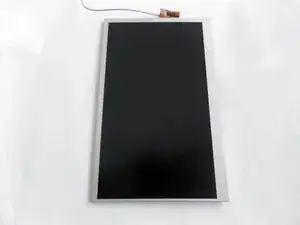
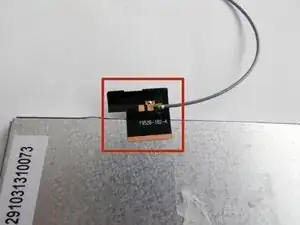
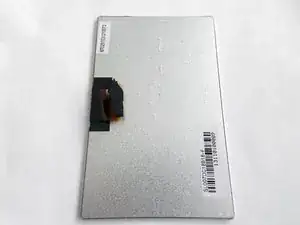
You can use this guide to replace the malfunctioning or cracked screen of the Nobis NB07 tablet. To do so, you will need to completely disassemble the tablet, using soldering tools in the process.

  1. rFi2fqDxS6EjjHxY
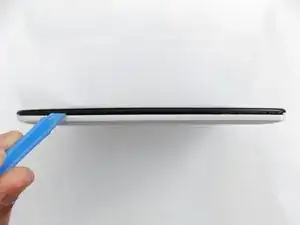
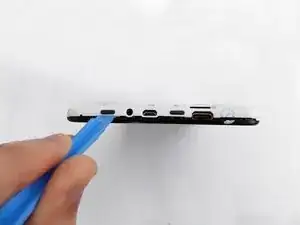
    • Look towards the topside of the tablet, where the power button is located.

    • Insert a plastic opening tool in the crack between the two parts of the case.

    • Move it gently back and forth to open the case.

  2. nVx4VHobZE1FksaY
    nVx4VHobZE1FksaY
    yKBkMhDlMFOqWDAX
    eNJHZkGXvvGXPYnG
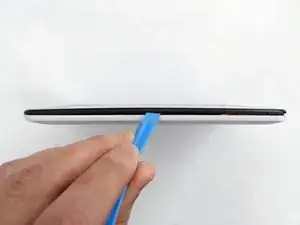
    • With the plastic opening tool in the opening between the two sides of the case, slide the tool along the tablet's border to separate the two sides completely.

    • Be careful when you separate the two halves. Open the case from the opposite side of the camera, there is a cable connecting both halves of the case.

  3. lovyBpP4PBuveIDL
    lovyBpP4PBuveIDL
    dHapKFTKUSZofwow
    1pXBmRrSrULpFaqI
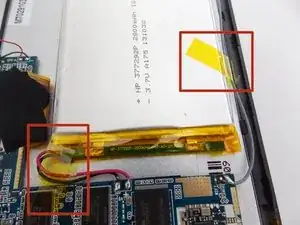
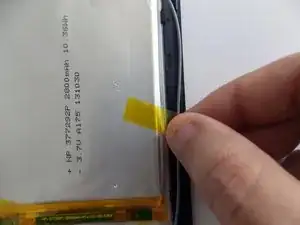
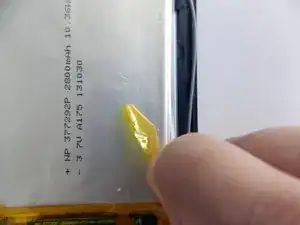
    • Remove the tape holding the battery in place.

  4. IRNF3H6vc5tAjnkl
    IRNF3H6vc5tAjnkl
    aLKyTAtmDbaZX2HO
    gJL2awI5osS3VhrD
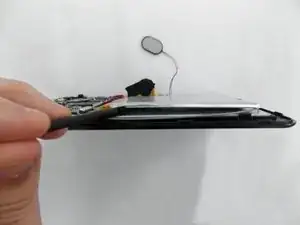
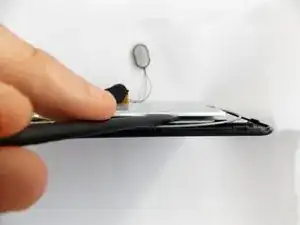
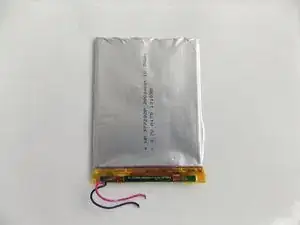
    • Insert the flat end of the spudger tool in the crack beneath the battery.

    • Move the spudger tool carefully side to side to remove the glue that is holding the battery in place.

    • This is a soft battery, so a little bending is expected.

  5. 4IvCeQxsfXZdg3oP
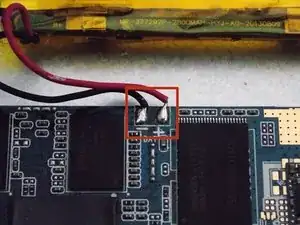
    • After the battery is unglued, locate the cables that connect it to the motherboard.

    • Annotate where each color goes to make the reassembly easier.

  6. eJQSeBLYFthaYwAL
    eJQSeBLYFthaYwAL
    lTq22X6fjugU1oDL
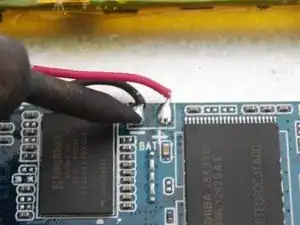
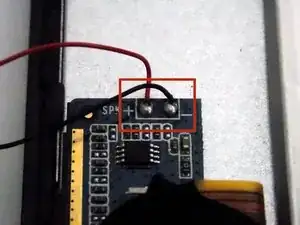
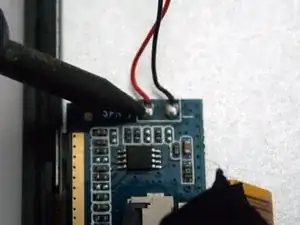
    • Desolder the cables with a soldering iron and use a desoldering braid to remove the solder.

    • Review the Ifixit soldering guide if you need help soldering.

    • You can now remove the battery.

  7. jEnDKRVlsROpOor6
    jEnDKRVlsROpOor6
    GgVknbBNGjTKxTpu
    tjnKItkndeyVaFdl
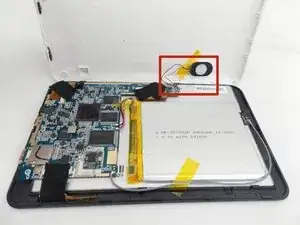
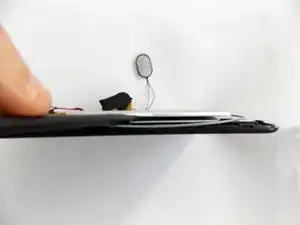
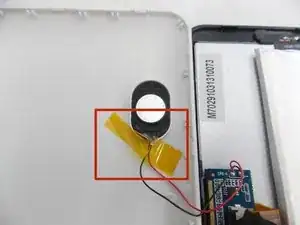
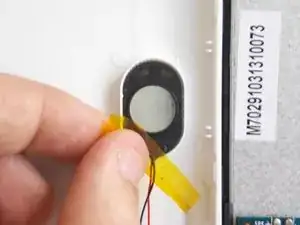
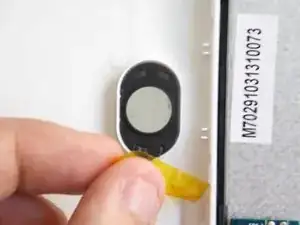
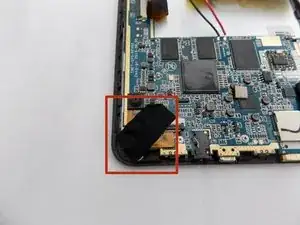
    • Remove the tape holding the speaker in its socket.

  8. lYHXY4AFOHPHgMW3
    lYHXY4AFOHPHgMW3
    wJS2CK5xgCS6KfIb
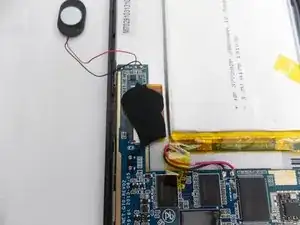
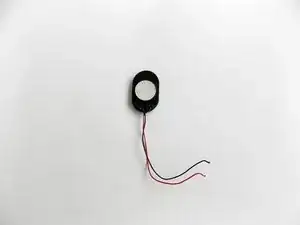
    • After you remove the tape, remove the speaker from its socket. You can place the speaker on one side of the tablet to have more freedom.

    • Look for the place where the speaker's cables meet with the motherboard.

    • Annotate where which color goes to make the reassembly easier.

  9. V121ePZymOqWKOv1
    V121ePZymOqWKOv1
    ZBZckDQ1OuGhVYZE
    • Use a soldering iron to desolder the cables and extract the solder using a desoldering braid.

    • Review the Ifixit soldering guide if you need help soldering.

    • You can now remove the speaker.

  10. PLORxGrZUo542M3x
    PLORxGrZUo542M3x
    YMrM1FANniDBMclW
    D4YFiPqOFHFq1fLw
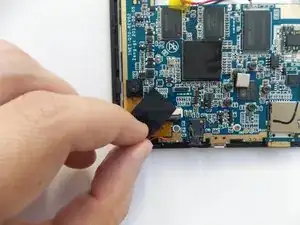
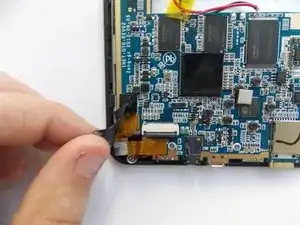
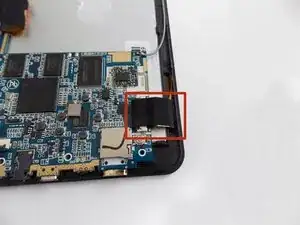
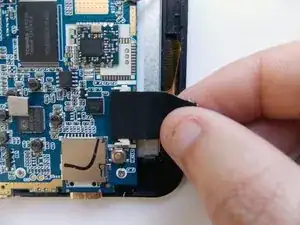
    • Remove the black tape covering the cameras power cable.

  11. kHBQpIyUACaLc5rH
    kHBQpIyUACaLc5rH
    C1nLI1a3ksSBDaqK
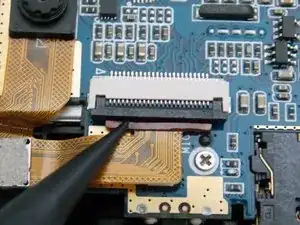
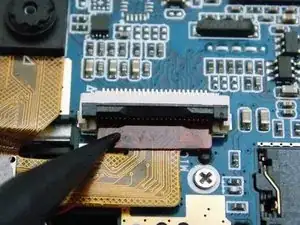
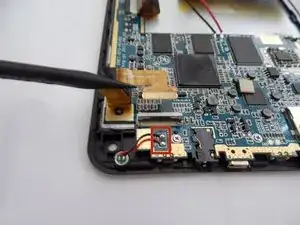
    • Use the spudger tool to pry upwards the ZIF connector and release the power cable.

  12. RmVGAW5iXxKOlWYA
    RmVGAW5iXxKOlWYA
    HuvUPC3JNhFp6AT1
    4OLOqvp2AxusSBMe
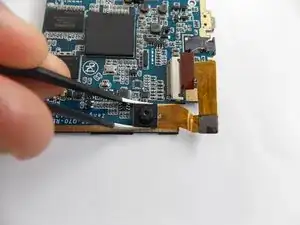
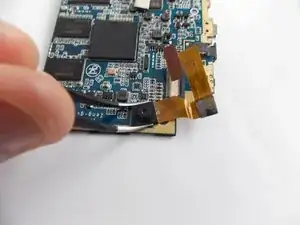
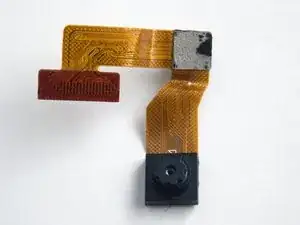
    • With the power cable disconnected, the backside camera is free. However, both cameras are sequentially connected through the power cable; the front side camera is glued to the motherboard.

    • Using tweezers, carefully grab the front camera and twist slowly.

    • The camera should release easily, do not twist too hard.

    • You can now remove the cameras.

  13. 4N5YWcmPsip5wFUZ
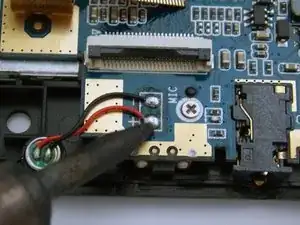
    • Locate the microphone's cables in front of the cameras' ZIF connector.

    • Annotate where each color goes to make the reassembly easier.

  14. OwMpqNWasYL2nUER
    • Desolder the cables with a soldering iron and use a desoldering braid to remove the solder.

    • Review the Ifixit soldering guide if you need help soldering.

  15. hLrreMBqPAmQFmeO
    hLrreMBqPAmQFmeO
    FpOtSsPANG6aUKlI
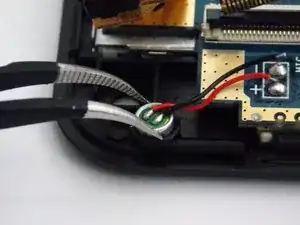
    • Use the pointy end of the tweezers to retrieve the microphone from its socket.

    • You can now remove the microphone.

  16. AFDg34Al6KkduVtS
    AFDg34Al6KkduVtS
    BwSwOUZxpaLHtKiY
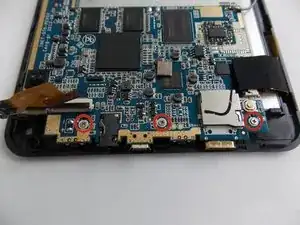
    • Use the T4 Torx screwdriver to remove the 4.0 mm T4 Torx screws.

  17. 2XODHISN4nFSyaRP
    2XODHISN4nFSyaRP
    qUVlRyas2ZqrZAiA
    ePkbEVcTs1bCXaNT
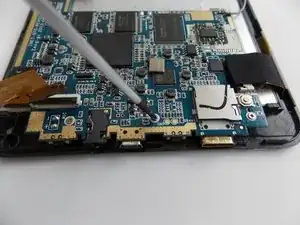
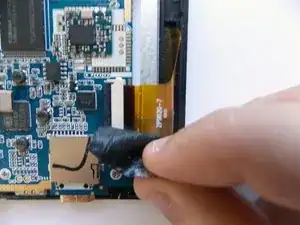
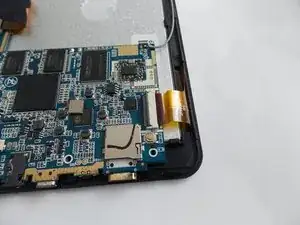
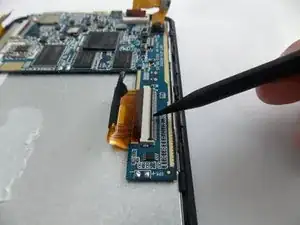
    • Remove the black tape covering one of the screen power cables.

  18. te2KvfqOOhRZVeBq
    te2KvfqOOhRZVeBq
    oRCiHCnR3uYXMFJf
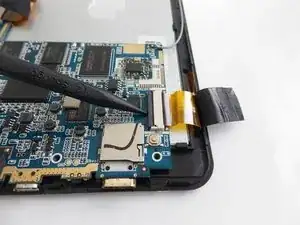
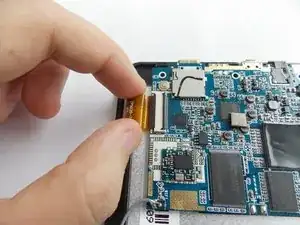
    • Use the spudger tool to pry the ZIF connector upwards so that it releases the power cable.

  19. n5MIifQUrEuMShbN
    n5MIifQUrEuMShbN
    kOHlEMdcRurO2LYs
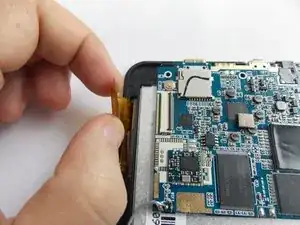
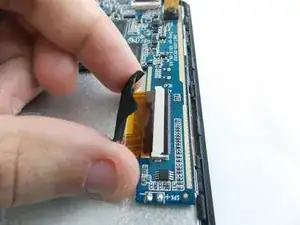
    • Grab the power cable and pull backwards gently.

  20. llPWB5tFsHwG4QUa
    llPWB5tFsHwG4QUa
    ejh4J5Ujn4GrYqMN
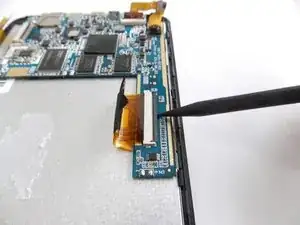
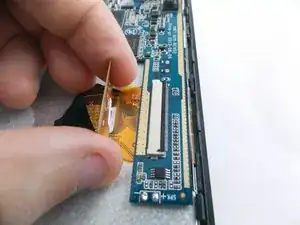
    • Use the spudger tool to pry the ZIF connector on the other side of the tablet upwards so that it releases the power cable.

  21. oXYbavBciEAGqINs
    oXYbavBciEAGqINs
    3RFZiqpE26SUHyM5
    • Grab the power cable and pull backwards gently.

  22. b5kWukG3Sph62fqB
    b5kWukG3Sph62fqB
    ss15rtCHVF2WWHiJ
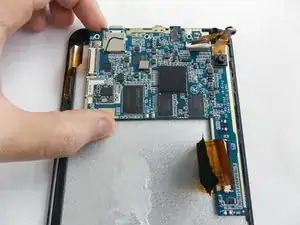
    • Grab the now loose motherboard and move it to any side of the case.

    • There is still one cable connecting the motherboard to the screen. Since it does not hurts the process, you can leave it there until the end. If you want to remove it now, go to Step 25 and then come back.

  23. E5ItSuJS4HHaiOnC
    E5ItSuJS4HHaiOnC
    XqblxlL66VoGXLXq
    TLHYmIMEKe43QVQI
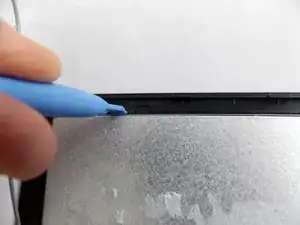
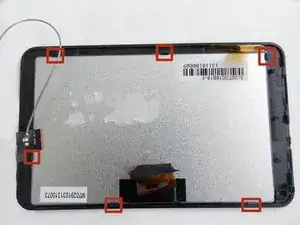
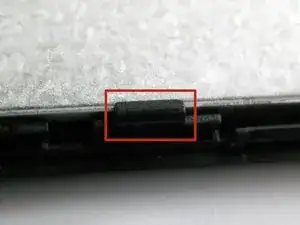
    • Insert the plastic opening tool between the screen and the case to release the clasps holding the screen.

  24. JOSwpSFbPERQxtaf
    JOSwpSFbPERQxtaf
    uRJN5A3AhRbXHQVg
    • Remove the screen from the case.

  25. C45G3BvY1sP6BsLK
    C45G3BvY1sP6BsLK
    tcejAB5CQA1VnTTo
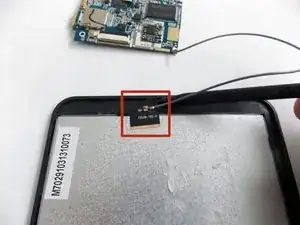
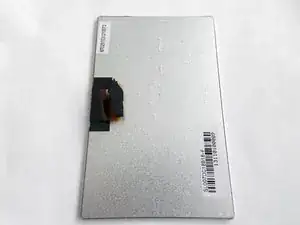
    • Remove the taped cable from the screen.

    • You can now remove the screen.

Conclusion

To reassemble your device, follow these instructions in reverse order.

Daniel Gomero

Member since: 21/01/15

966 Reputation

One comment

I think that remove the microphone, speakers and cameras are unnecessary. I had change the digiter and don't remove anything just the screws and be careful with the speaker and unlock the digiter cable in the left upper side and that's the parts that I had removed then the parts that you need remove is the battery and the 3 screws and unlock all the cables and the parts attached to the screen and that's it....
Karen De Leon -