Introduction
This guide will show you how to take apart and replace the Wii U Pro Controller's secondary trigger buttons, the ZL and ZR buttons.
-
-
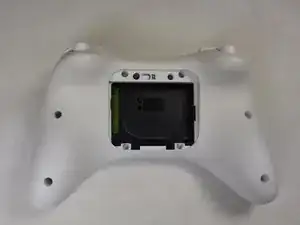
Turn the controller over to reveal the battery cover.
-
Use the J000 screwdriver to remove the screw that secures the battery cover.
-
-
-
Remove the battery from the controller by inserting the plastic spudger into the small gap on the bottom right of the battery.
-
Use the spudger as a lever to pry up and remove the battery from the compartment.
-
-
-
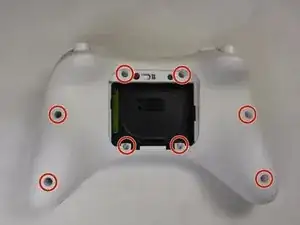
Once the battery has been removed, we will remove the 4 screws in the battery compartment and then the 4 screws around the back of the case. These 8 screws use the Y0 bit. Each of these screws are 5.5 mm.
-
-
-
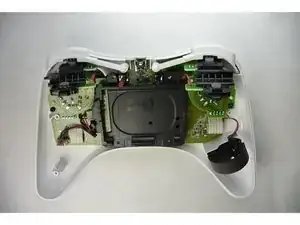
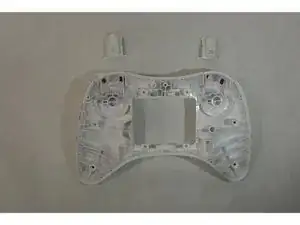
Once all of the screws are removed, simply use one hand to hold the front panel in place and lift up on the back panel to remove it. Place the back panel so the insides are facing up towards you.
-
-
-
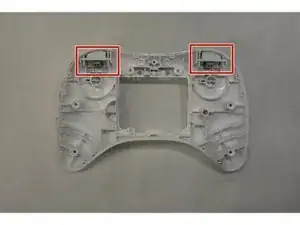
Locate the two triggers (ZL and ZR) and pop them up and out by pressing on them from the outside.
-


To reassemble your device, follow these instructions in reverse order.
