Introduction
With extended use over time, Switch models may malfunction. This guide will cover how to replace a malfunctioning SD card reader. The Switch system is widely recognized for its limited internal storage capacity, hence it may prove challenging for users to download and install additional game titles without a properly functioning SD card.
To fix an SD card reader you need to replace the FPC connector socket which connects the SD card reader to the motherboard allowing it to properly function.
- For this project, experience with applying flux is strongly recommended.
- Additionally, you should have prior knowledge of how to use a heat gun.
Tools
Parts
-
-
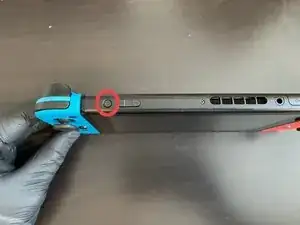
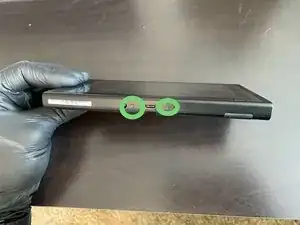
Locate the power button on the top of the Nintendo Switch; it is the indented circular button to the left of the volume buttons and is circled in red in the first image.
-
Press and hold the Power button for three seconds, a power options menu will pop up. Select “Turn Off” in the options menu to power off the Nintendo Switch.
-
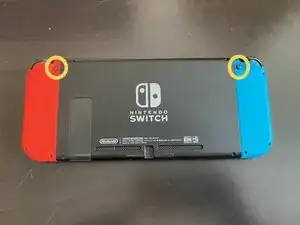
Press and hold the black buttons on the back of the joy cons, and slide them upward to remove them. These buttons are circled in yellow in the second image.
-
-
-
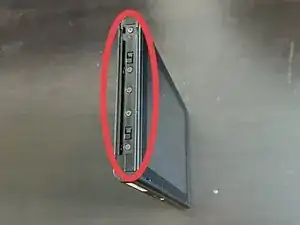
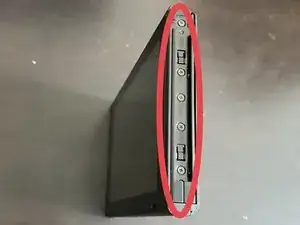
Locate the five Phillips head #00 screws on each side of the device and remove them.
-
Locate the two Phillips head #00 screws from the bottom of the device and remove them.
-
-
-
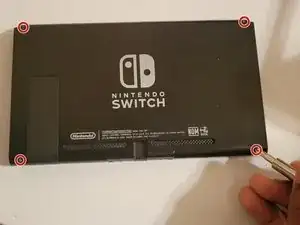
Locate the four tri-wing Y0 screws on the back of the device and remove them.
-
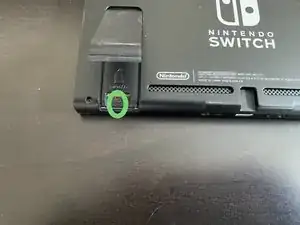
Lift the SD card cover and remove the Phillips head #00 screw from the back of the device.
-
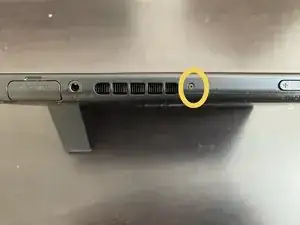
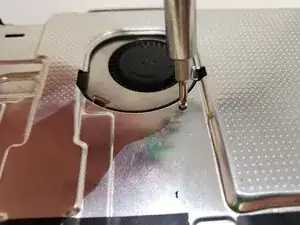
Locate the Phillips head #00 screw on the top of the back cover next to the fan vent and remove it.
-
Carefully remove the back cover from the device.
-
-
-
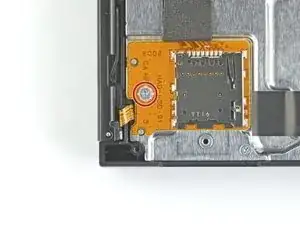
Locate the Phillips head #00 screw securing the microSD card reader to the device and remove it.
-
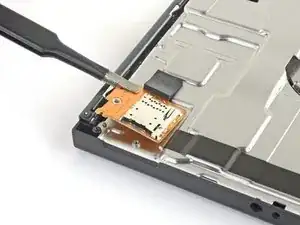
Slowly remove the SD card reader using tweezers.
-
-
-
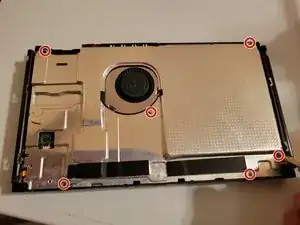
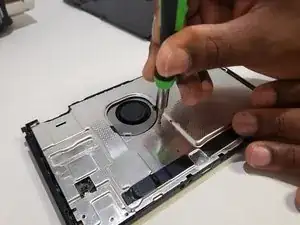
Locate the six Phillips head #00 screws from the metal plate inside of the device and remove them
-
-
-
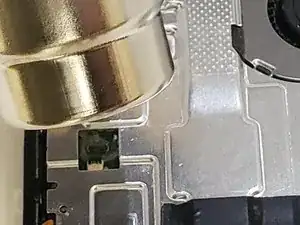
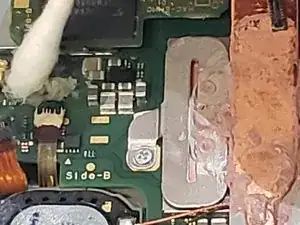
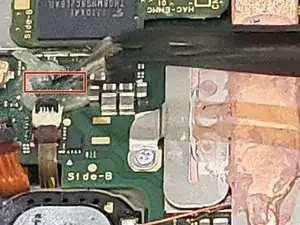
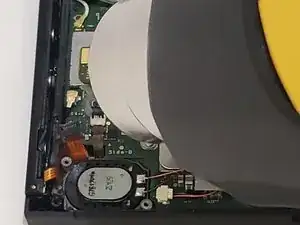
Using the heat gun apply 400°C heat to the connector socket for 30 seconds to loosen the flux.
-
Remove the metal cover plate
-
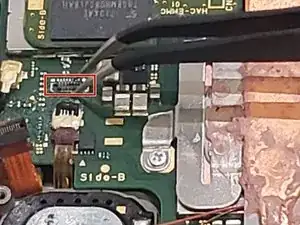
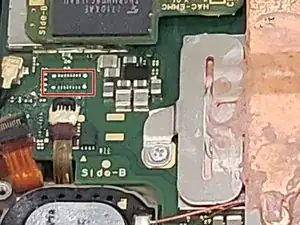
Carefully remove the FPC connector socket using the tweezers.
-
-
-
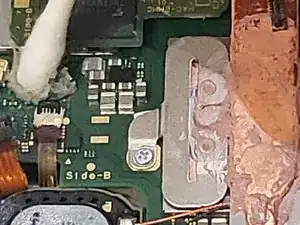
Apply a new coat of flux.
-
Smoothen the surface area using a cotton swab.
-
Insert the new connector socket into the flux.
-
-
-
Use the heat gun to apply 400°C to the new flux to loosen it.
-
Use the cotton swab to ensure that the FPC connector socket is completely secured in the flux.
-
To reassemble your device, follow these instructions in reverse order.
One comment
Question about step 6. "Using the heat gun apply 400°C heat to the connector socket for 30 seconds to loosen the flux." Are you supposed to apply flux before using the heat gun? Or is the flux already on the connector/board from the factory?
