Introduction
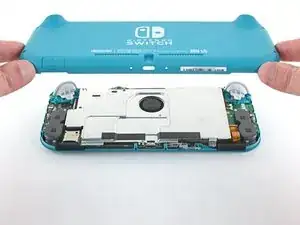
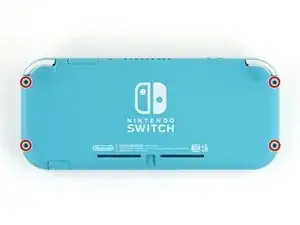
Follow this guide to replace a cracked or damaged back panel on the Nintendo Switch Lite.
The Switch Lite uses JIS screws, but you can use a Phillips screwdriver in a pinch. Be very careful not to strip the screws. iFixit's Phillips bits are designed to be cross-compatible with JIS-style screws.
-
-
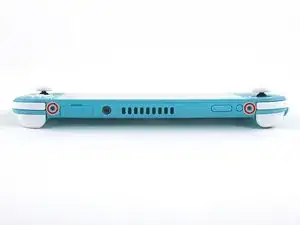
Use a JIS 000 driver or an official iFixit PH 000 driver to remove the following screws securing the back panel:
-
Two 3.6 mm-long screws on the top of the device
-
Two 3.6 mm-long screws on the bottom of the device
-
-
-
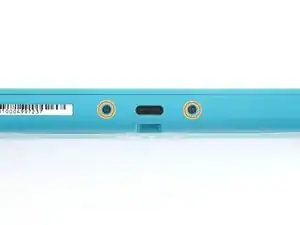
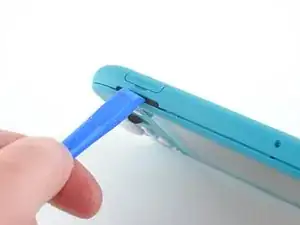
Insert an opening tool into the left speaker grille on the bottom of the device.
-
Twist the opening tool to release the clips securing the back panel.
-
-
-
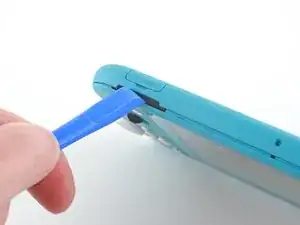
Slide the opening tool around the bottom-left corner to release the clips on the left side of the device.
-
-
-
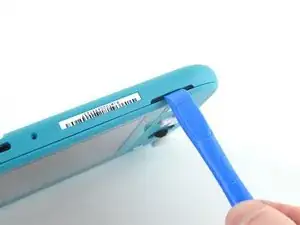
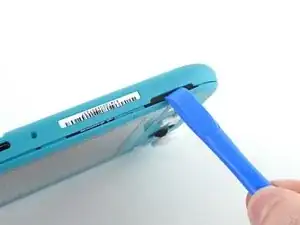
Insert an opening tool into the right speaker grille on the bottom of the device.
-
Twist the opening tool to release the clips.
-
-
-
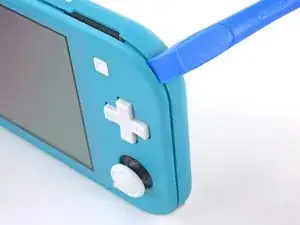
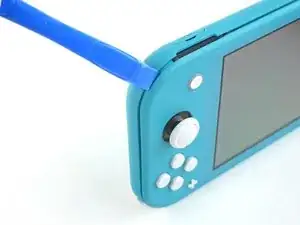
Slide and pry the opening tool around the bottom-right corner to release the clips on the right side of the device.
-
-
-
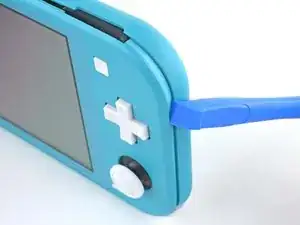
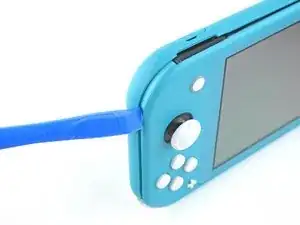
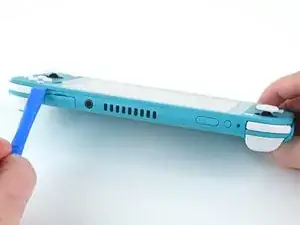
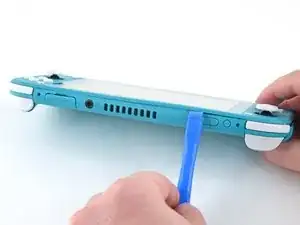
Continue sliding and prying the opening tool along the gap on the top of the device to release the clips.
-
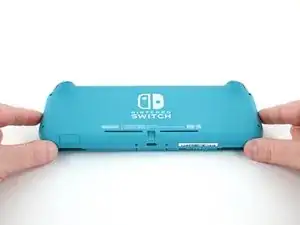
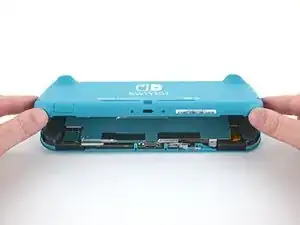

Compare your new replacement part to the original part. You may need to transfer remaining components or remove adhesive backings from the new part before installing.
To reassemble your device, follow these instructions in reverse order.
Take your e-waste to an R2 or e-Stewards certified recycler.
Repair didn’t go as planned? Try some basic troubleshooting, or ask our Nintendo Switch Lite Answers community for help.

All my screws got stripped any ideas on how to remove?
Almost A Mammal -
A Y0 screwdriver seemed to work better for me.
Tommy Morrill -
What type of screw driver do I use to un screw the screws and which way
Luca Capito -
Y 0.6 was all I had but it seemed to fit perfectly
Trevor -