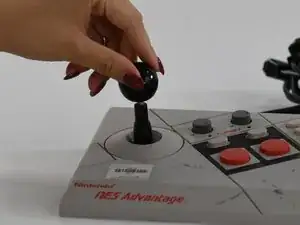
Introduction

  1. YAPPTn4vRFi4sFWt
    • Remove the four sticky pads from the bottom of the device.

    • If the pads are stuck, use a spudger to remove them.

  2. lqp1ggtUyoKOFFqF
    lqp1ggtUyoKOFFqF
    ZwjLnU6xWBhfMWip
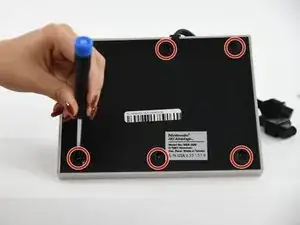
    • Remove the six 8 mm screws from the bottom of the device with a Phillips #0 screwdriver.

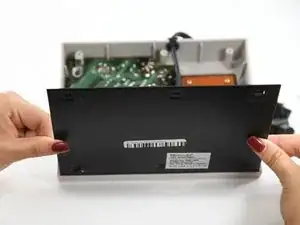
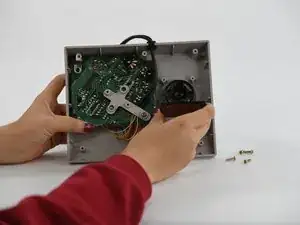
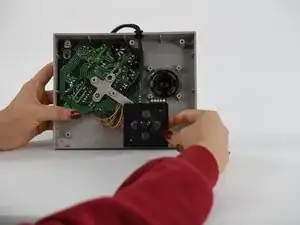
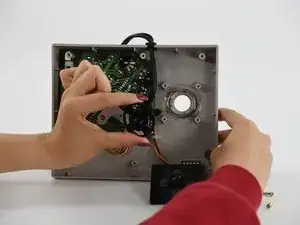
    • Use your hands to pull the back panel away from the controller.

  3. XE1I3PRQ1eJCRyjD
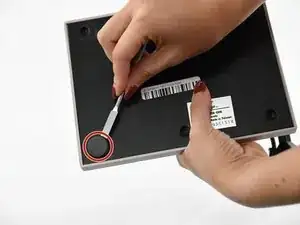
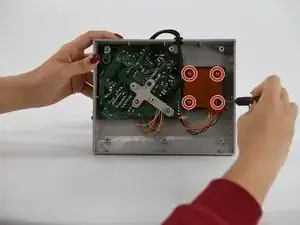
    • Remove the four 12 mm screws from the small square panel on the right with a Phillips #0 screwdriver.
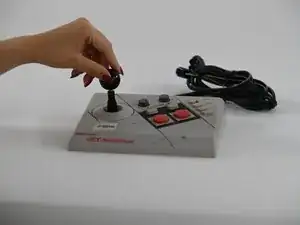
    • While removing the last (fourth) screw, apply downward pressure on the panel. This will make it easier to remove the last screw because of the joystick spring on the other side of this panel.

  4. yLxDfk4JGYpGmLoJ
    yLxDfk4JGYpGmLoJ
    YB3JChlfEF1dL12N
    • Remove the small square panel.

    • This panel is connected with wires to the main circuit board. To replace the joystick panel, you will need to desolder the wires. To learn more about soldering, refer to our How To Solder and Desolder Connections guide.

  5. B4j33EQcQUohSOKT
    B4j33EQcQUohSOKT
    dXl3bL11OXrBtpYd
    • Using your hands, unscrew the ball on top of the joystick.

  6. pBQ2AiCDKMwdnvkH
    • Pull the joystick through the back of the NES Advantage Gamepad.

Conclusion

To reassemble your device, follow these instructions in reverse order.

Kristen Gismondi

Member since: 12/11/14

81237 Reputation

0 comments