Introduction
For clarification, the trackpads and the directional pad are not the same. This guide is for replacing the rubber pads below the buttons, not the buttons themselves.
Tools
Parts
-
-
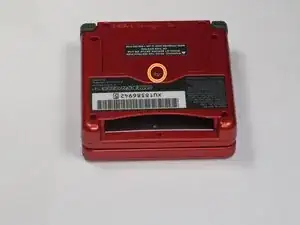
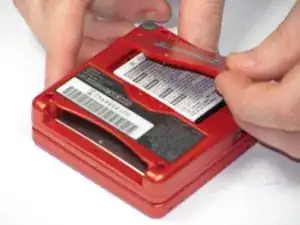
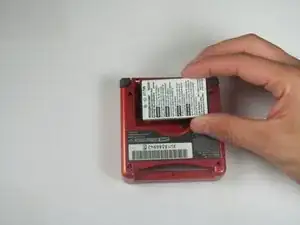
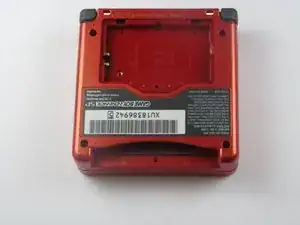
Use a standard Phillips #00 screwdriver to loosen the 4 mm screw that keeps the battery cover attached to the device.
-
-
-
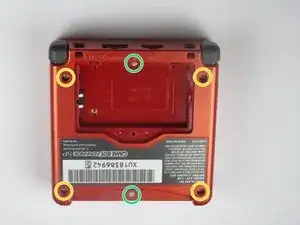
Remove four 6.5 mm screws from the corners of the back cover using a tri-point Y00 screwdriver.
-
Remove two 4.6mm screws from the top-center and bottom-center of the device using a tri-point Y00 screwdriver.
-
-
-
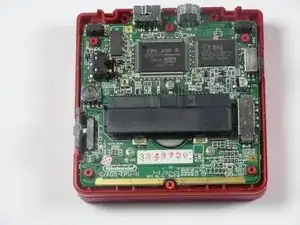
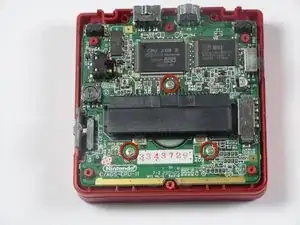
Using a Phillips #00 screwdriver, remove the three Phillips #00 4 mm long screws that hold the motherboard to the button panel.
-
-
-
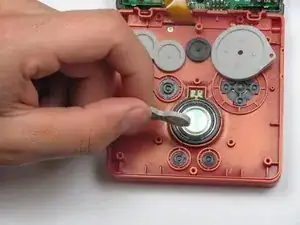
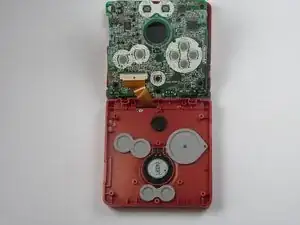
Flip the motherboard up and rest it on the other half of the device, so that the back of the buttons are visible as seen in the picture.
-
-
-
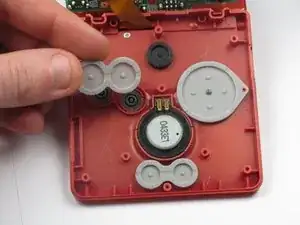
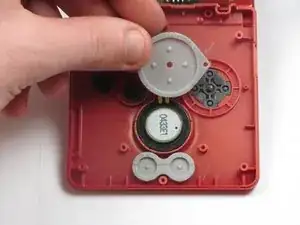
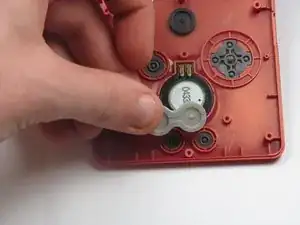
Using your fingers, gently lift and remove the trackpads covering the following:
-
'A' and 'B' buttons
-
Directional Control Button Pad
-
'Start' and 'Select' buttons
-
To reassemble your device, follow these instructions in reverse order.
2 comments
In the tools list, it says tri-point Y1, whereas in the description, it says to use a tri-point Y00. Which one is it really?
Weird to call them "track pads" when no one calls them that. In fact, if you google "gba sp track pads" this is the only result that comes up referring to them that way. It's nice of you to write a guide but if people can't find it because you're using weird nomenclature you won't be helping many people.
Track pads are usually touch sensitive pads for moving cursors around on a computer. These rubber pads are button membranes. "Rubber membranes" or "button membranes" is what you'd usually call them.
Quel est le nom du vis svp je l'ai perdu et j'ai pas la référence
la chaîne de Samarium -
Bonjour @lachainede96340 D'après les instructions du tutoriel, il s'agit d'une vis Phillips (ou cruciforme) #00 de 4 mm de long. Ces mesures devraient suffire pour trouver une vis de remplacement dans votre stock de vis ou en magasin le cas échéant.
Claire Miesch -