Introduction

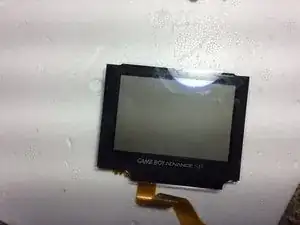
In this guide, I will show you how to replace a screen on your gameboy advance

  1. CbCkBeOFomUIMySN
    CbCkBeOFomUIMySN
    thalbyhliVICFhsU
    kg3jp4JkWNMFeYMb
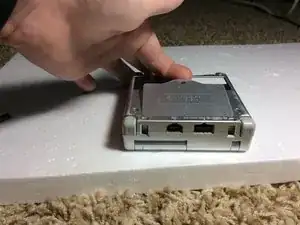
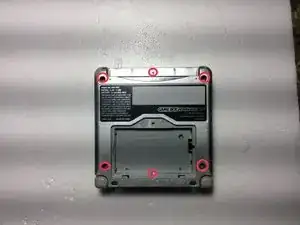
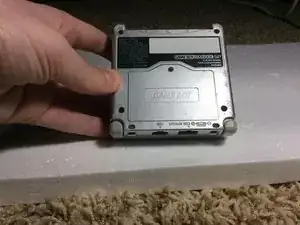
    • Turn your GBA upside down so that the battery compartment is facing up.

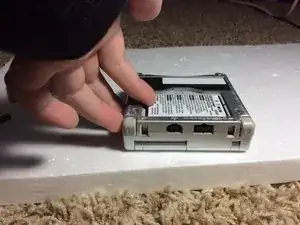
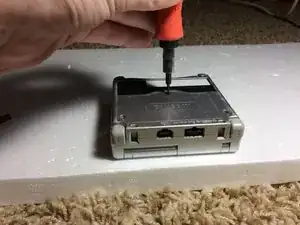
    • Remove the one Phillips screw holding the battery compartment cover in place.

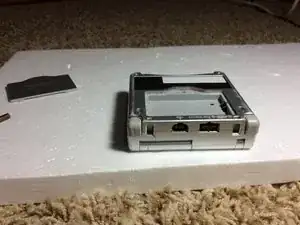
    • Remove the battery compartment cover.

  2. vglJr3dWY3xbRawp
    vglJr3dWY3xbRawp
    jFvIGC2befYl4IZK
    xfdVCeInSpdOGmdB
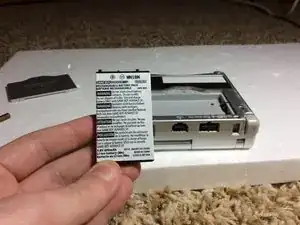
    • Pry the battery up with your fingernail or Spudger.

  3. eMrgR5ZGCCxeOmRH
    eMrgR5ZGCCxeOmRH
    colxPnOiPmhF5Lfd
    • Remove the 6 Tripoint screws holding the case together.

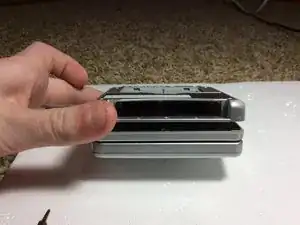
    • Pry the 2 halves apart. Do not force it though, or you may break your GBA.

    • Set the bottom half away for later.

    • Be sure not to lose the small, square nut that hold the battery compartment nut in or else you will not be able to screw the battery compartment in.

  4. RGYanDwOYaefUqUO
    RGYanDwOYaefUqUO
    WeGYBforPGSiJKDW
    ZcjUc2QTOB4kKUot
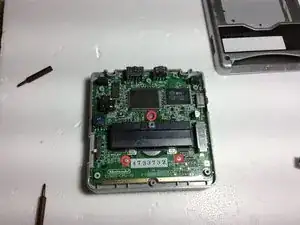
    • Unscrew the three Phillips screws holding the motherboard to the mid case.

    • WARNING!!! Do NOT Take the motherboard off yet. It is still Secured with A Ribbon Cable.

    • Turn the GBA so that it is like the Third photo.

  5. wHUxHLmPbi4WkaSF
    wHUxHLmPbi4WkaSF
    GPEYwdVDFG3uK3dN
    hHIgLMwOUErSJ2HJ
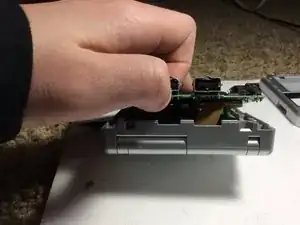
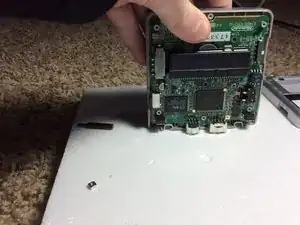
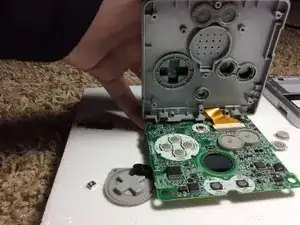
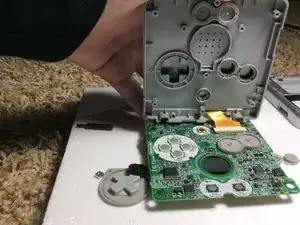
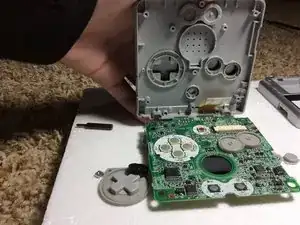
    • Fold the motherboard down like in the first photo. Be sure that the case is ON TOP of the motherboard.

    • Use a screwdriver or tweezers to unplug the ZIF Connector from the motherboard.

    • Take the Screen ribbon cable out of the motherboard.

    This section could use some better close-up photos, because it’s very hard to see what’s needs to be done. I had to find a YouTube guide to get through this part.

    If you’re looking at the photos and don’t know what to do, look for tiny black bits on the sides of the connector. Those lock the ribbon cable in place, and you have to unlock them first before you can get the ribbon cable out. This is the part that you need the screwdriver or tweezers for - don’t try to pull on the cable with the tweezers before you’ve unlocked the connector! After you’ve done that the ribbon cable will come out easily pretty much by itself.

    Rathori -

    This should warn that the buttons fall off when you open it.

    Kelmeri -

    Tip: opening the clamshell all the way gives more flex cable to work with during this part of the repair when reconnecting and disconnecting the ribbon cable.

    Owen Davies -

    In addition to Rathori's post, push the black locking pieces up from the connector to disengage them properly.

    PreciousPika -

  6. EZk2VN1xm5NcCZmR
    EZk2VN1xm5NcCZmR
    4ILSyQeFk2lBMAEq
    CPRffyEfjtSGXR5B
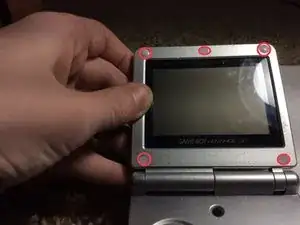
    • Use a flat-blade screwdriver or the pointed side of a spudger to remove the 5 rubber screw covers.

    • Unscrew the 5 tri point screws under the rubber pads.

    • Close the GBA and unscrew the single Phillips screw on the bottom.

    what do you do from here if your gba somehow has no screen...

    dont ask xD i got it like that for free

    Shadow Dragon -

  7. lyEZHUSitAKX25tV
    lyEZHUSitAKX25tV
    YpIYFXJSGWIqiDnc
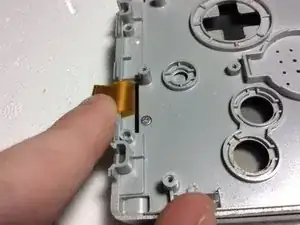
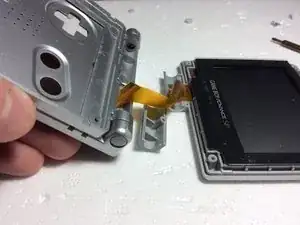
    • Open up the GBA and everything should fall apart. Thread the ribbon cable through the opening and lift the screen out of the upper case.

    • You are done!!

    Observe the ribbon cable & how it’s curled inside the hinge. When rebuilding make sure to curl the ribbon cable inside the hinge.

    J Moore (mrwarcriminal) -

    be sure to remove the screw underneath the ribbon cable

    Bogyjemm -

Conclusion

To reassemble your device, follow these instructions in reverse order.

Lucas Hoekstra (Lucas9810)

Member since: 21/02/17

1297 Reputation

8 comments

One issue - you never mentioned how to get the hinge off, so getting the ribbon in and out is.. hard.

toontown2007 -

Last part of step 5, that screw hidden under the ribbon cable, is what holds the hinge in.

Justin Castle -

hello can i ask something? can you take apart the lcd? because my lcd has fungus

Jorick Earl Bastian -

I am pretty sure, as the actual screen can be separated from the plastic cover (the thing that says game boy advance). I’ve never seen fungus in a screen though. That’s interesting.

Lucas Hoekstra (Lucas9810) -

Hello friend! One question: in the replace screen there is retroillumination? or i have to do something? Thx for your answer!

Federico Celani -

The light is built in on all GBA SPs.

there is a model with a better backlit display instead of a front lit display, but both have a light.
Lucas Hoekstra (Lucas9810) -

Heya! I was wondering if it’s possible to use an ag101 screen with an ag 001 motherboard? I’d prefer the better lit screen but ag101 models aren’t common in the uk

Sean Richardson -

Says replacement screen, guide only covers taking the old one out

santa_claus -