Introduction
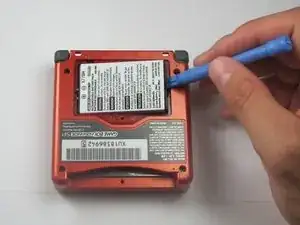
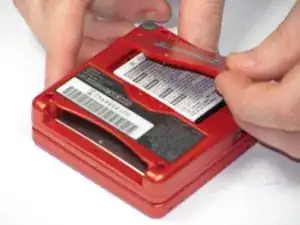
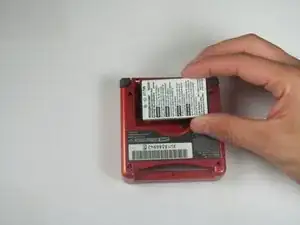
If the battery within your Game Boy Advanced SP doesn’t last long, or if the console does not turn on at all, you might need to replace it. The following process applies to both the AGS - 100 and the AGS - 101 models of the console. If the battery has never been replaced, be careful when disassembling the unit, because the battery may have swelled over time which can be a potential hazard. Additionally, make sure that the console is not connected to a power source while performing the battery replacement process.
For a replacement battery, visit Amazon.
Tools
Parts
-
-
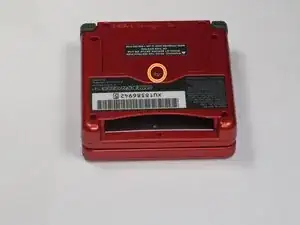
Use a standard Phillips #00 screwdriver to loosen the 4 mm screw that keeps the battery cover attached to the device.
-
For reassembly, follow the instructions in reverse order.
2 comments
This task is not very easy, its easy.
Very easy: Does not require opening device.
Easy: Requires minimal disassembly and requires a few tools like a Philips or flat-head screwdriver.
This however requires opening device.
Thanks for yout guideline. I settle in 5 minutes.
aam9999 -


Quel est le nom du vis svp je l'ai perdu et j'ai pas la référence
la chaîne de Samarium -
Bonjour @lachainede96340 D'après les instructions du tutoriel, il s'agit d'une vis Phillips (ou cruciforme) #00 de 4 mm de long. Ces mesures devraient suffire pour trouver une vis de remplacement dans votre stock de vis ou en magasin le cas échéant.
Claire Miesch -