Introduction
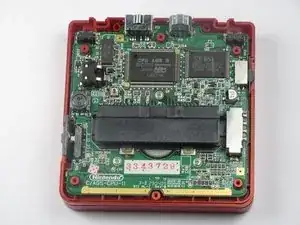
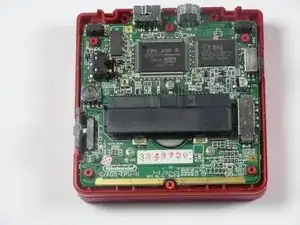
The back cover is the only layer between the motherboard and the many things things that can ruin the motherboard. Expect the six screws that hold the cover to the device to be fastened tightly.
Tools
-
-
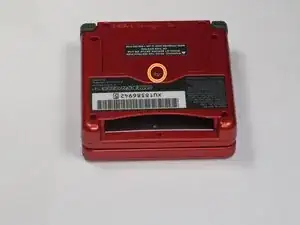
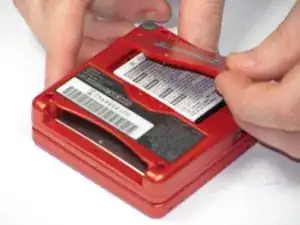
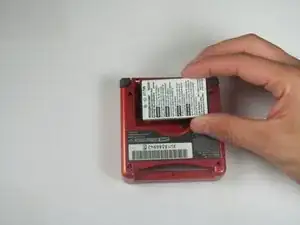
Use a standard Phillips #00 screwdriver to loosen the 4 mm screw that keeps the battery cover attached to the device.
-
-
-
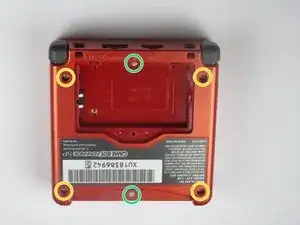
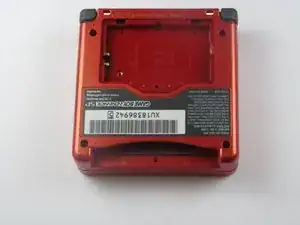
Remove four 6.5 mm screws from the corners of the back cover using a tri-point Y00 screwdriver.
-
Remove two 4.6mm screws from the top-center and bottom-center of the device using a tri-point Y00 screwdriver.
-
Conclusion
To reassemble your device, follow these instructions in reverse order.
Quel est le nom du vis svp je l'ai perdu et j'ai pas la référence
la chaîne de Samarium -
Bonjour @lachainede96340 D'après les instructions du tutoriel, il s'agit d'une vis Phillips (ou cruciforme) #00 de 4 mm de long. Ces mesures devraient suffire pour trouver une vis de remplacement dans votre stock de vis ou en magasin le cas échéant.
Claire Miesch -