Introduction
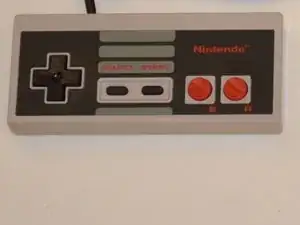
The NES-004 controller was part of the third generation of videogame systems. It evolved the concept of the videogame controller from a primarily analog or dial systems. The NES-004, introduced in America, a template that would set the stage for almost every successive controller. The NES-004 featured an all-digital input with directional controls placed on the left and action controls placed on the right. Although the NES is an older generation gaming system the games are still fun and hobbyists are still creating new 8-bit games. Designed to be simple and easy to produce, the NES controller is very durable with many still surviving to this day. While the outside of the controller seems simple, the real magic happens inside. Lying in-between the two outer gray plastic case pieces is the printed circuit board. Being made of a nonconductive material it is what the rest of the components in the controller are hooked to. Eight metal circles split in half by nonconductive material lie under the eight buttons from the face. Between this circle and the plastic buttons above is a rubber garment with a metallic piece. The metallic piece completes the broken circuit when the player presses the button. The input is sent down onto the five wires inside the cable to the console, at the solder points that connect the two. It is at the points of connections between the button to the controller and controller to the cable that issues most often arise. This guide will aim to address these common issues. Connecting the players input, with stories to play through, allows the player to immerse themselves in to a visual adventure. With the emergence of newer games created by hobbyists, and old classics, many gamers find a NES Controller in need of these simple repairs.
-
-
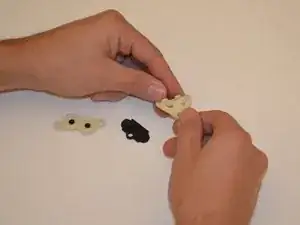
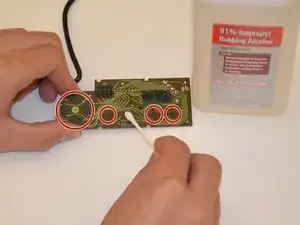
Clean all pads with rubbing alcohol; focus on cleaning the black conductive circles on the underside of the pads.
-
-
-
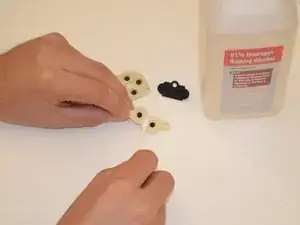
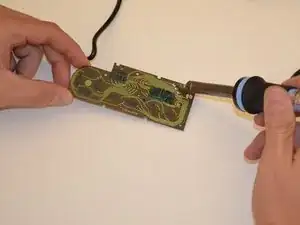
Ensure that all 91% isopropyl alcohol has evaporated. If necessary perform any soldering away from the area in which you cleaned the controller.
-
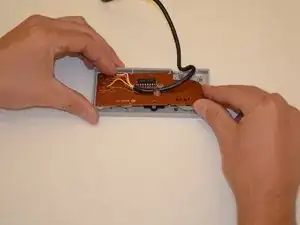
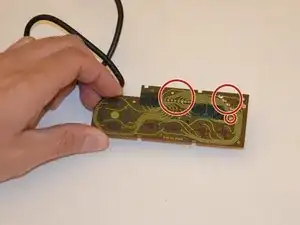
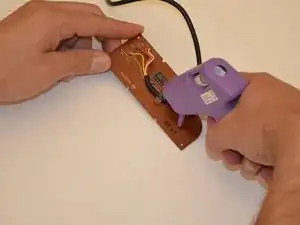
Re-solder any loose wires on the circuit board.
-
-
-
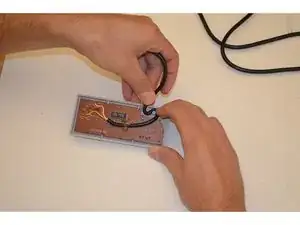
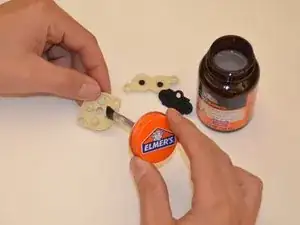
Glue the cord onto the circuit board to prevent future loosening of the wires.
-
Leave slack on both sides and allow glue to harden.
-
-
-
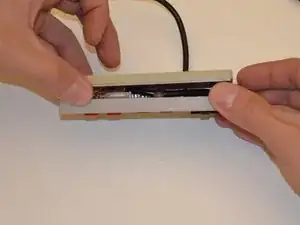
Reverse steps from 6 through to 2 to reassemble controller.
-
Before replacing screws make sure the controller back fits tightly to the controller face.
-
If needed trim excess glue from around the cord to ensure a good fit.
-
-
-
Plug in your repaired controller and try all buttons and actions to test controller function and responsiveness
-
Thank you for using our step by step controller guide. Enjoy your NES games!
If the controller isn’t working after this guide, re-check the soldering points, and redo as necessary. If this still doesn’t fix the controller you may have to get a new wire.

One comment
Hi There,
Just wondering if you knew “where” I could purchase a special set of silicone buttons for a wireless Nintendo NES controller? The buttons are sticking and when I remove the cover, the silicone buttons were stripped and no longer functional. I know how to replace all of the parts - just not sure where I can actually find the part that I need.
I am not sure if you know what the “NES wireless controller” looks like “internally” but it has 4 buttons together - not just 2 like the original NES controller. The silicone button assembly looks very similar to the silicone button assembly of the “controller buttons” portion (or the arrows portion that actually allows you to “move” when playing a game.
Any assistance you could provide for me to find the right part to fix my son’s controller would be GREATLY APPRECIATED !!
Thank you
Jeff
Jeff L -