Introduction
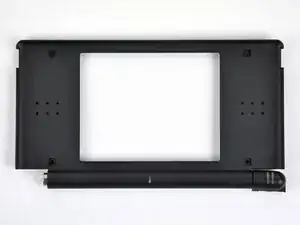
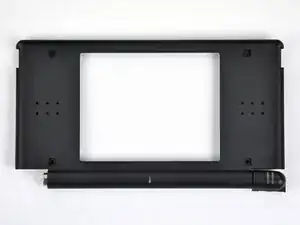
Replace the front display bezel of your Nintendo DS Lite to make your DS look brand new again!
Tools
-
-
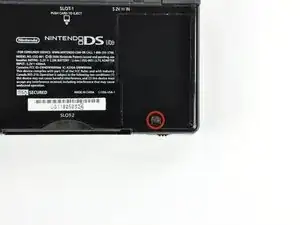
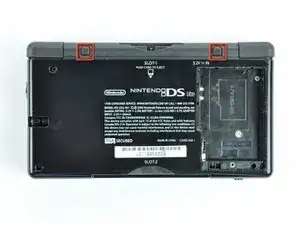
Unscrew the Phillips screw securing the battery cover to the lower case.
-
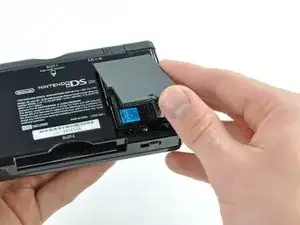
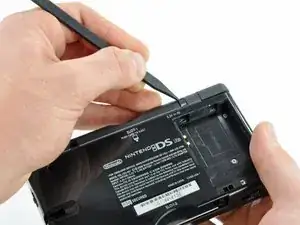
Pry the battery cover upward with a spudger or fingernail, and lift out of the lower case.
-
-
-
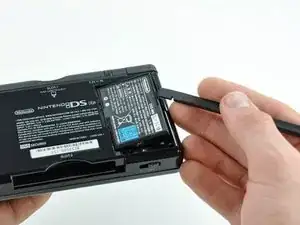
Wedge the edge of a spudger in between the side of the battery and the lower case housing and pry upward to dislodge the battery.
-
Remove the battery from the DS Lite.
-
-
-
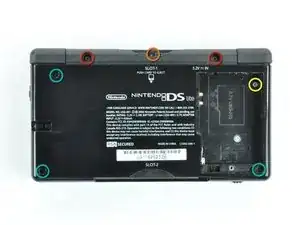
Remove the following screws securing the lower case to the body of the DS Lite:
-
Two 4.3 mm gold Phillips screws
-
One 3.9 mm black Tri-Wing screw
-
One 3.3 mm silver Phillips screw
-
Three 5.5 mm silver Tri-Wing screws
-
-
-
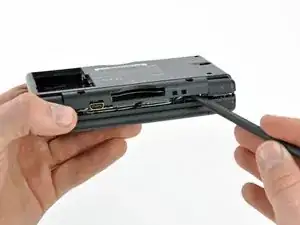
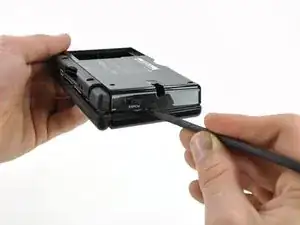
Insert the edge of a spudger in between the lower and upper case near the top right corner of the DS Lite.
-
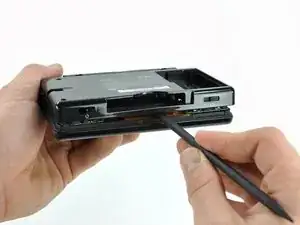
Carefully run the spudger along the right edge of the DS Lite, creating an opening in the process.
-
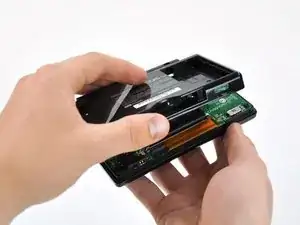
Continue running the spudger along the backside of the DS Lite until the majority of the lower case has been separated from the upper case.
-
-
-
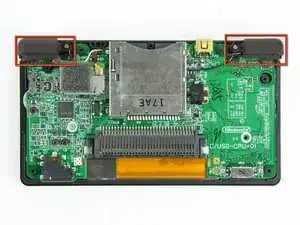
Use the flat edge of a spudger to pry the Wi-Fi antenna connector straight up from its socket on the Wi-Fi board.
-
-
-
Use the flat edge of a spudger to pry the Wi-Fi board connector straight up from its socket on the motherboard.
-
-
-
Use the flat edge of a spudger to separate the right edge of the Wi-Fi board from the motherboard.
-
Remove the Wi-Fi board from the DS Lite.
-
-
-
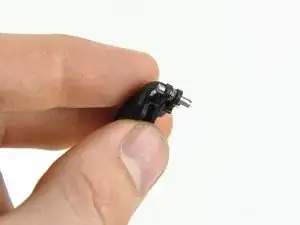
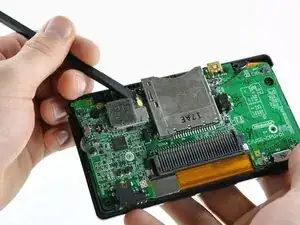
Use the flat edge of a spudger to pry the microphone connector straight up from its socket on the motherboard.
-
-
-
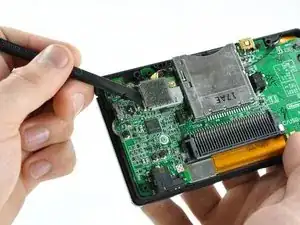
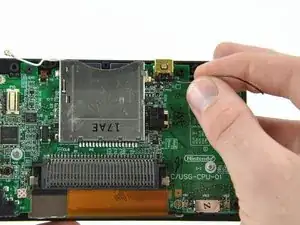
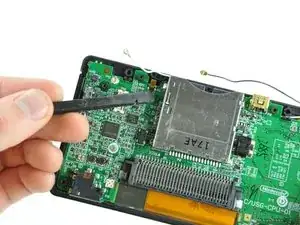
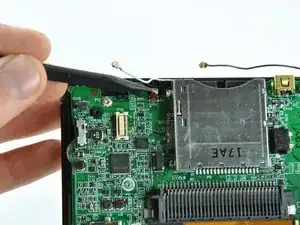
Position the antenna cable with its connector facing up and away from the motherboard using a spudger to hold it down lightly in the gap between chips on the motherboard.
-
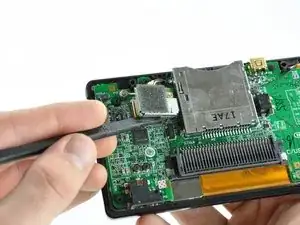
Slowly and carefully pull the antenna cable until the cable connector is under the DS Lite game cartridge reader.
-
Continue pulling the cable until the cable connector comes out from under the game cartridge reader on the right side.
-
-
-
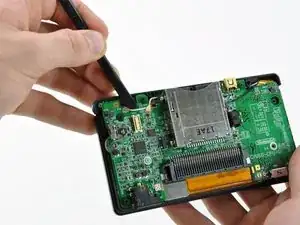
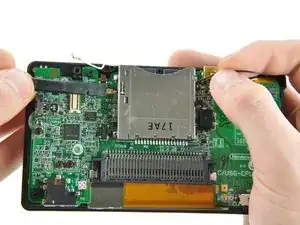
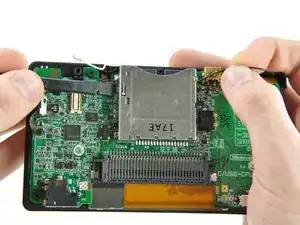
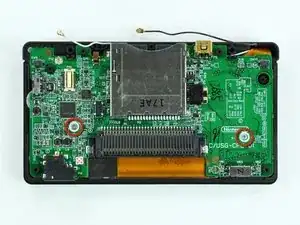
Use your fingernail or the edge of a spudger to carefully flip up the touchscreen ribbon cable retaining flap.
-
Use the tip of a spudger to pull the touchscreen ribbon cable straight out of its socket.
-
-
-
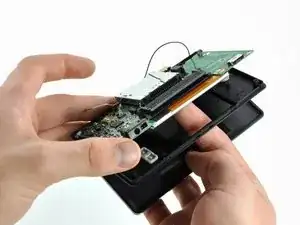
Open the display enough to use your finger to push the front edge of the motherboard up and away from the upper case.
-
-
-
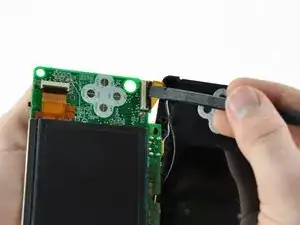
Use your fingernail or the flat edge of a spudger to carefully flip up the upper LCD ribbon cable retaining flap.
-
Pull the motherboard away from the DS Lite to separate the upper LCD ribbon cable from its socket on the motherboard.
-
Remove the motherboard from the DS Lite.
-
Now you may open the retaining flap for the lower LCD screen in the same way and separate the lower LCD screen from the motherboard.
-
-
-
Pull the upper LCD ribbon cable to the right, through the slit in the case.
-
Push the ribbon cable down through the slit.
-
-
-
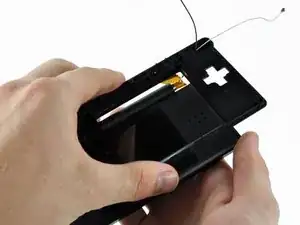
Slowly lift the upper case away from the display, making sure the ribbon cable does not get caught.
-
-
-
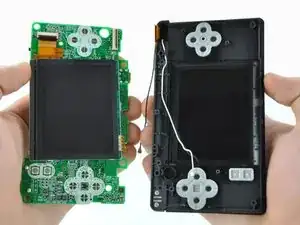
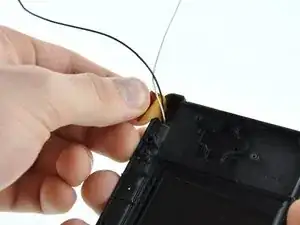
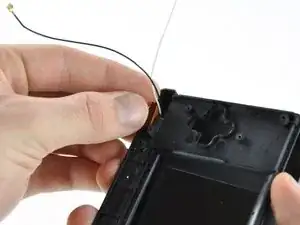
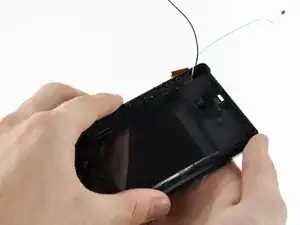
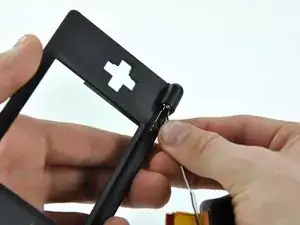
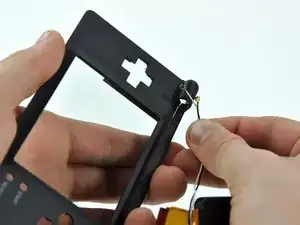
Once the ribbon cable is free from the upper case, pull the antenna and Wi-Fi cables through the hole in the upper case.
-
Remove the upper case from the DS Lite.
-
-
-
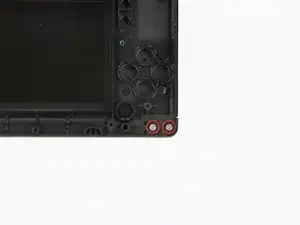
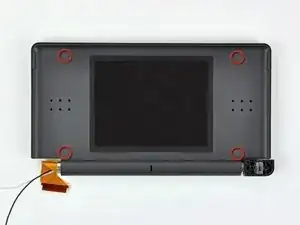
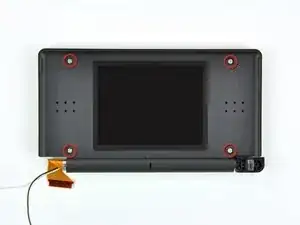
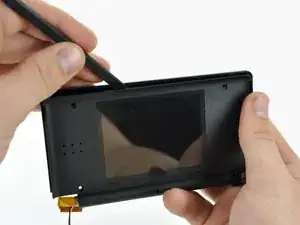
Remove the four 3.4 mm Phillips screws securing the rear display bezel to the front display bezel
-
-
-
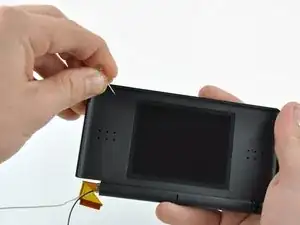
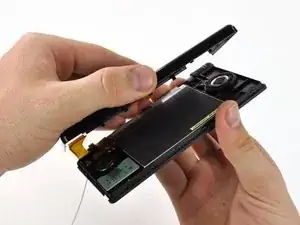
Insert a spudger in the gap between the front and rear display bezels and pry the front bezel away from the rear bezel.
-
Lift the rear display bezel away from the display assembly.
-
-
-
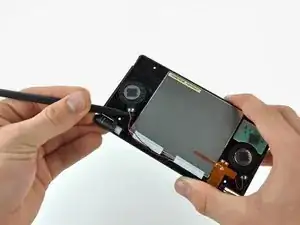
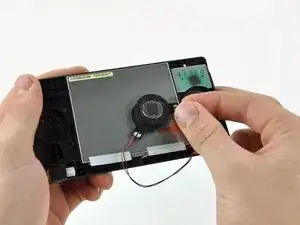
Use the tip of a spudger to pry both speakers up from their housing and place them on the back of the LCD.
-
-
-
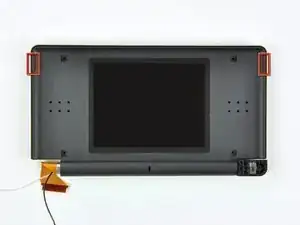
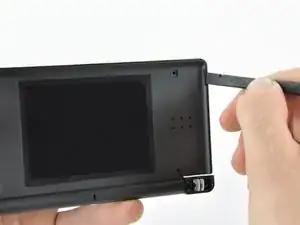
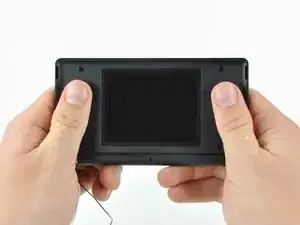
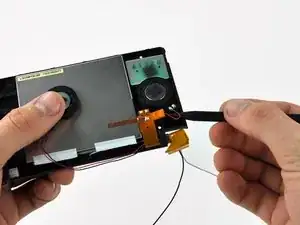
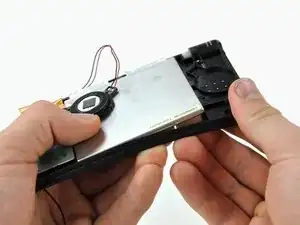
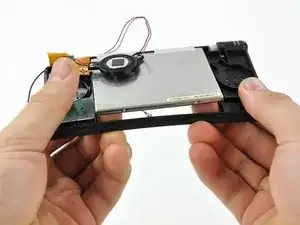
Starting in the top right corner, use both hands to slowly separate the LCD from the front display bezel.
-
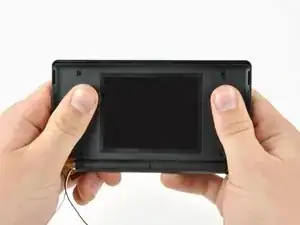
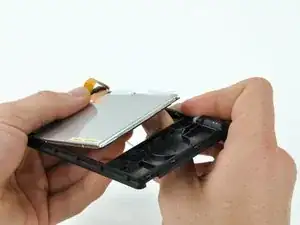
Continue separating along the top and left edges of the LCD.
-
Finally, push the LCD up and away from the front display bezel.
-
To reassemble your device, follow these instructions in reverse order.
4 comments
Final step is missing on pulling the ribbon through front bezel caused me to break cable. Thanks a lot ! DS is ruined
Final step is missing ribbon removal but paying careful attention, you can roll the cable up and pull it through. Remember to never be forceful!
If you’re planning on a full disassembly (e.g. full shell replacement) this is the best guide to help.
Casey -

A Phillips #000 (PH000) seems to give a more secure fit (no slipping) than the stated Phillips #00.
Ritchie -